Terminology: batch = fermenting batch of food waste in a bokashi bin
bokashi bin = airtight container/bin to ferment food waste
bear bin = a specific type of bokashi bin used at Down to Earth Garden and El Sol Brillante (specifically, a bear-proof airtight 20-gallon container with screw-top lid, average weight when full with food waste ~150 lbs [145 lbs food waste only + 5 lbs container & lid]).
ESB: El Sol Brillante, a land trust community garden at 522-528 E 12th St.
DEG: Down to Earth Garden, a GreenThumb community garden at 546 E 12th St.
The composting system at ESB and DEG is one combined composting system utilizing the bokashi method.
See also:
Quantity of Food Waste Diverted [at El Sol Brillante and Down to Earth Garden]
Potential Quantity and Current Max Capacities at ESB & DEG
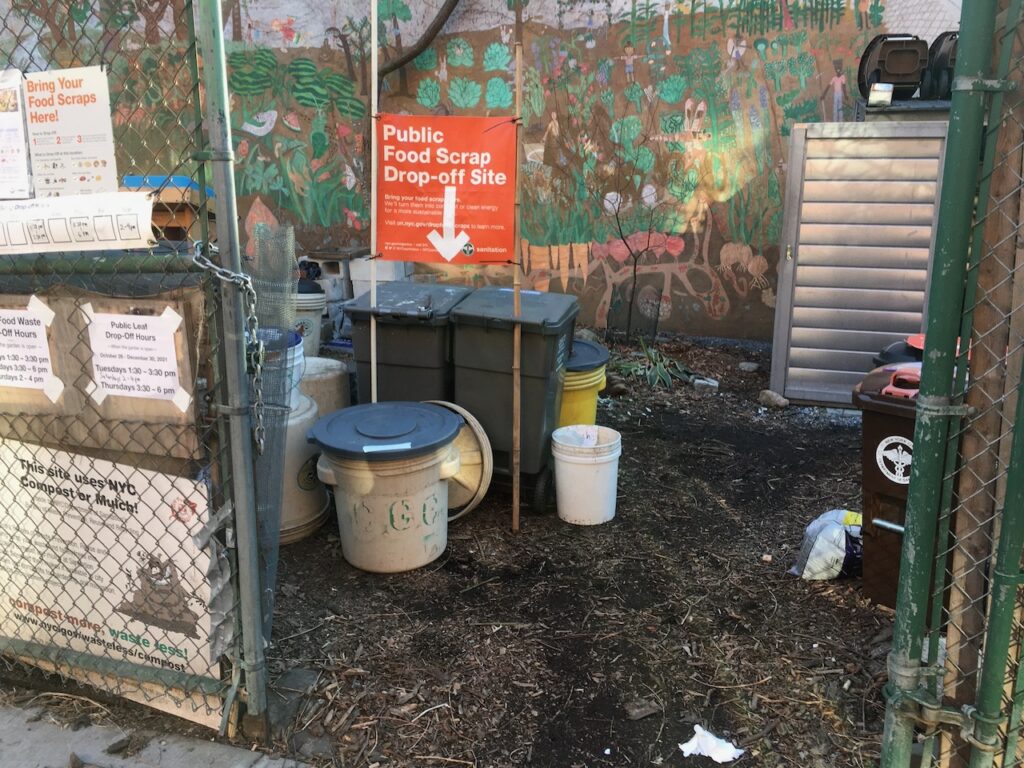
1. Food Waste Drop-Off
Food waste can be dropped off at the garden during open hours or whenever the garden is open.
- Open Hours
Open hours for food waste drop-off, yard waste drop-off, and for volunteers:
Tuesdays 1:30 pm – 4 pm
Sundays 12 pm – 4 pmVolunteers are always needed during open hours.
Food Waste Drop-off: all year.
—We accept all food waste, incl. meats, bones, dairy, seafood, raw, cooked, oyster and clam shells, coconut shells, etc.
When bringing plant matter, please keep them separate from the food waste.
Leaf Drop-off: all year.
—We accept yard waste including leaves, plant discards, tree branches, and potting soil ALL YEAR ROUND.
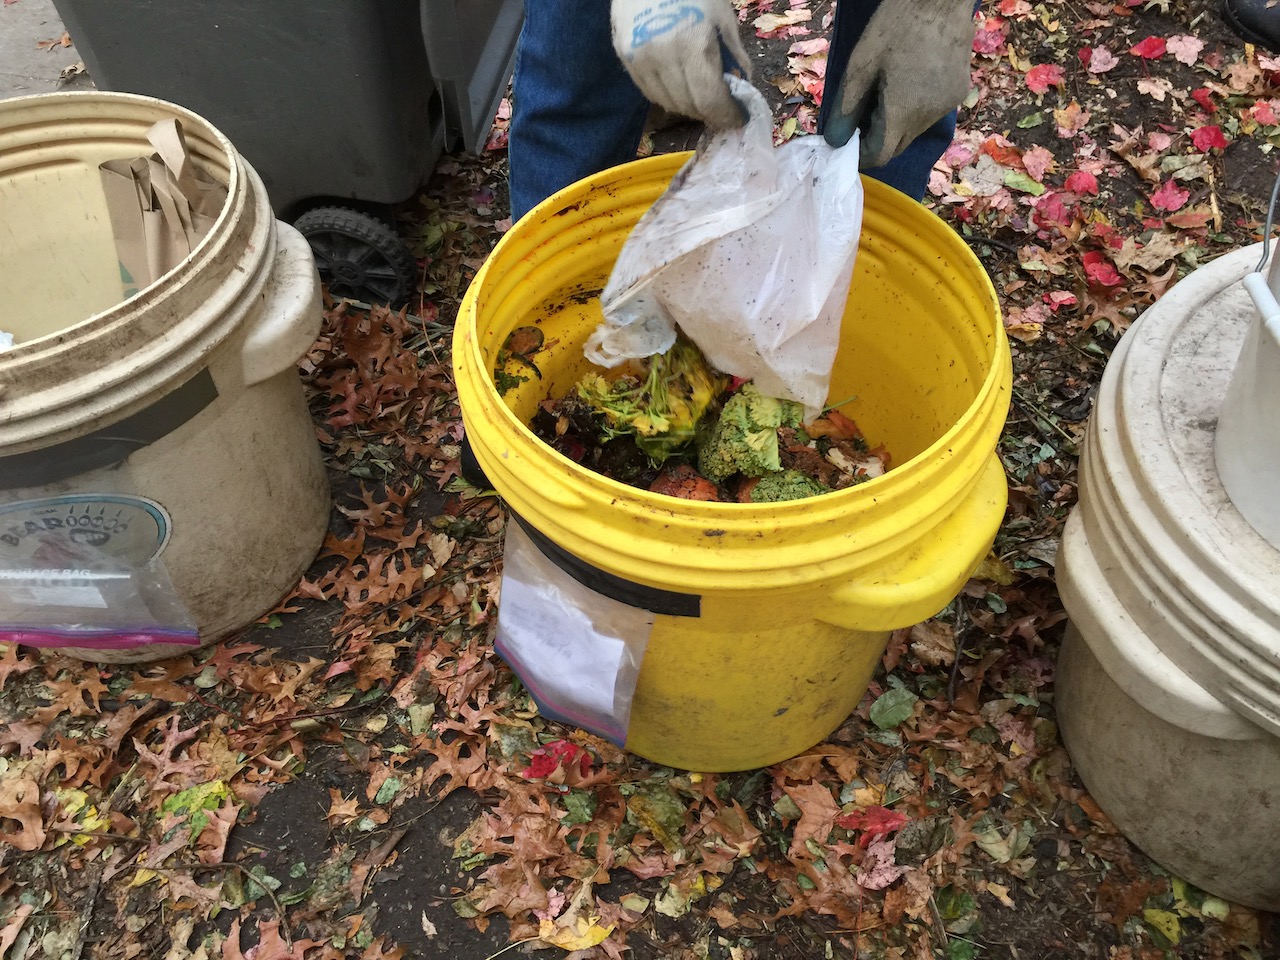
2. Treating Food Waste with bokashi
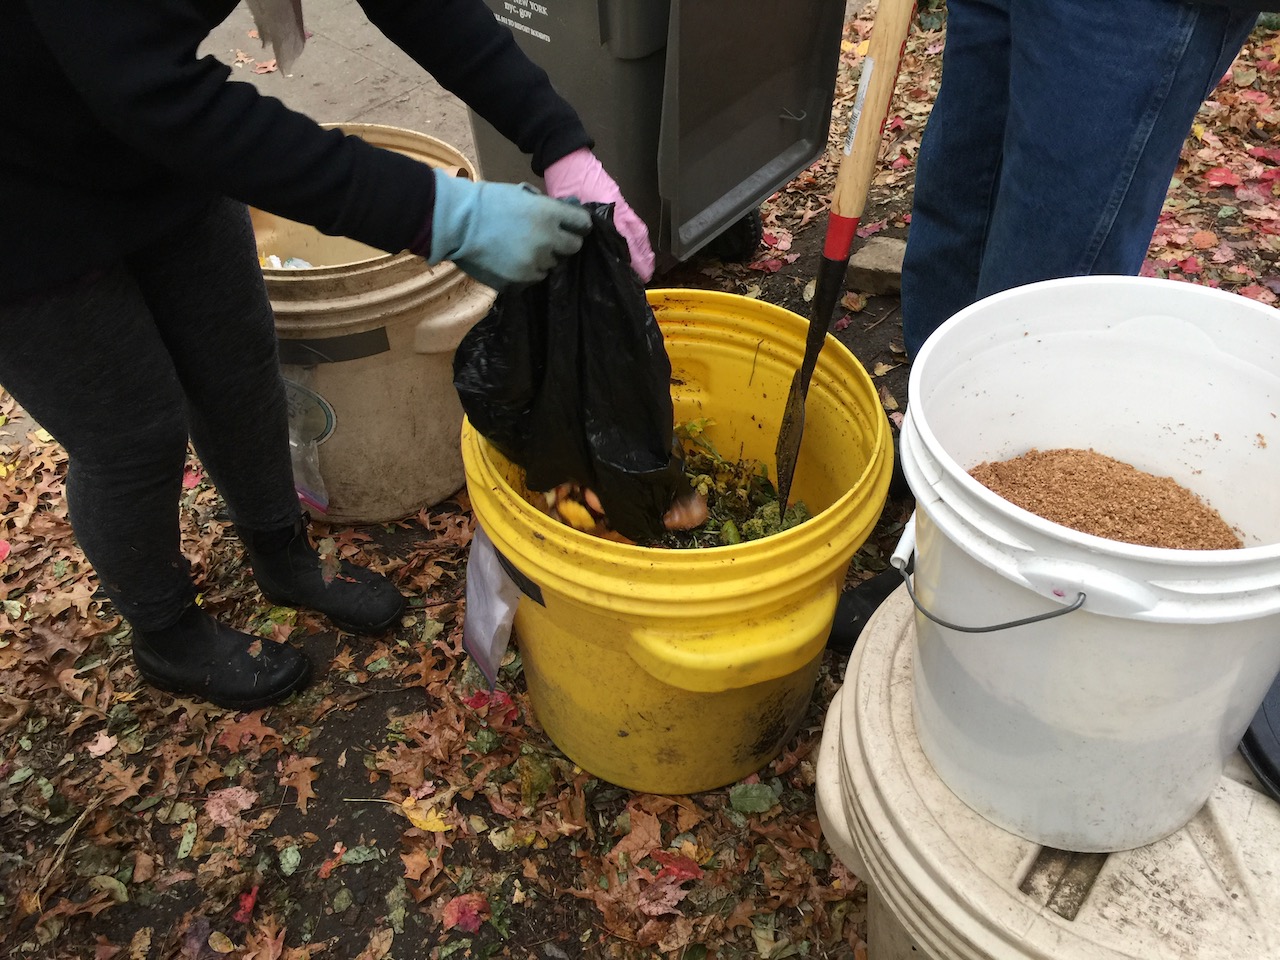
Volunteers and garden members then take the dropped-off food waste and treats them with the bokashi sprinkle (a fermentation starter, which we make in the garden with wheat bran, water, blackstrap molasses, and EM-1 microbial inoculant).
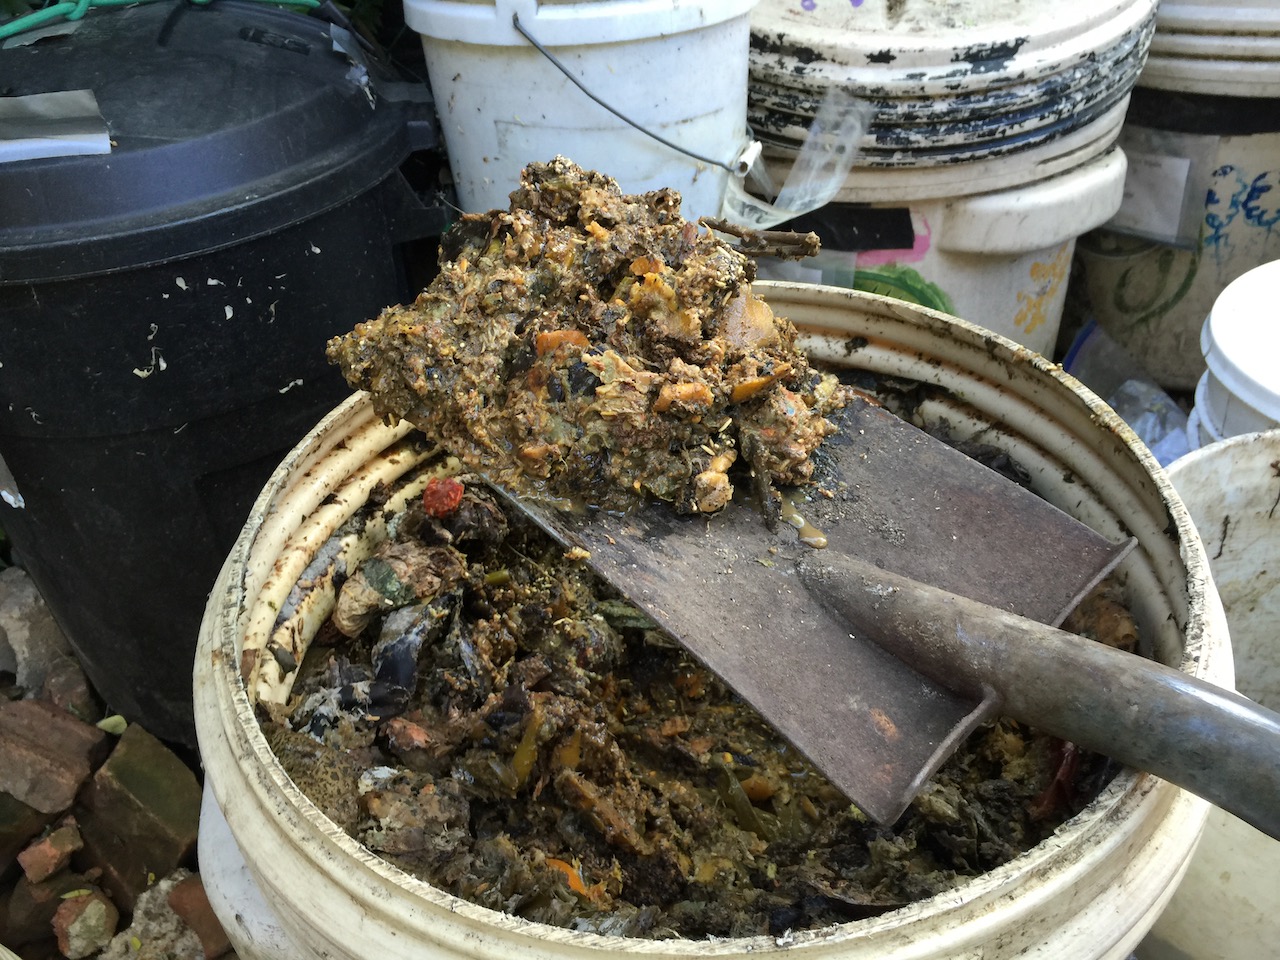
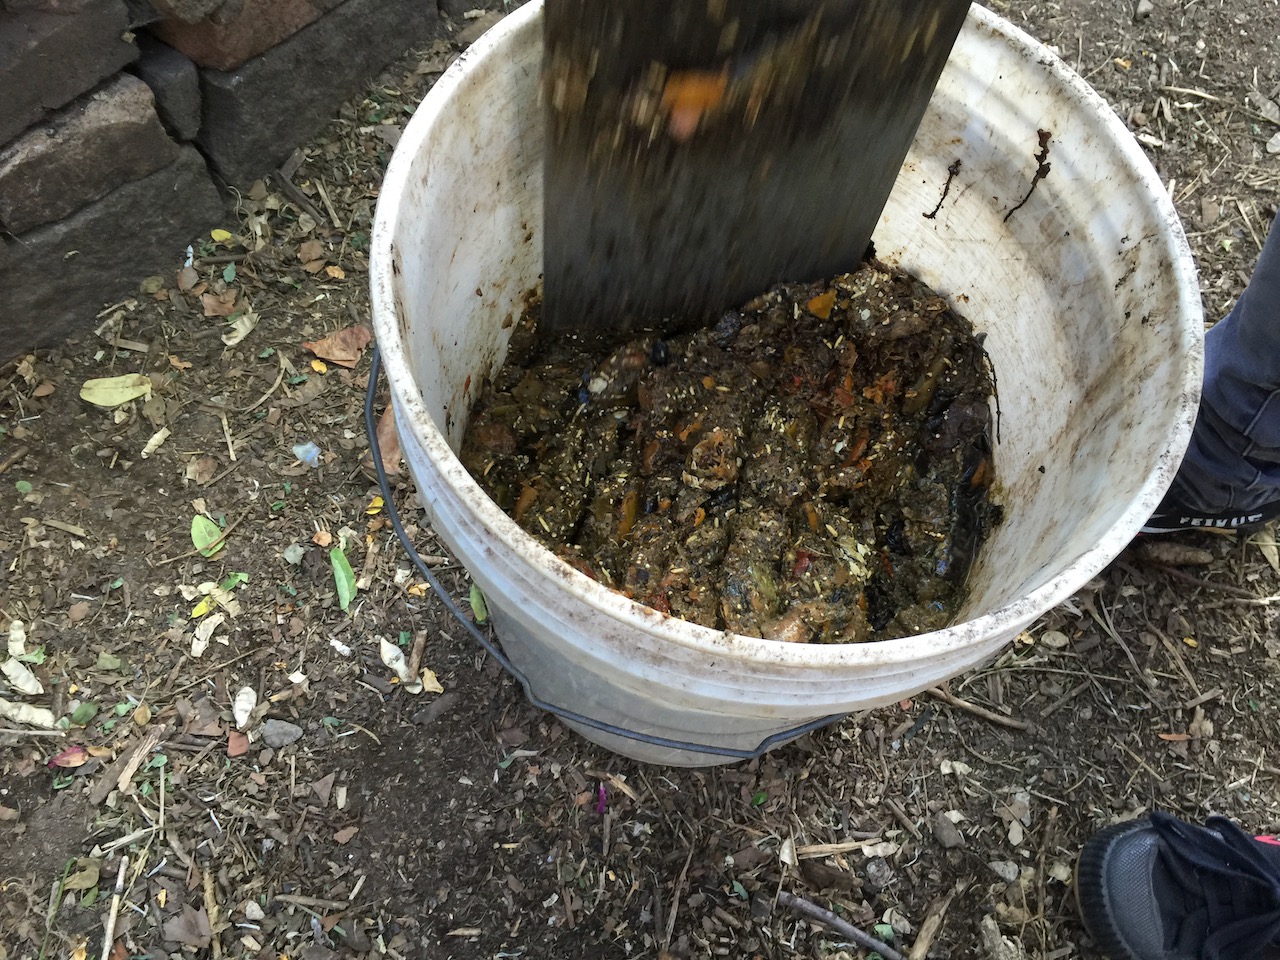
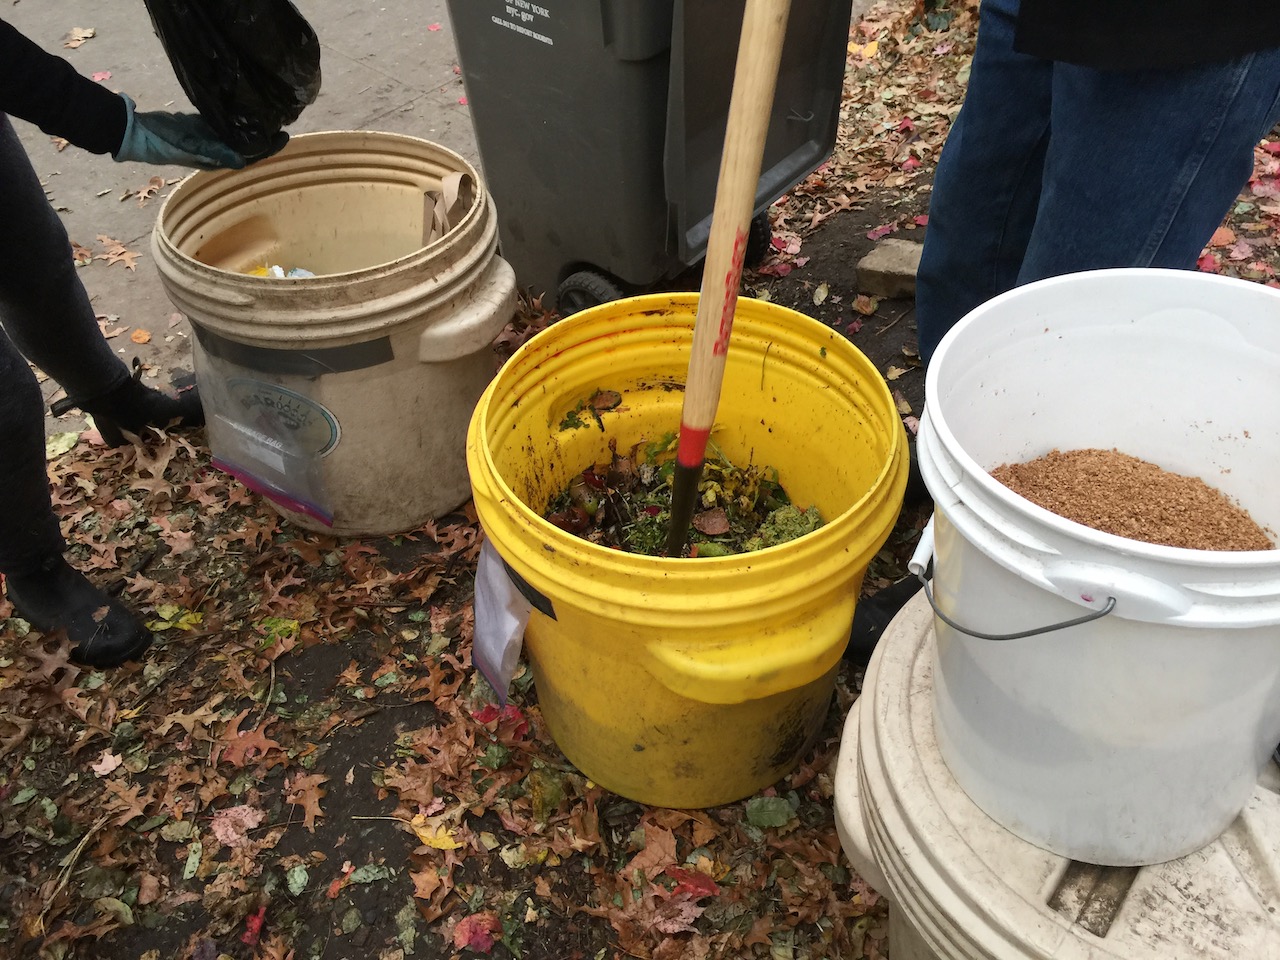
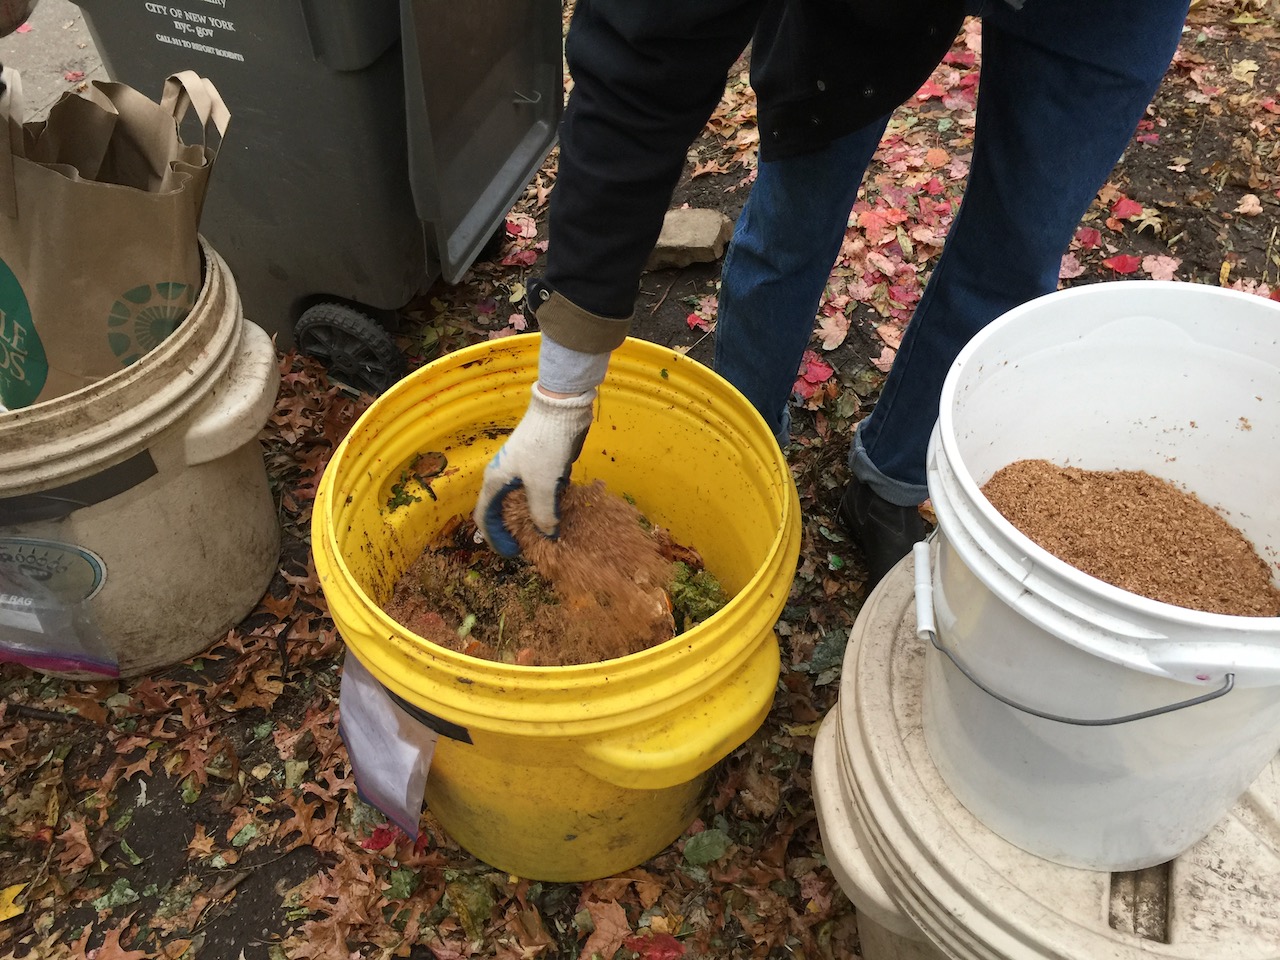
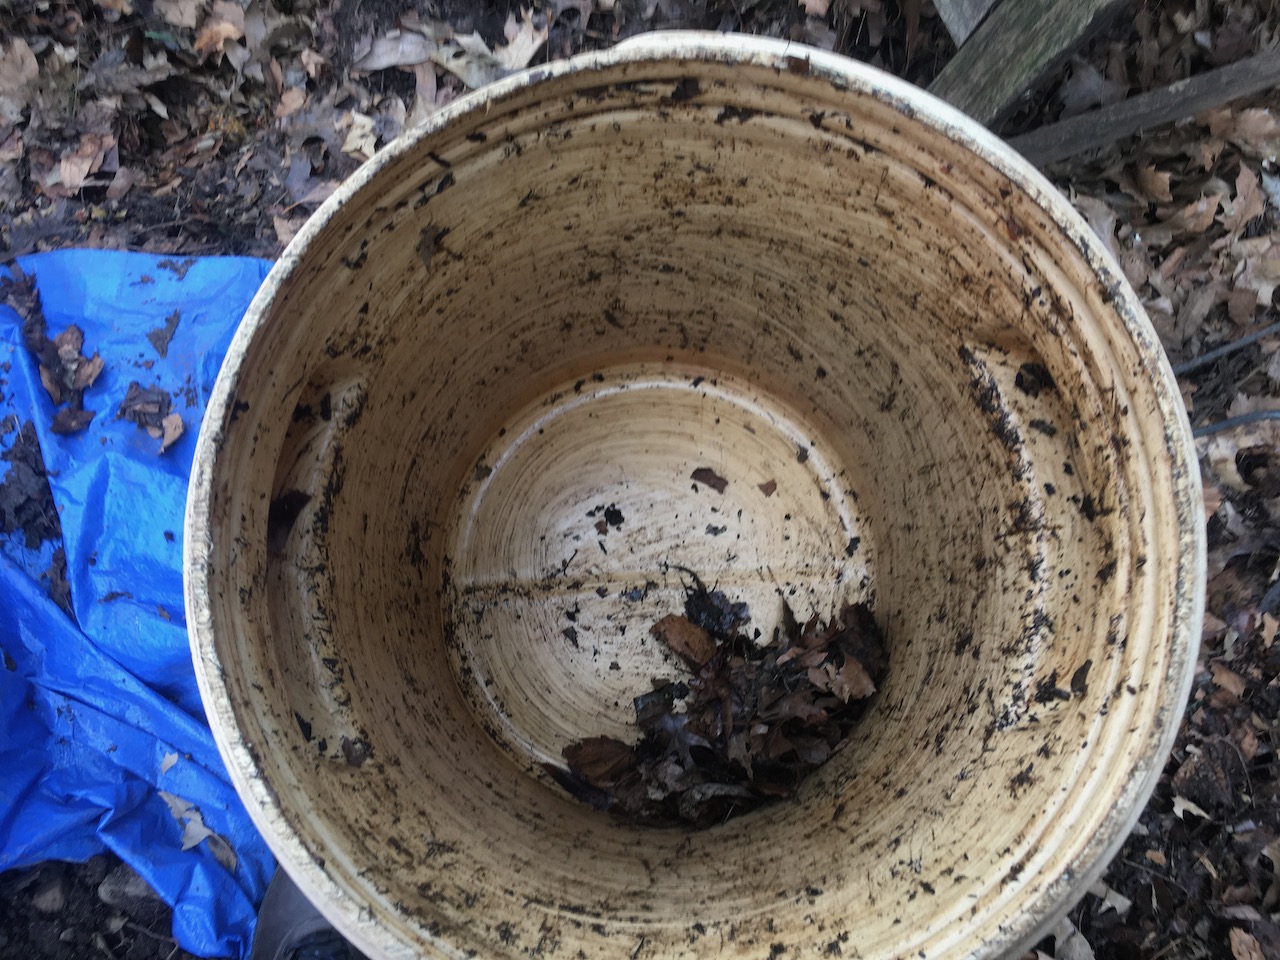
The food waste is added to a bear bin while bokashi is sprinkled on it. The amount of bokashi that’s sprinkled is about a hand full per gallon of food waste (roughly 2.5 lbs)—to sort of visually dust-cover the food waste. Ideally, for every 33 lbs of food waste, 1 lb of bokashi should be added/mixed in. For comparison, a 5-gallon container can hold about 30 lbs of food waste, more or less.
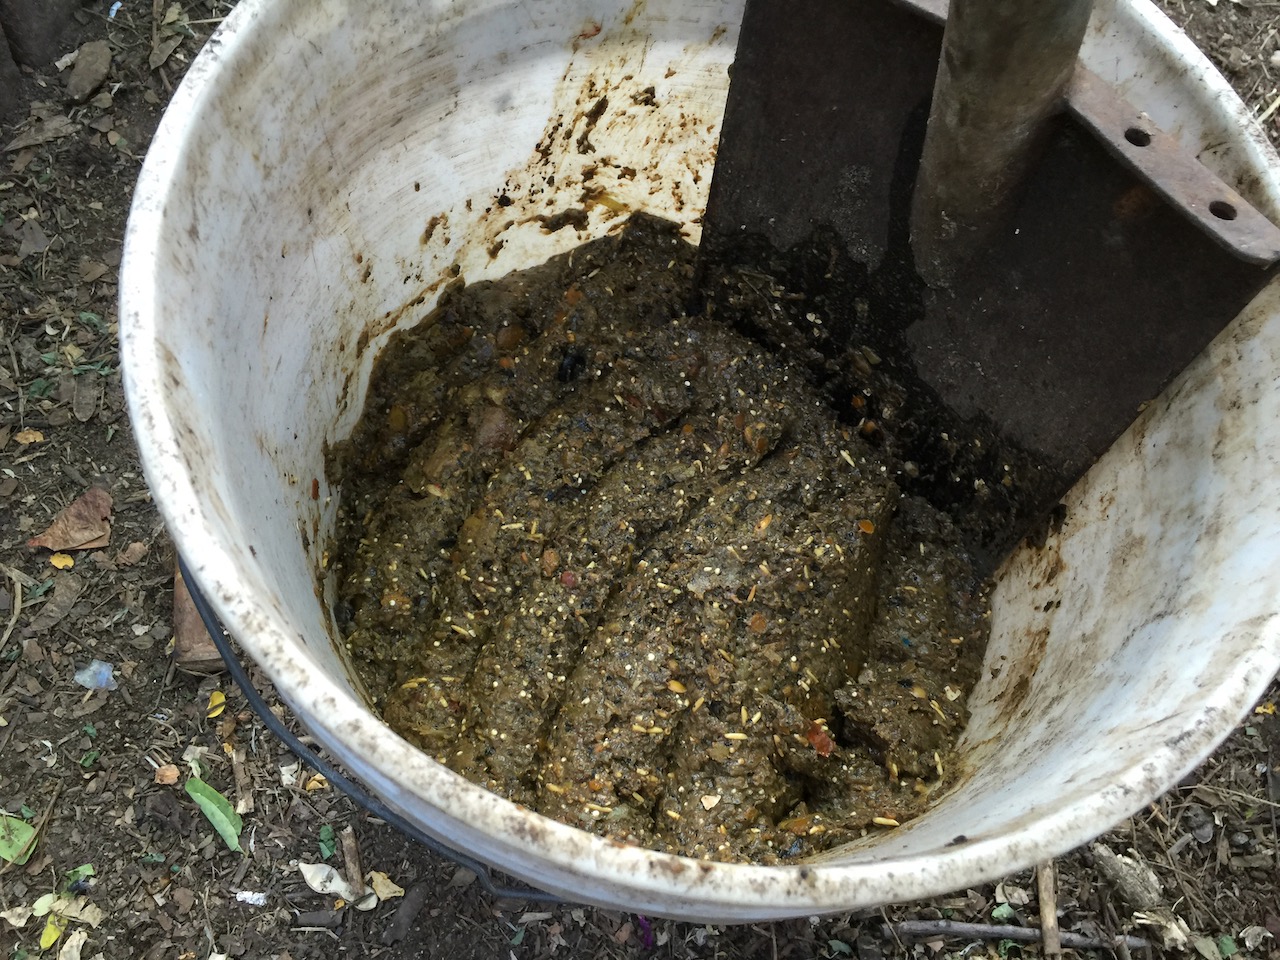
An ice chopper, or a square shovel, is used to cut the food waste into small pieces and mix with the bokashi while compressing them down to squeeze out as much air as possible. An airtight (anaerobic) condition is necessary for the fermentation to go well. This also makes more room to add more food waste.
A 20-gallon bear bin may take 3 to 7 days to fill depending on the amount of dropped off food waste coming in. A full bear bin will weigh on average about 150 lbs (about 145 lbs of food waste and bokashi mix, and roughly 5 lbs is the weight of the container and lid).
Shredding Food Waste
From 6/23/2018 until 2/3/2022, we had the option to shred the food waste, instead of chopping the food waste with the ice chopper or square shovel: see information, photos, and videos of our Mini Shredder.
The shredder broke down on 2/3/2022 due to deterioration of its ball bearings: see Loss of ball bearings, photos.
2.1.a. Labeling Bear Bins — Index Cards
In order to keep track of how much food waste we deal with, we use the following labeling and tracking method.
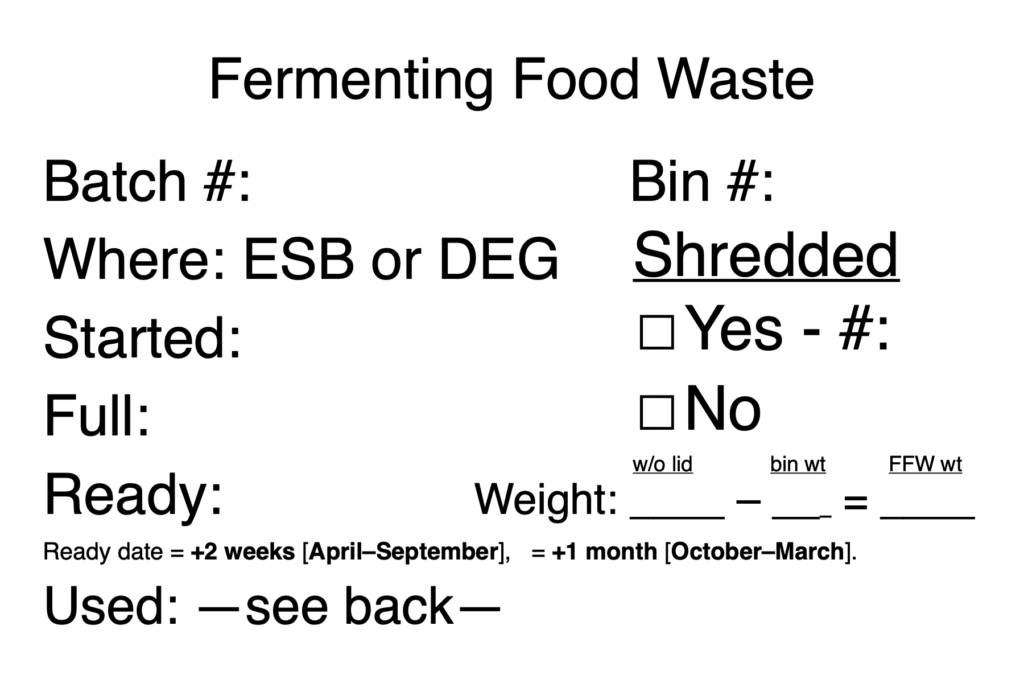
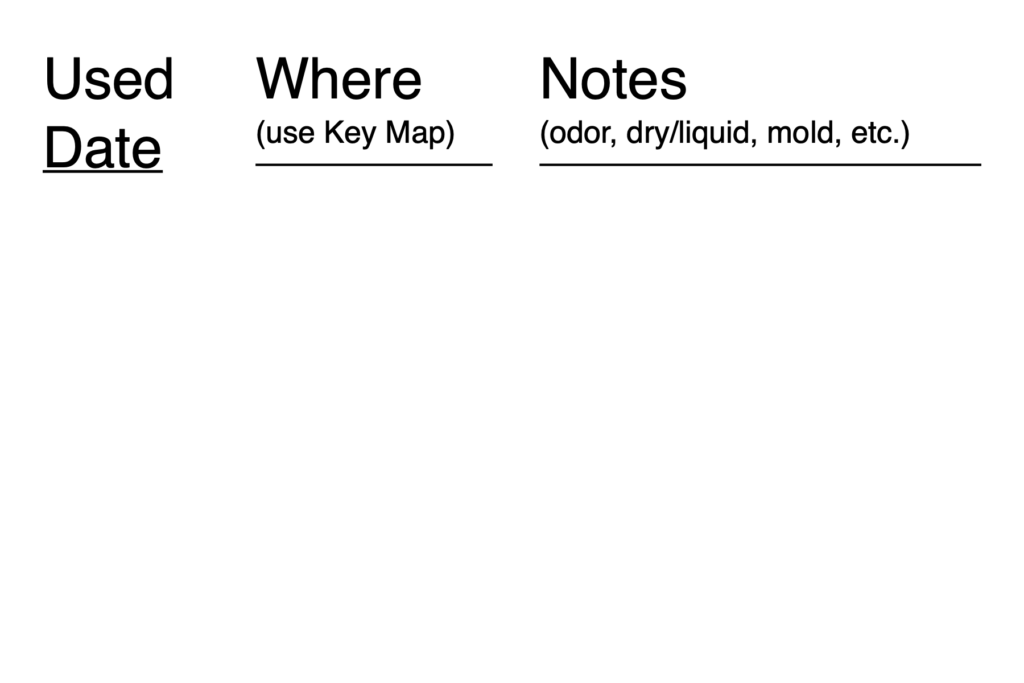
Labels are pre-printed on 4″x6″ index cards (updated 6/27/2024):
FFWindexcardBatchLabel-2024.pdf (PDF version to print the label onto index cards)
Batch # refers to the batch of fermenting food waste, and Bin # refers to the bear bin # (which is labeled on the outside of the bear bin—we currently have 30 bear bins—numbers were added in 2023; most of the photos/videos here show the bear bins before the bin numbers were added). Bin # makes it easier to find a batch (i.e., when we need to find the oldest batch from our log sheet, explained below).
Instructions to print onto index cards (Printing settings):
Printing settings

6” x 4” index cards
Note. We used about 70 cards for DEG and 25 for ESB: total 95 cards. To print all at once, it may take 11 stacks of 9 index cards (95÷9=10.56 => 11) [printer being used can only do 9 index cards at a time — other printers may differ]. See Quantity of Food Waste Diverted for more recent number of batches, i.e., index cards, used per year per garden.

Page Setup … : “4 x 6” (You may have to create this setting, Paper Size > Manage Custom Sizes..., for your printer/using any of your document application.)

PDF file printing.
If your printer can print double-sided (two-sided), then test the printout; may need to make sure that in the print dialog window, Finishing > Binding Location is set to Short Edge. Otherwise, use the following settings:

Print …
- Copies: 9
- Uncheck “Two-Sided” (print one side first; 9 cards at a time)
- From: 1 to 1 (reverse 2 to 2)
- Paper Size: 4 x 6
- Preview: “Fill Entire Paper”
 -> Paper Handling:
	a. Check “Scale to fit paper size”
	b. Destination: 4 x 6

If printing afterwards goes incorrectly, then redo a and b above with each printing.

Reverse: face down, top is left.
—
If Presets: indexcard4x6
- From: 1 to 1 (reverse 2 to 2)
- “Fill Entire Paper”

—
3/31/17, number of index cards used per garden (24-hour drop-off):
70 for CG/DEG.
25 for ESB.
2.1.b. Tracking Batches — Log Sheets
The log sheets keep track of batches, the next batch ready to trench/bury or feed to a worm compost bin, and where they are used (see Key Maps below). The log sheets with the index cards also prevent and help to fix mistakes in numbering batches and bins, as well as, the dates (started, full, and ready dates).
Example Tracking Sheet – Bokashi Bin Log Sheet
Click to enlarge image.
Blank bokashi bin log sheets for printout:
For Down to Earth Garden (DEG):
- FFW-Batch-Tracking-DEG-D685-D704.pdf (for batch # D685 to D704).
- FFW-Batch-Tracking-DEG-D705-D724.pdf (for batch # D705 to D724).
- FFW-Batch-Tracking-DEG-D725-D744.pdf (for batch # D705 to D724).
- FFW-Batch-Tracking-DEG-D745-D764.pdf (for batch # D745 to D764).
For El Sol Brillante (ESB):
- FFW-Batch-Tracking-ESB-302-321.pdf (for batch # E302 to E321).
- FFW-Batch-Tracking-ESB-322-341.pdf (for batch # E322 to E341).
- FFW-Batch-Tracking-ESB-342-361.pdf (for batch # E342 to E361).
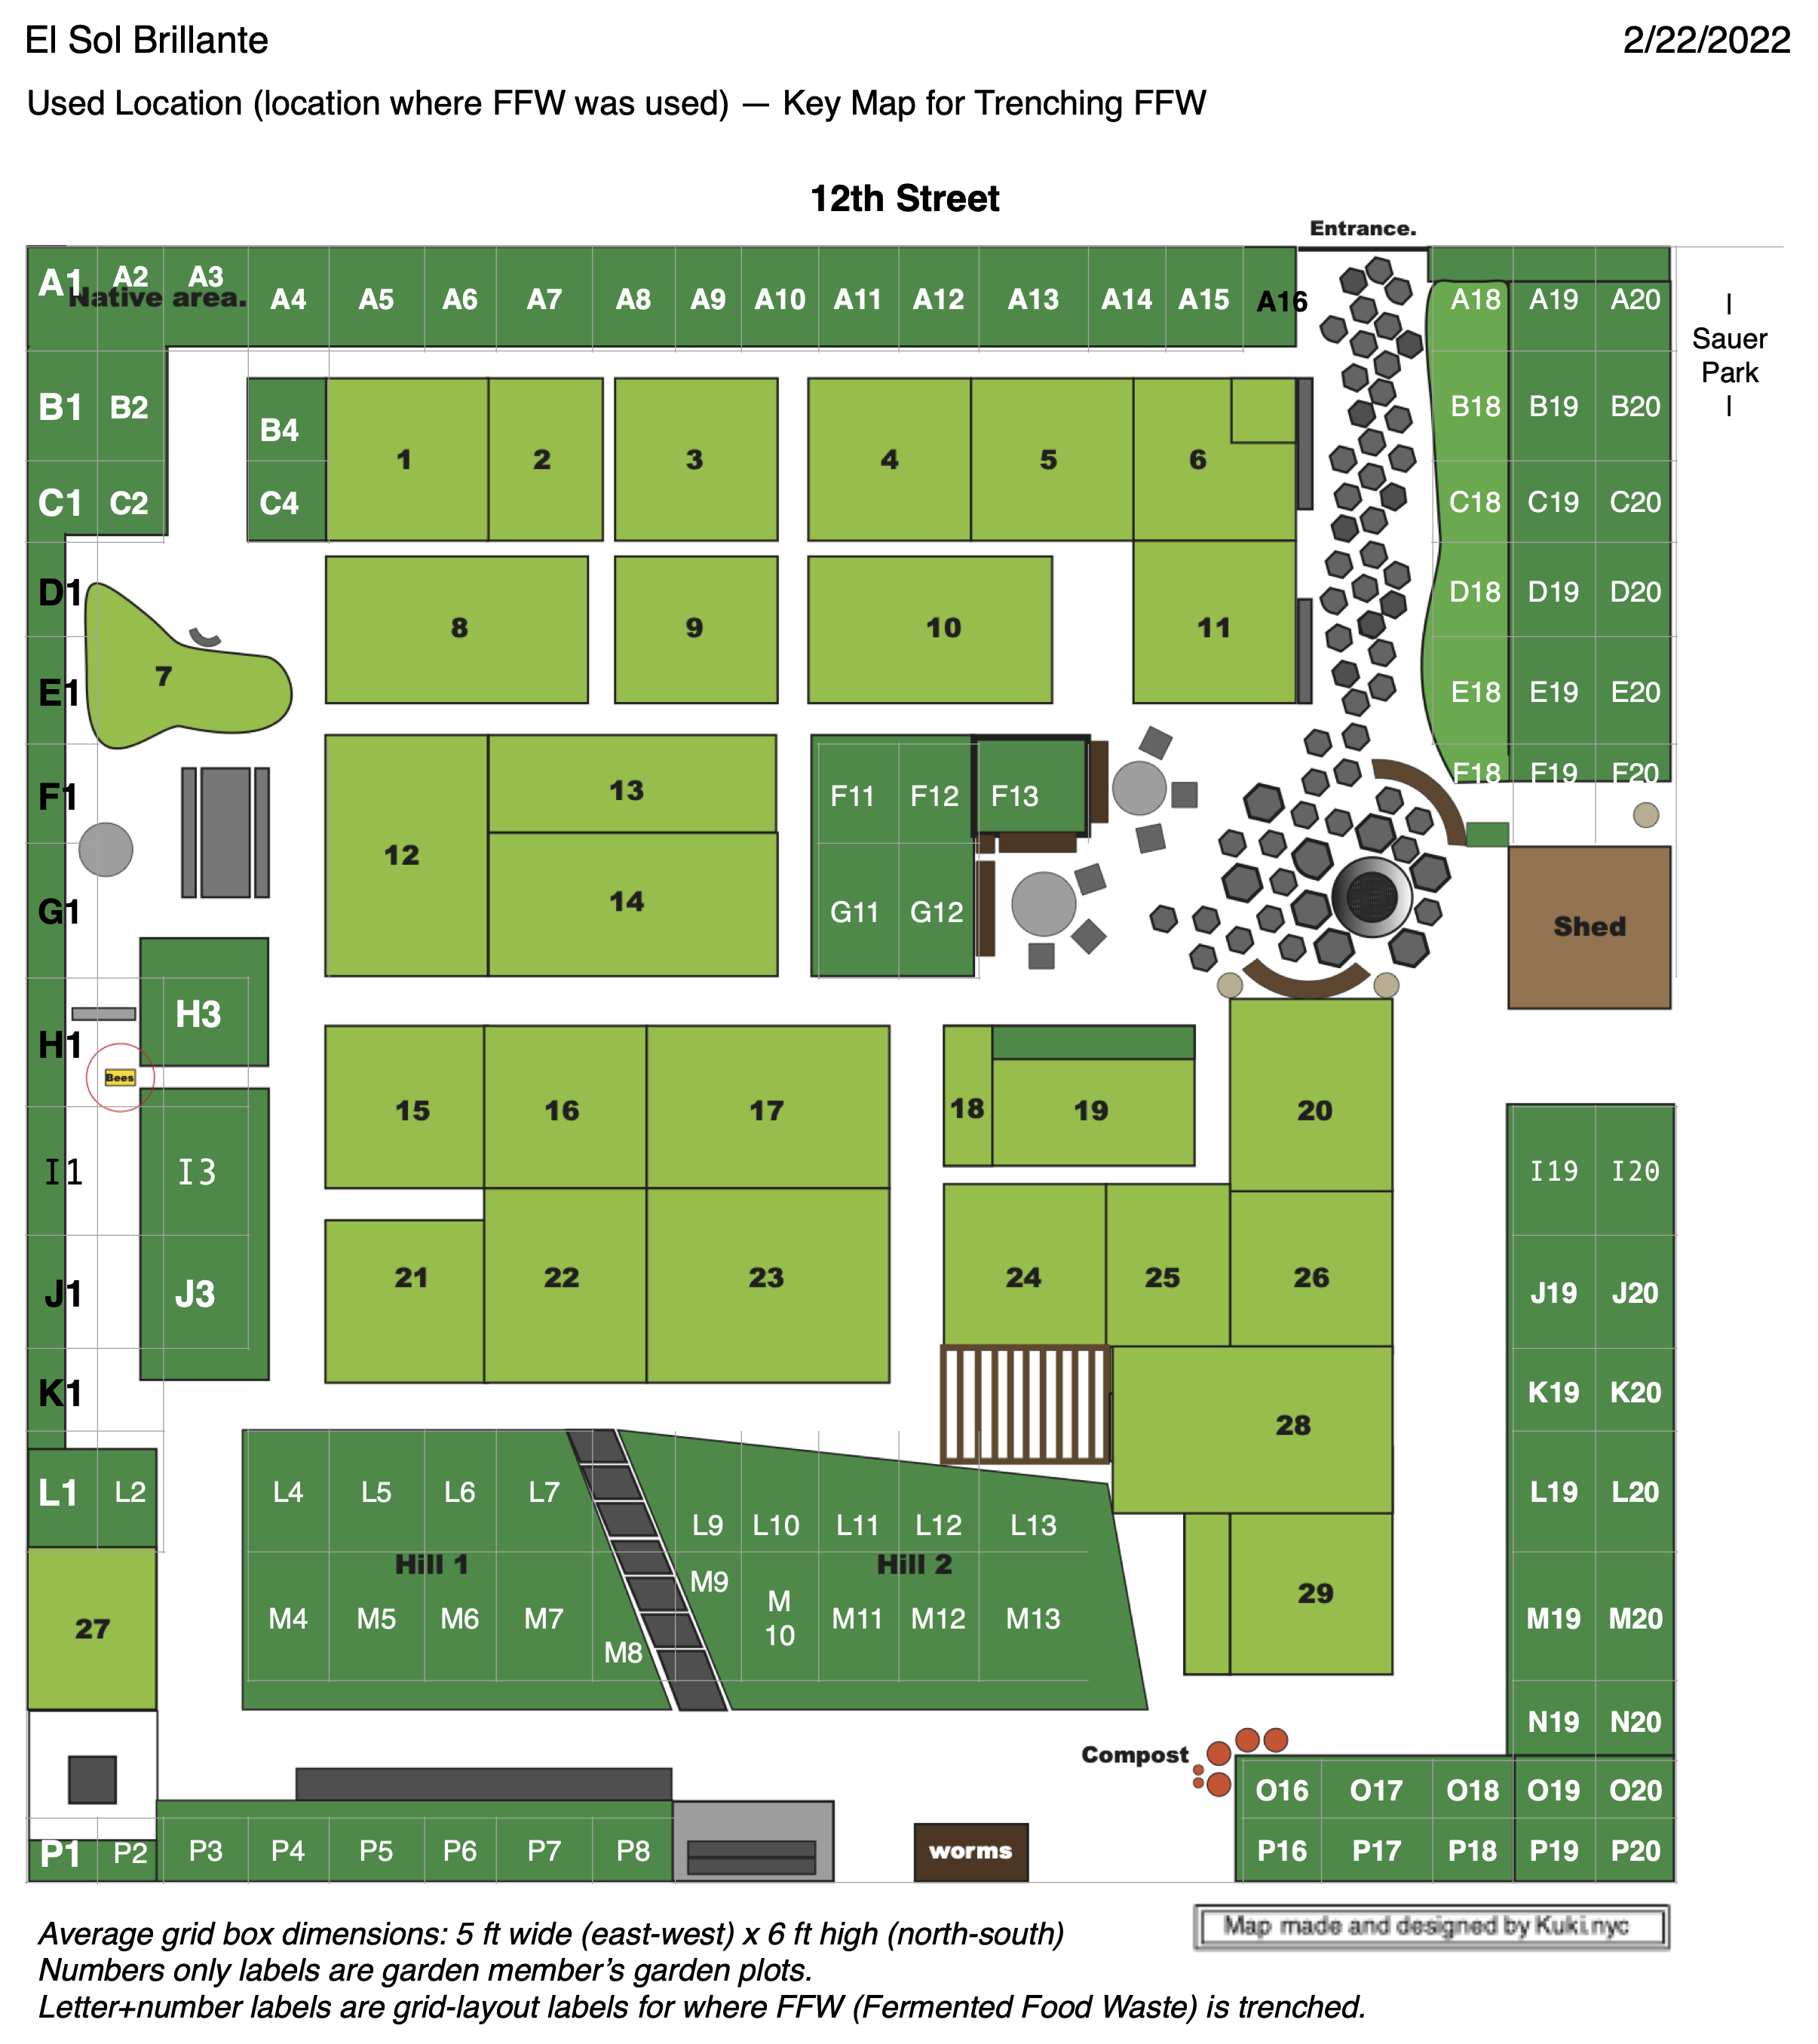
2.1.c. Key Maps for Down to Earth Garden & El Sol Brillante
Key Maps – garden grid map for locating where FFW was used/trenched:
To print – Down to Earth Garden: Used-Location-Key-Map-DEG-20220222.pdf
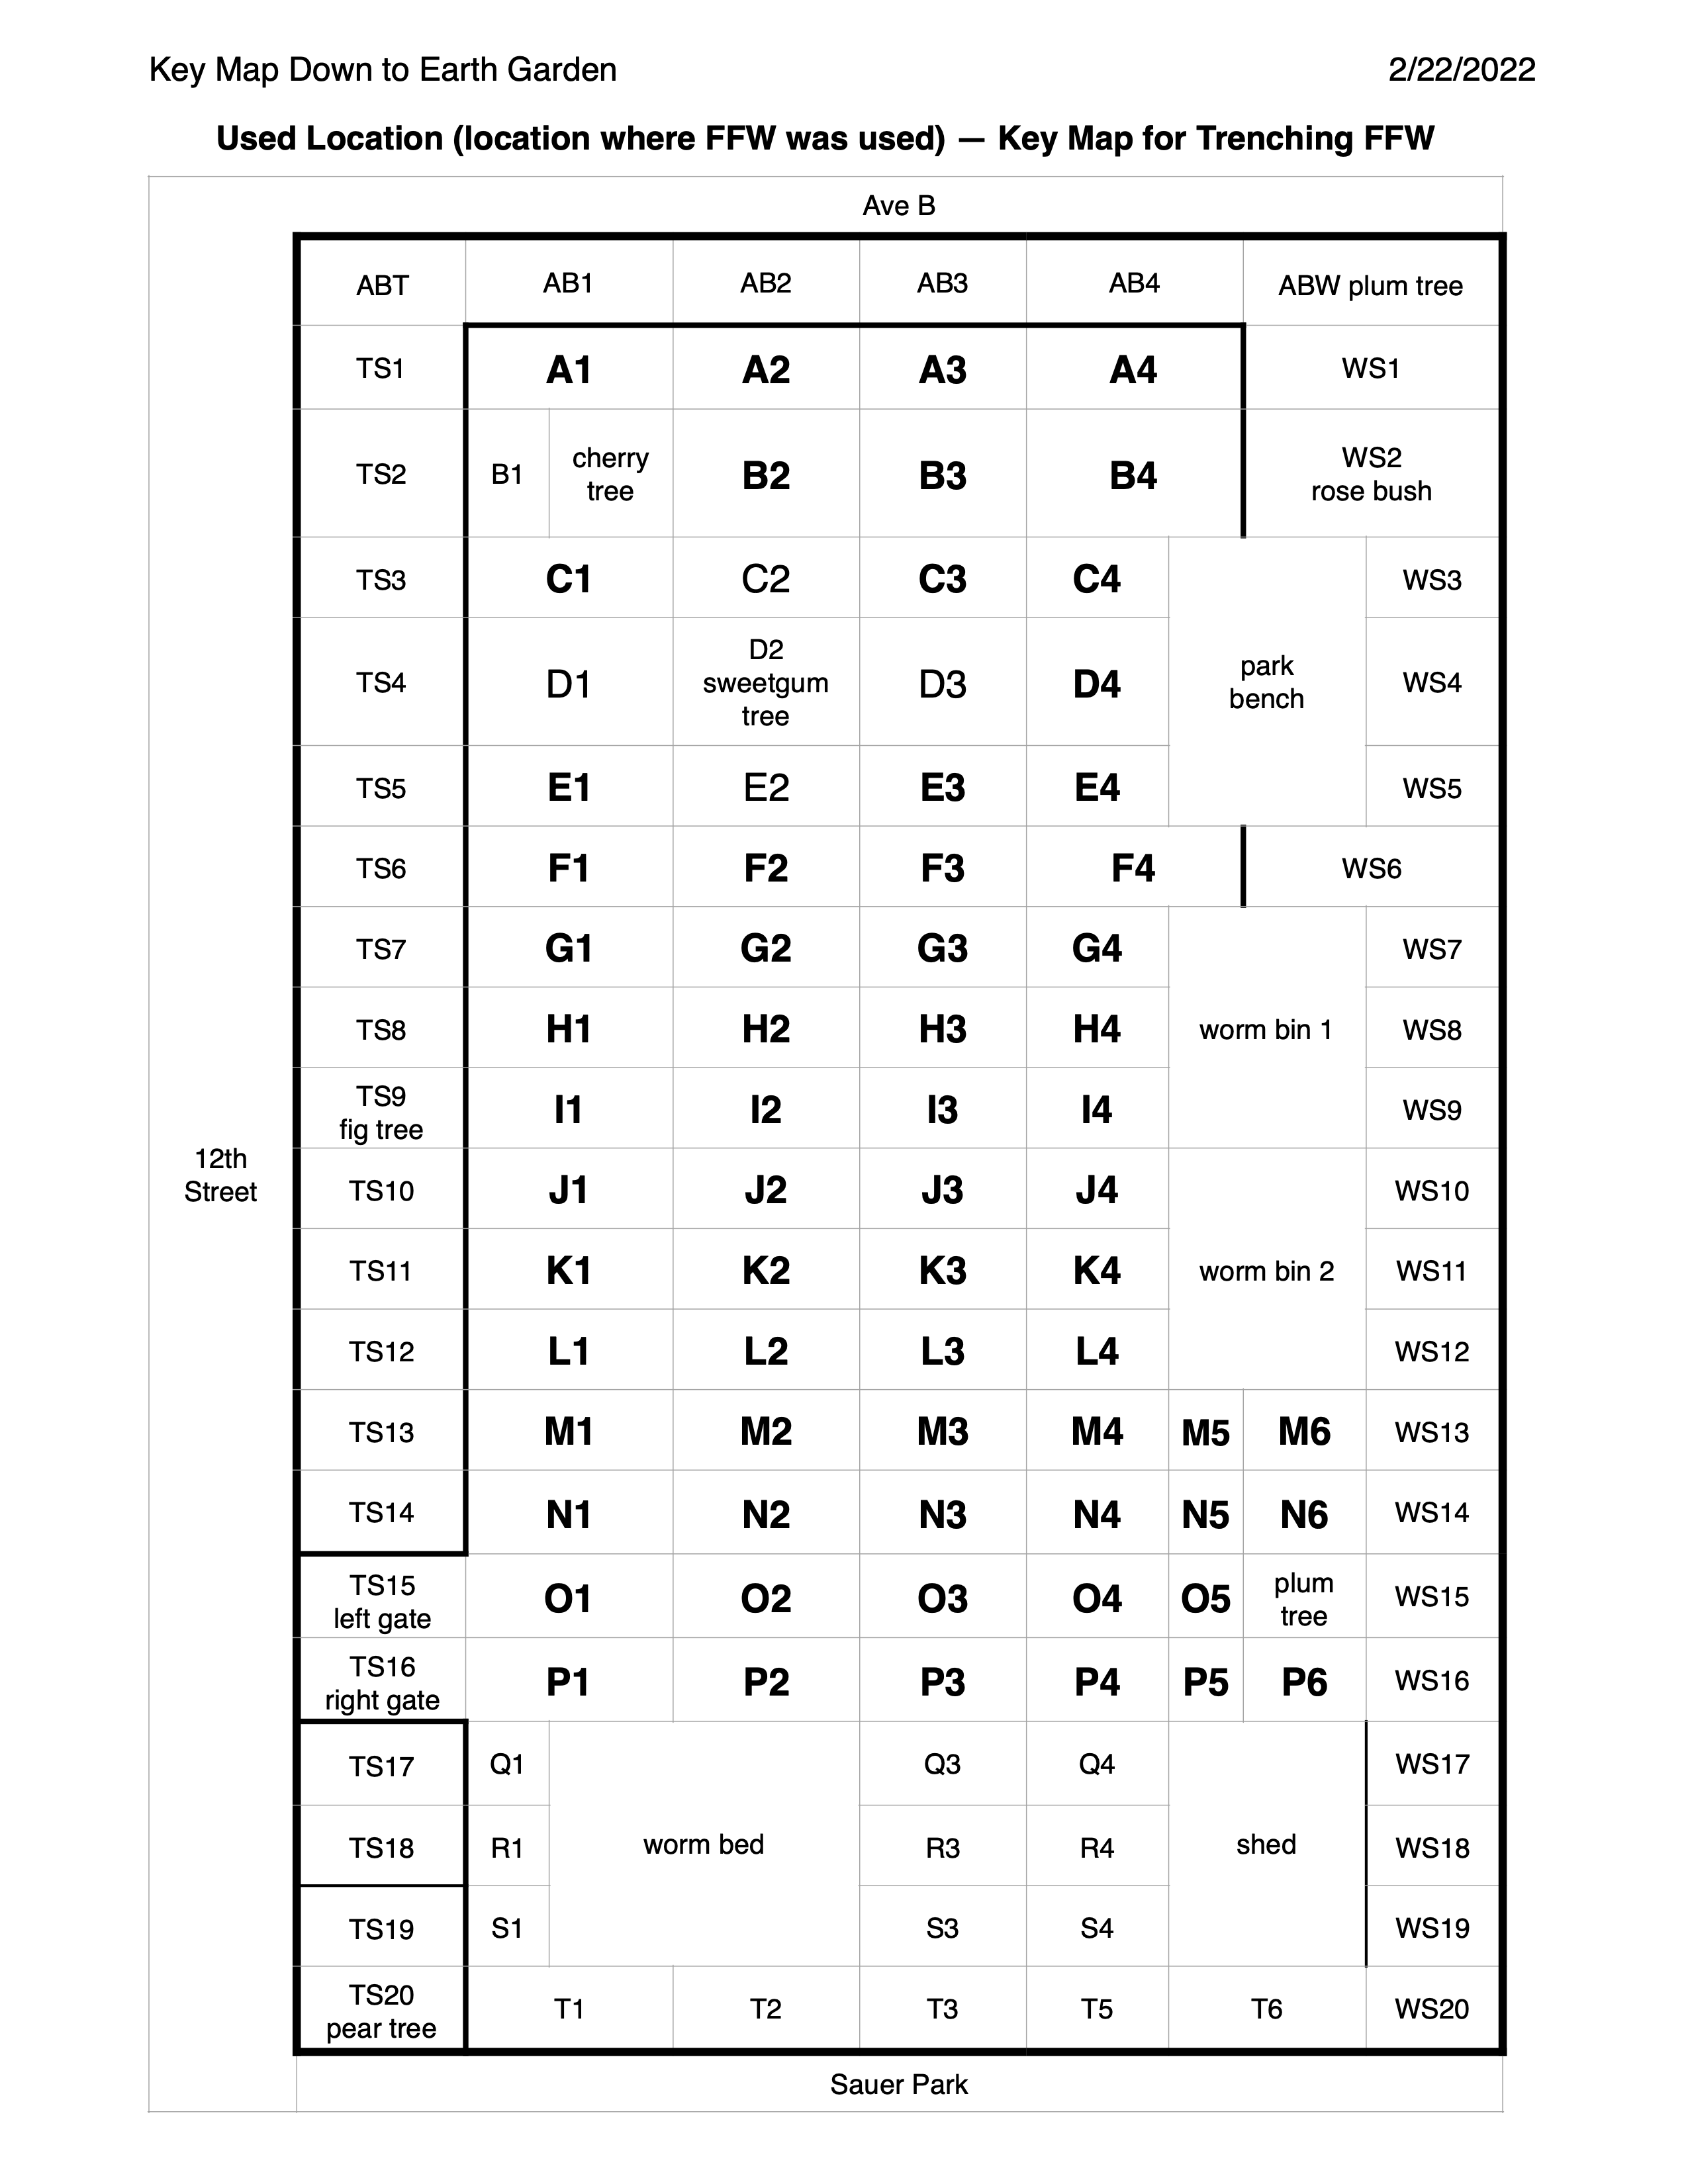
To print – El Sol Brillante: Used-Location-Key-Map-ESB-20220222.pdf
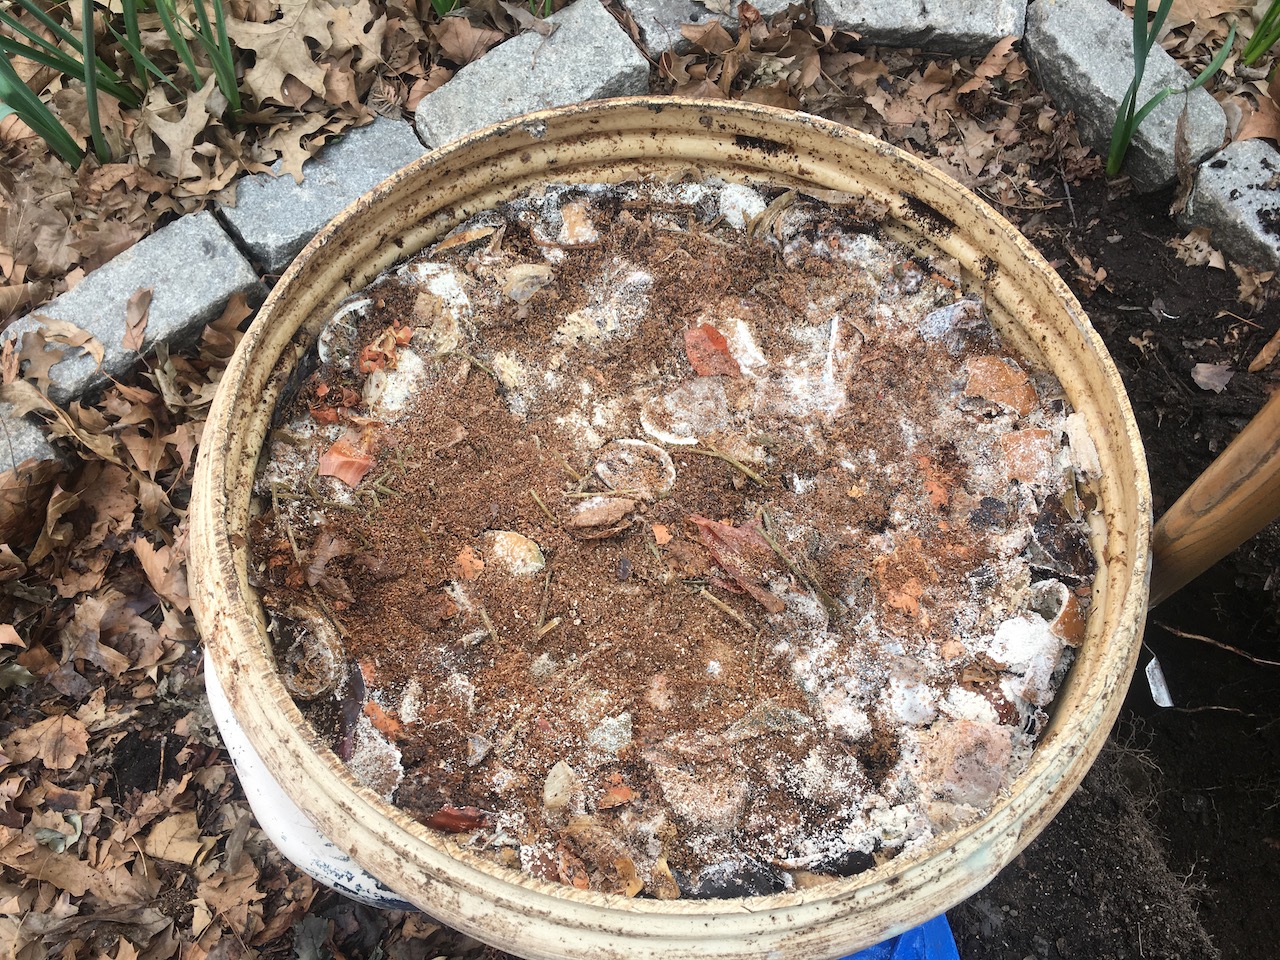
2.2. Fermenting Food Waste
Once the bear bin is full, it is very tightly closed and let to ferment in the garden for at least 2 weeks during warm weather, (April-September) and at least 1 month during colder weather (October-March).
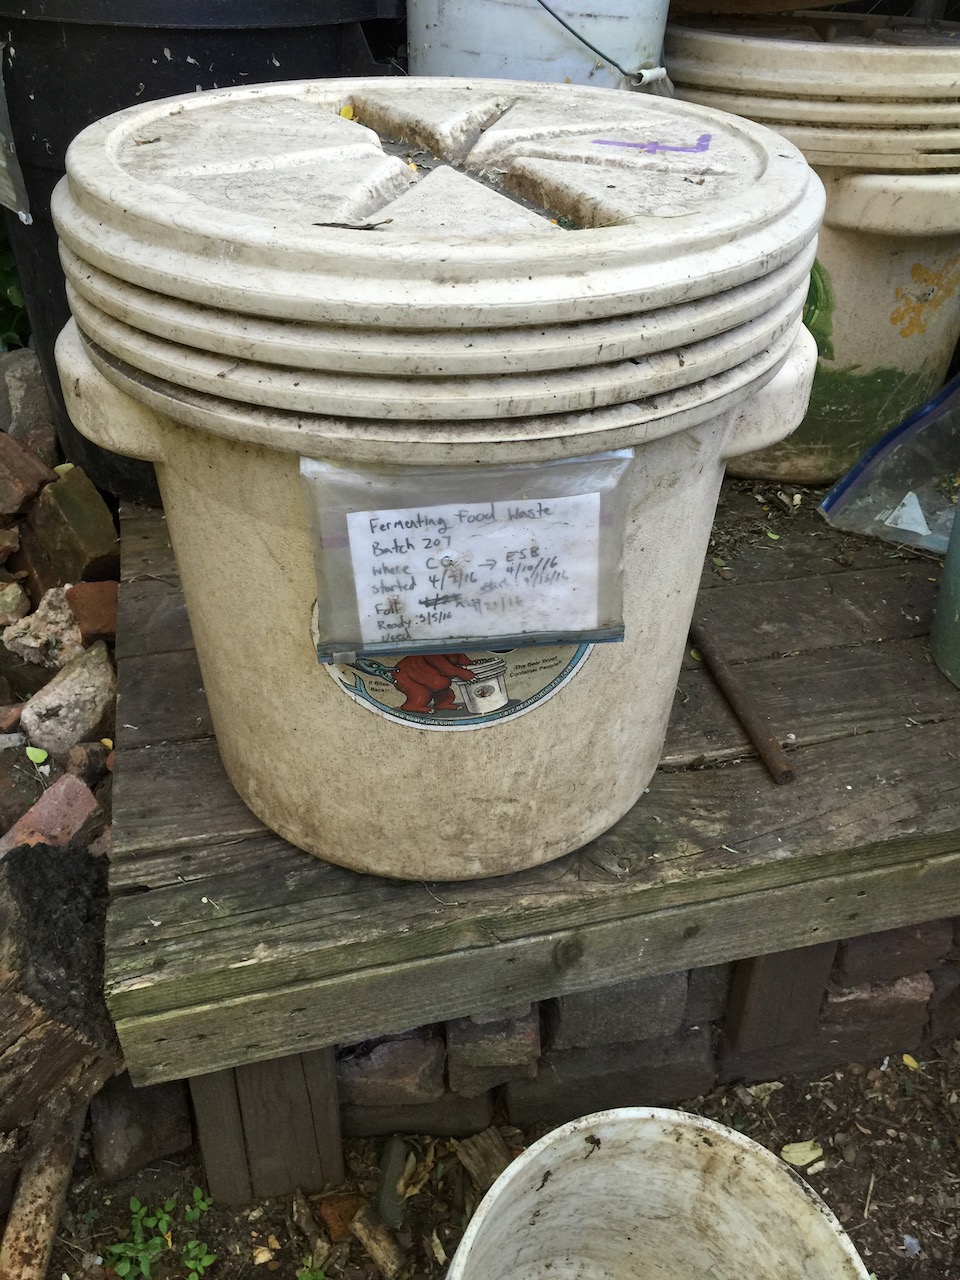
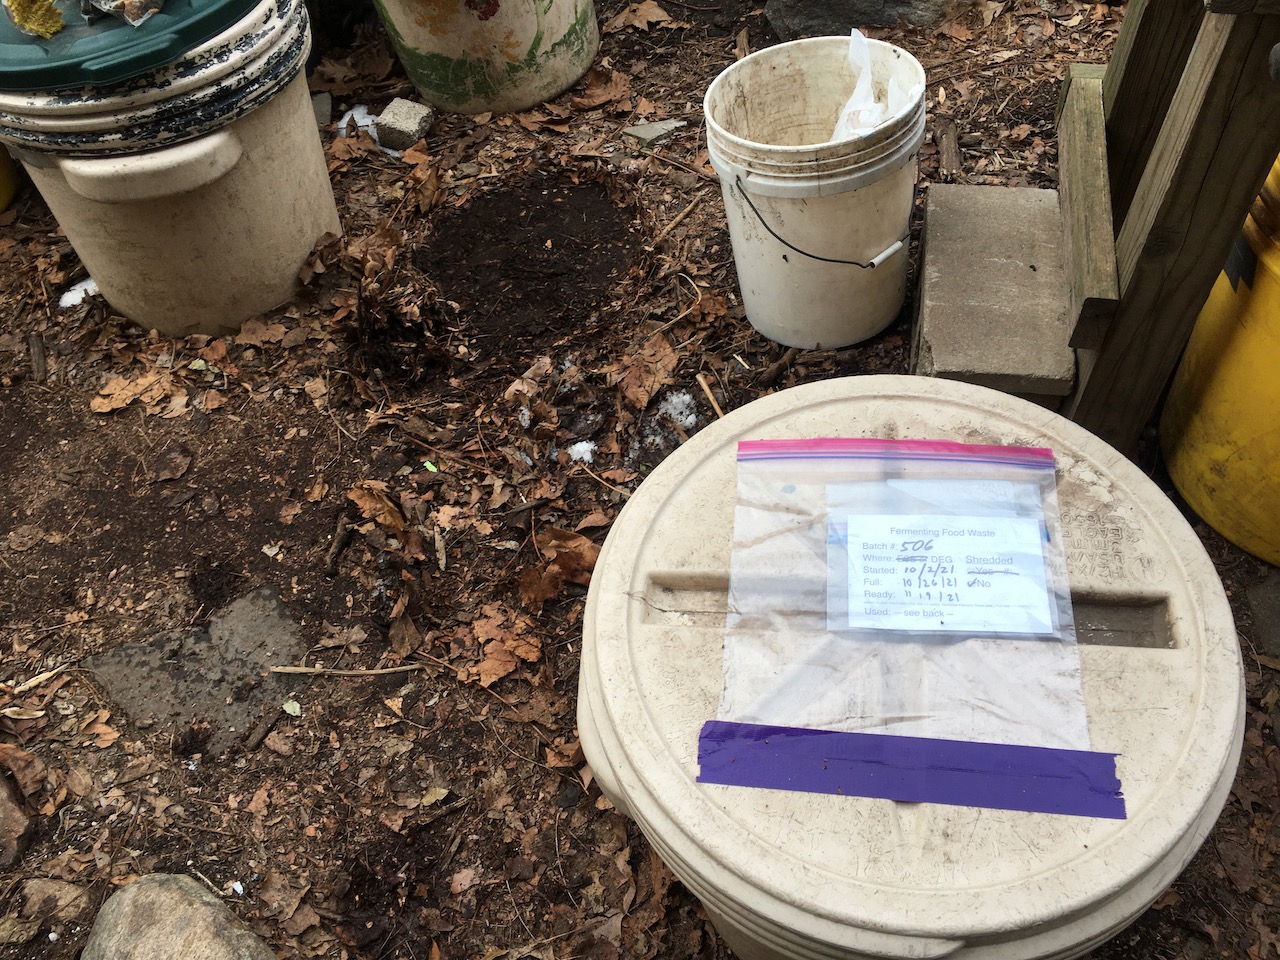
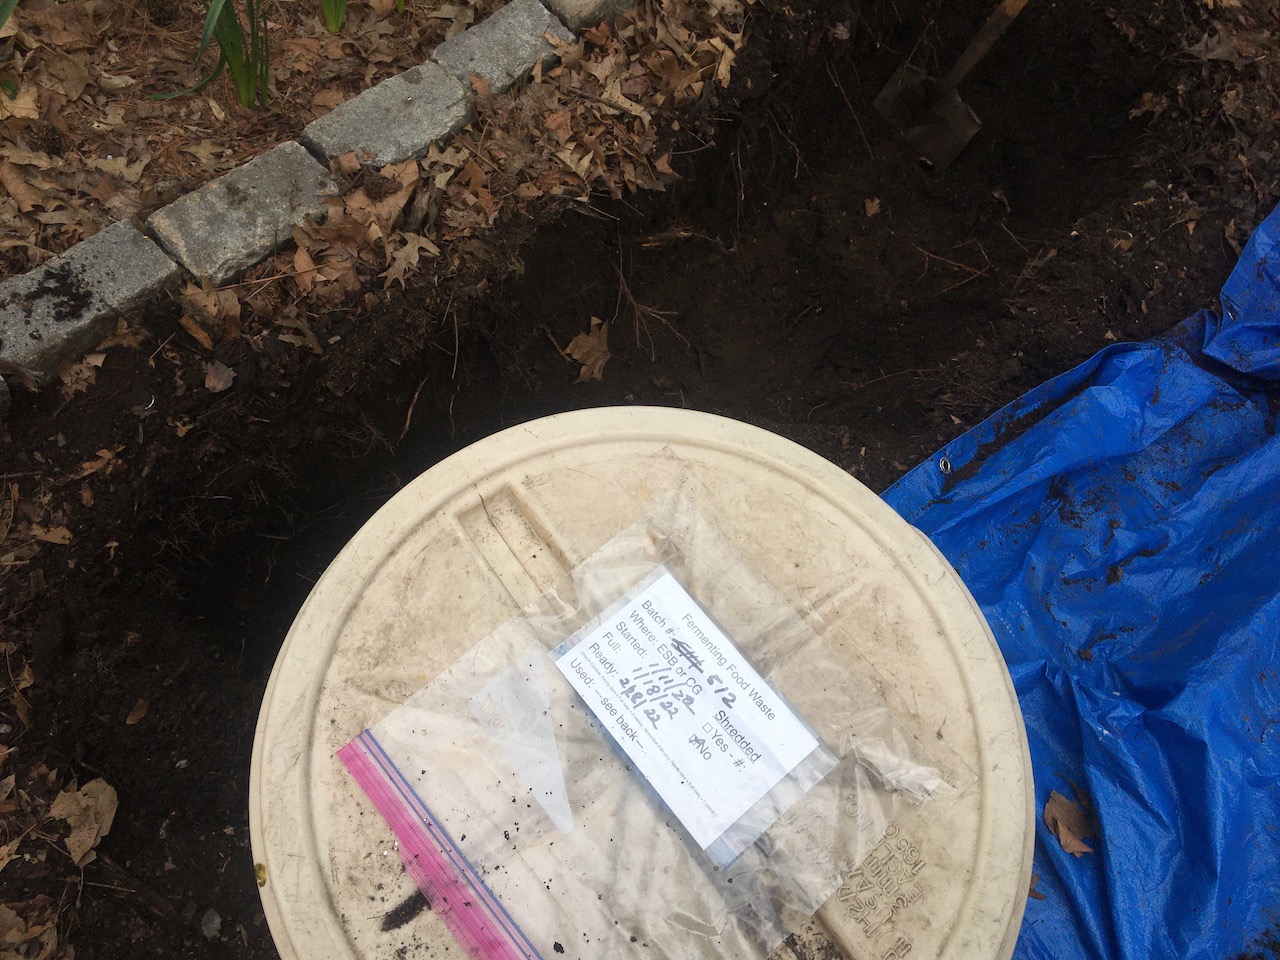
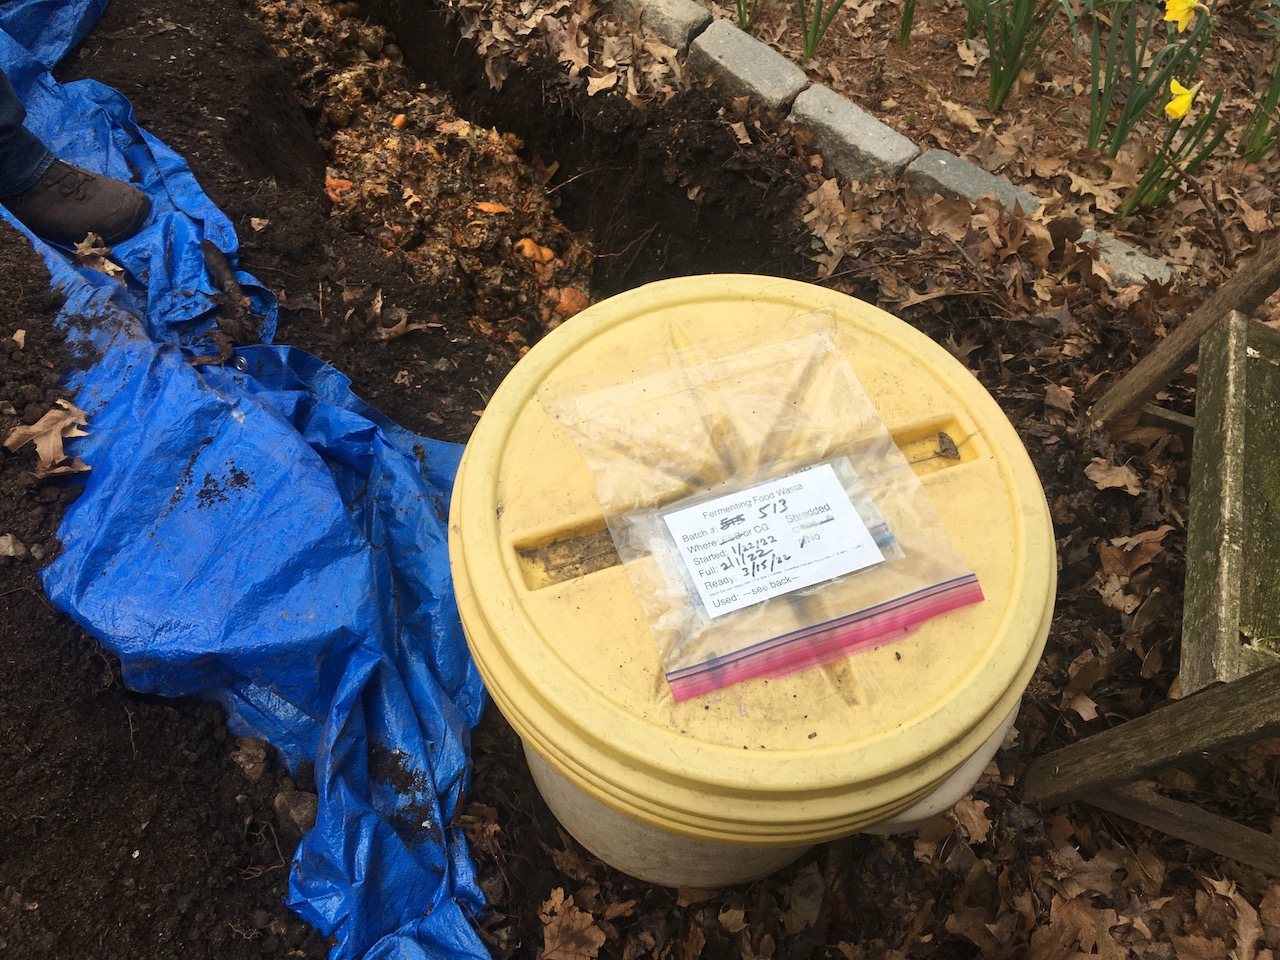
The index card label is placed in two ziplock bags: first in a quart size ziplock bag, which is inserted in a gallon size ziplock bag. The gallon size ziplock bag is attached to the lid of the bear bin (see photo below).
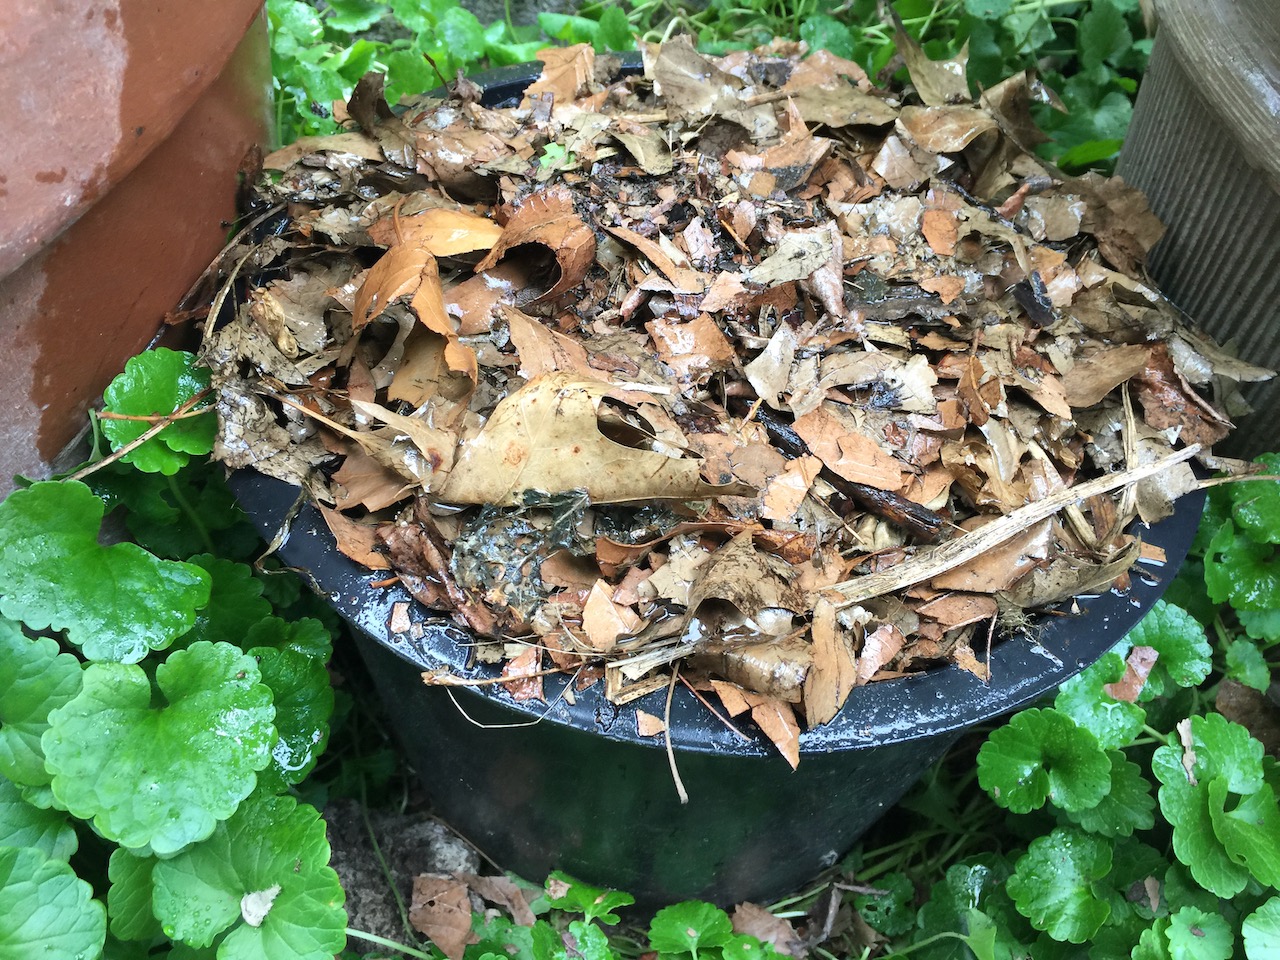
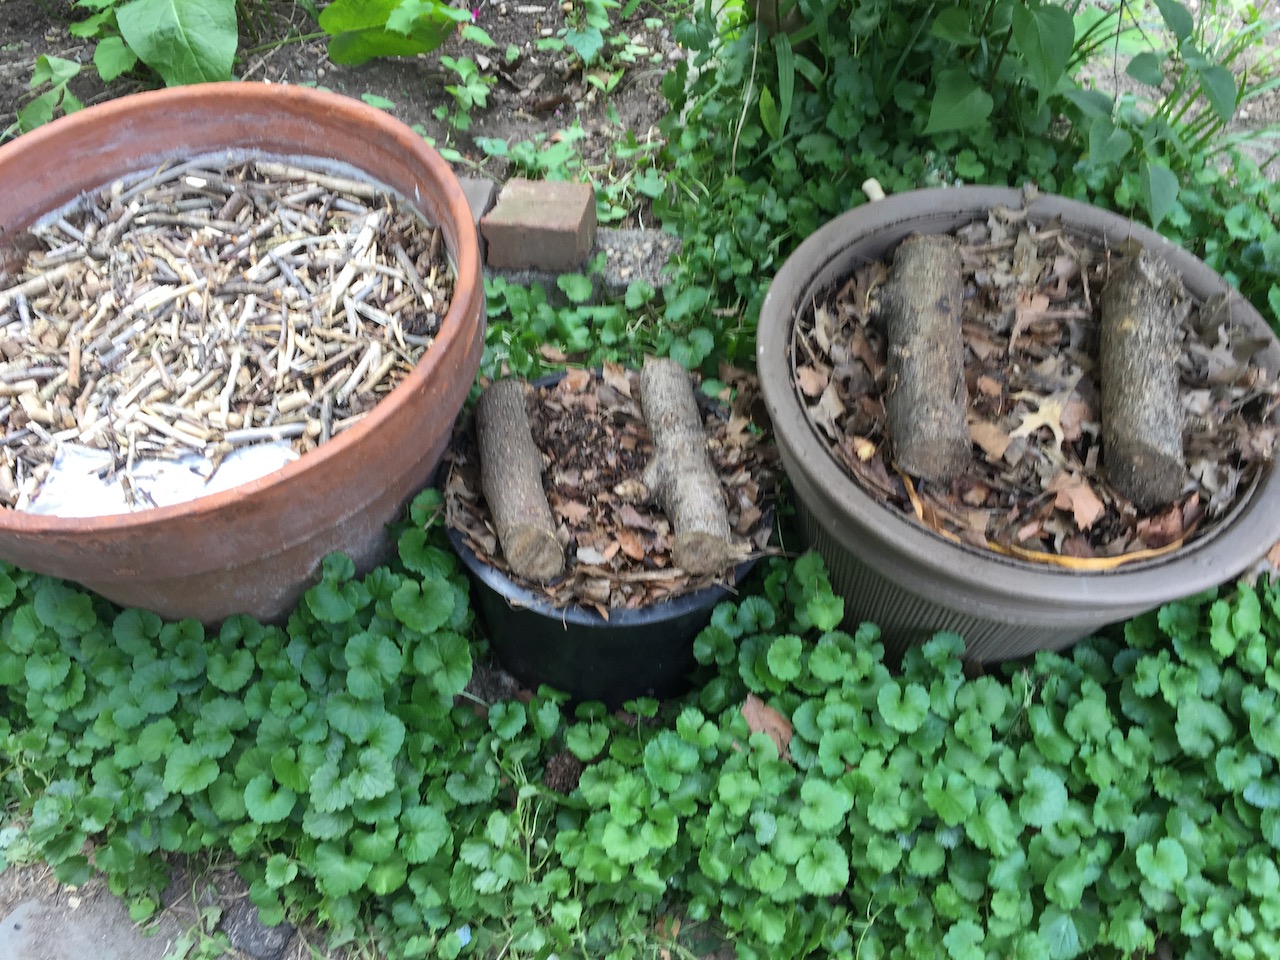
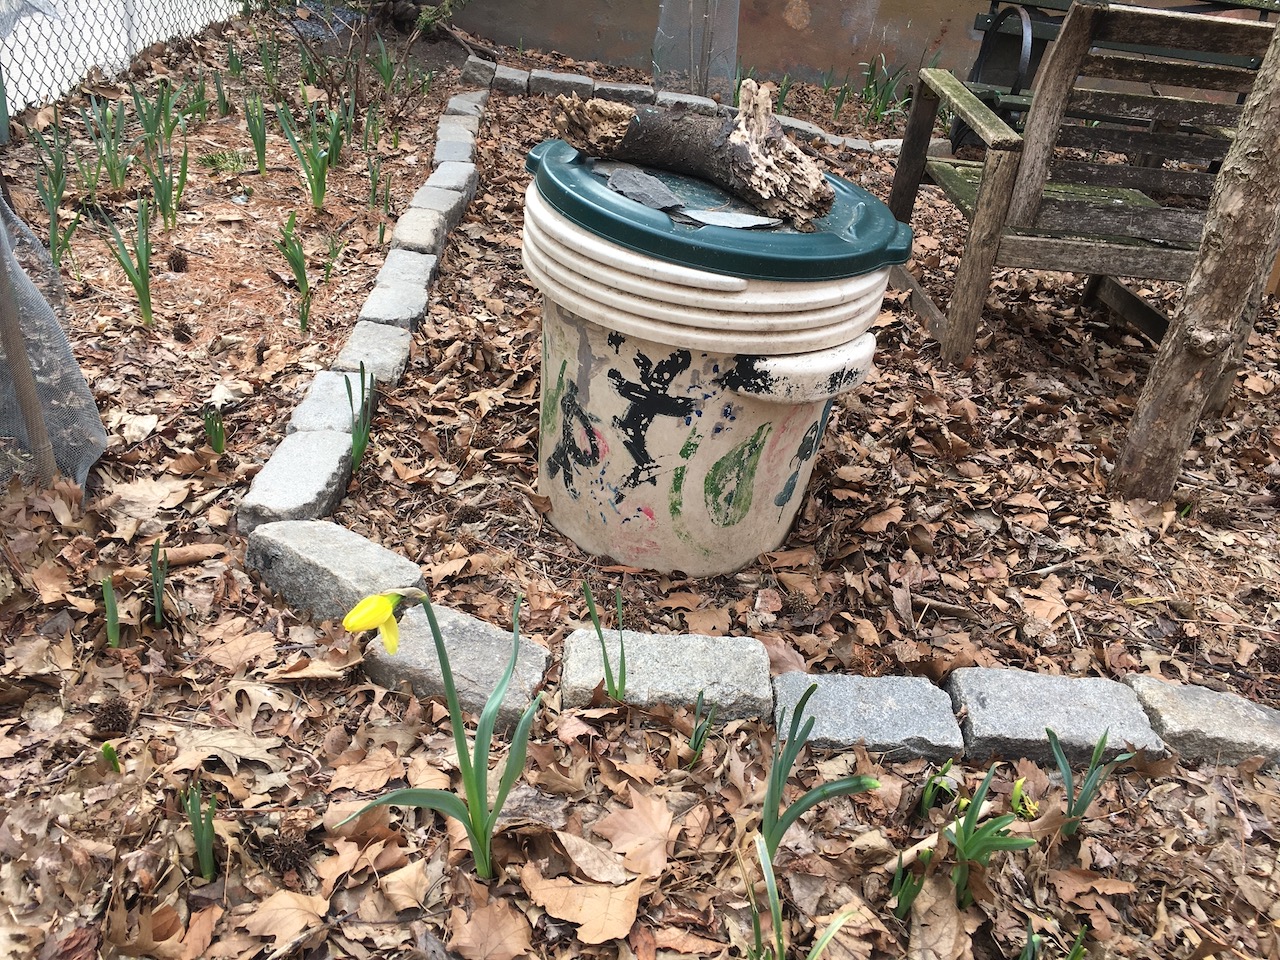
To protect the ziplock labels from the elements*, a green lid is placed on top of the bear bin’s screw-top lid and weighed down with either small logs (or cut medium sized thick branches) or with a stone or brick. The weight prevents the green lid from being wind blown off.
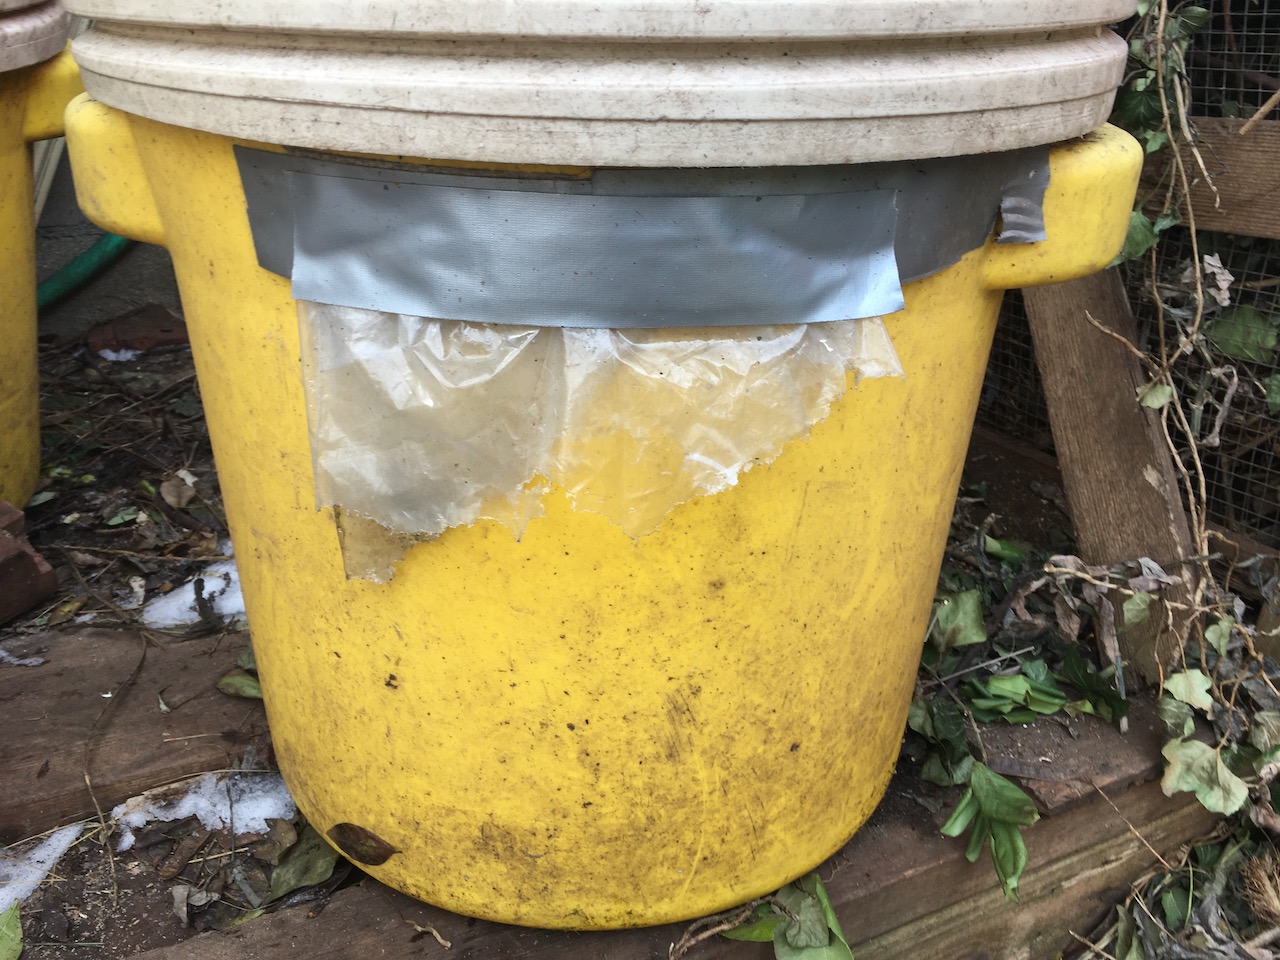
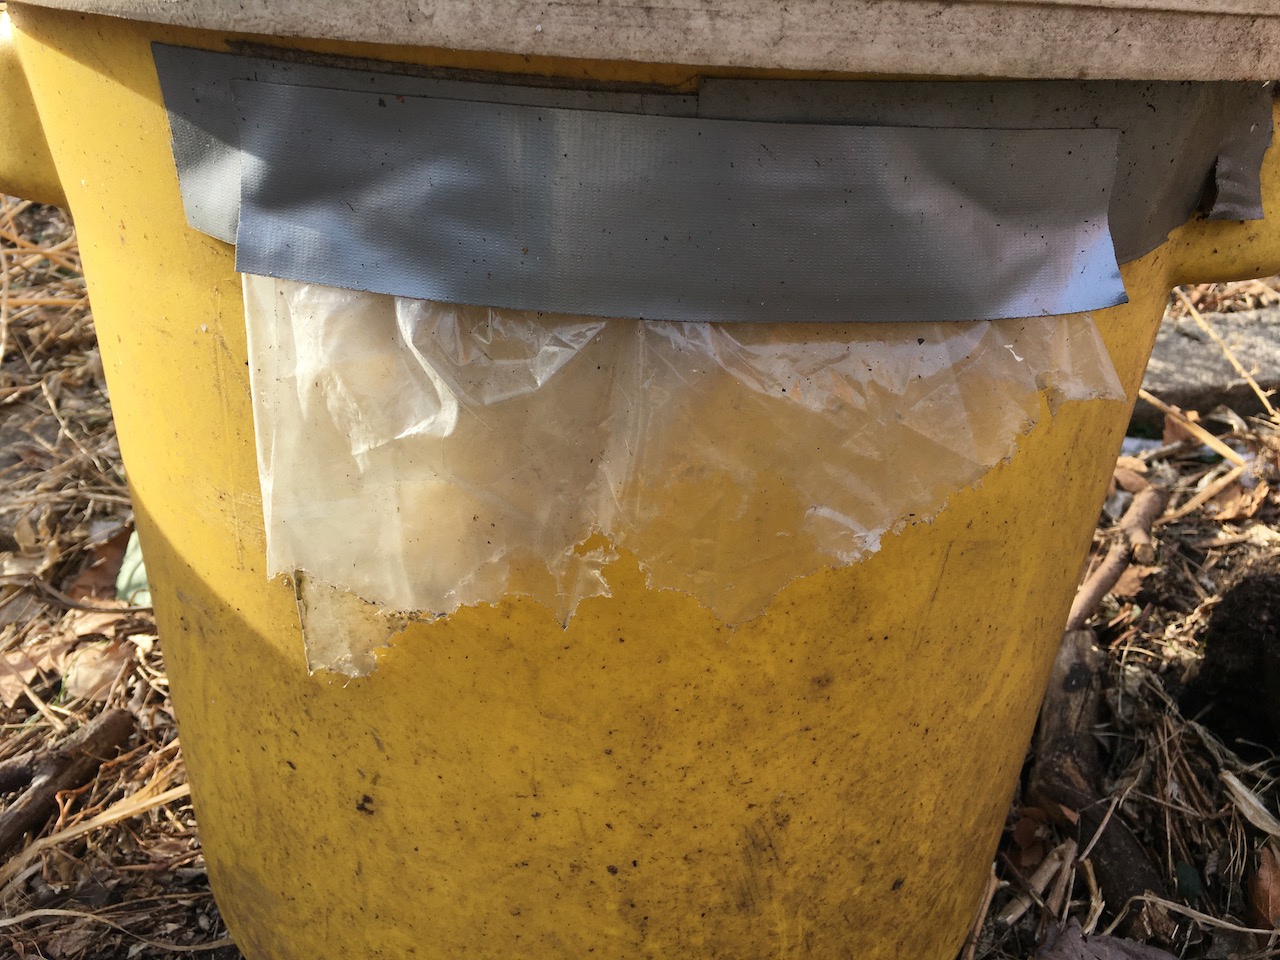
* In the past, the ziplock labels were attached to the side of the bear bins. Over time, they deteriorated due to the elements (rain, snow, wind, dust, etc.), but also, some of the ziplock bags were bitten through or taken by rats (as bedding material?) — photos below.

At El Sol Brillante, the bear bins, both empty and full, are at the back of the garden.
At Down to Earth Garden, the full bear bins should be placed throughout the garden in order to prevent congestion/blocking near the entrance where the drop-offs are treated and to make the garden look more organized/orderly. The bear bins can either be moved by rolling them on its bottom edge (at a 30°–45° angle), but very slowly since they are very heavy (~150 lbs), or they can be moved with a hand truck (located in or next to the shed).
3. Using Fermented Food Waste (FFW)
There are different ways in which to use the fermented food waste (FFW). Below are three ways to use and convert the FFW into either a soil amendment or compost.
3.1. Trenching/Burying FFW
3.2. Vermicomposting – Worm Composting – Feeding FFW to Worms
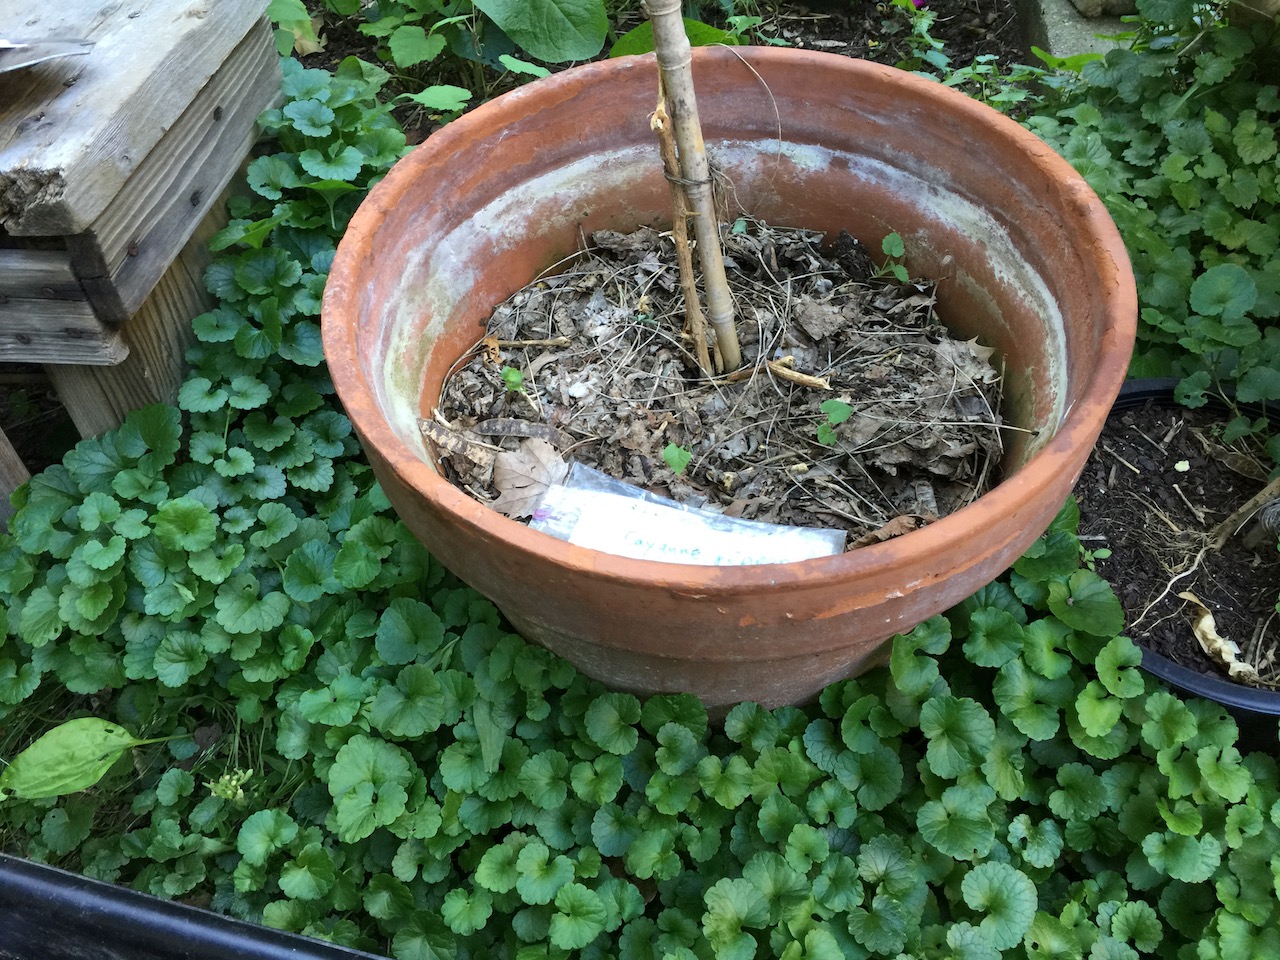
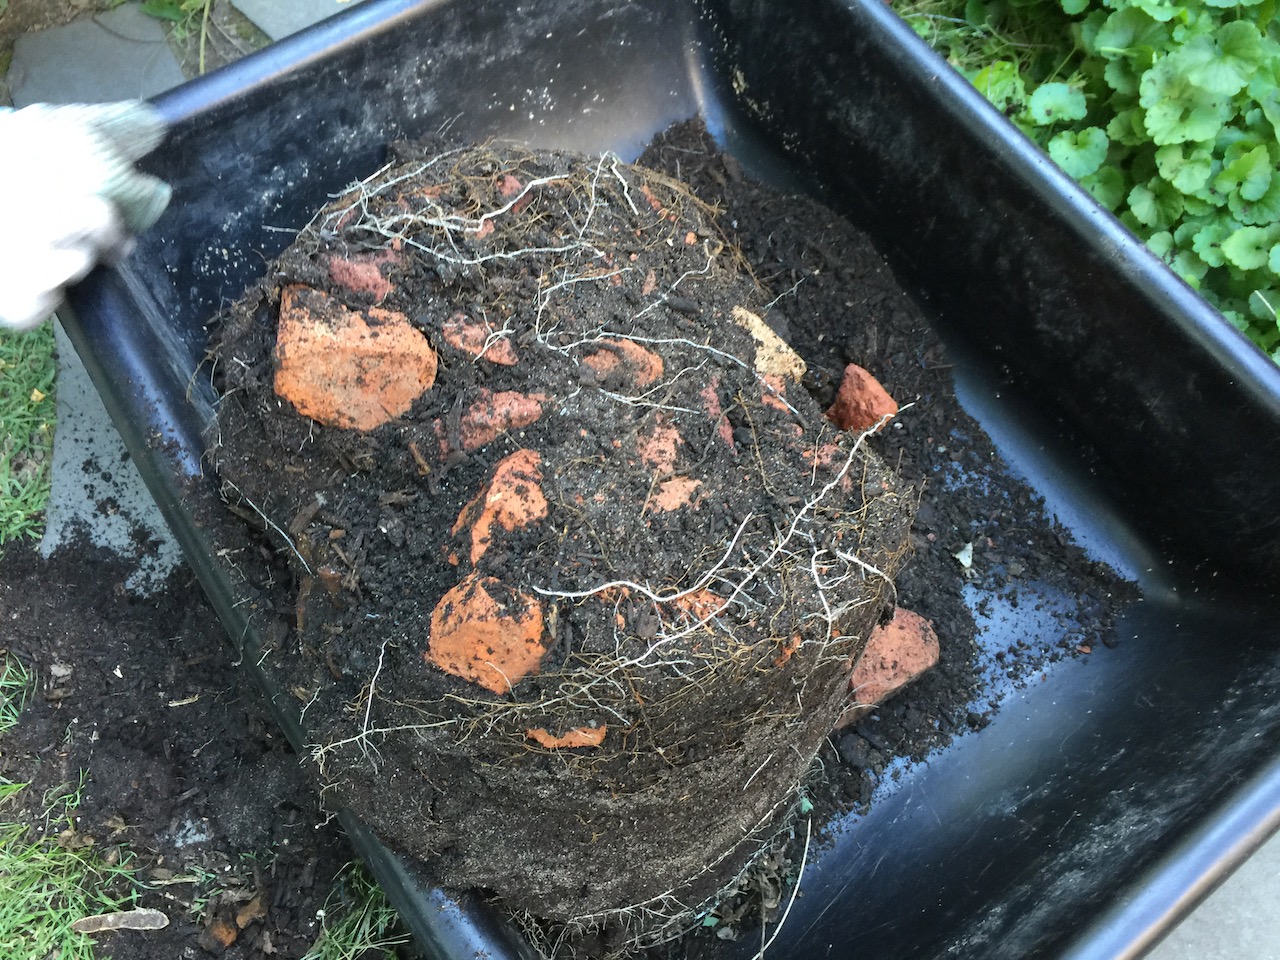
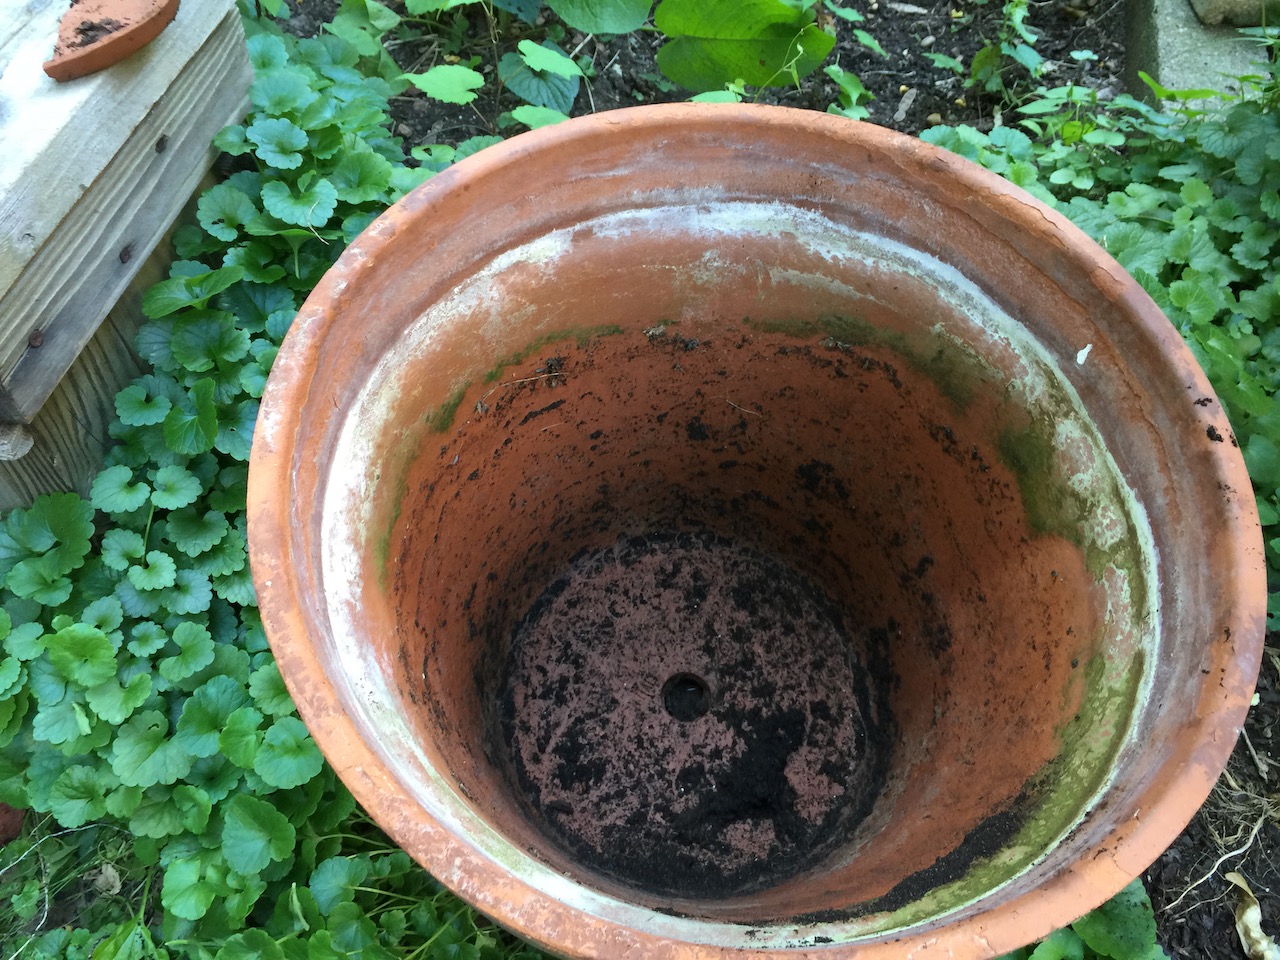
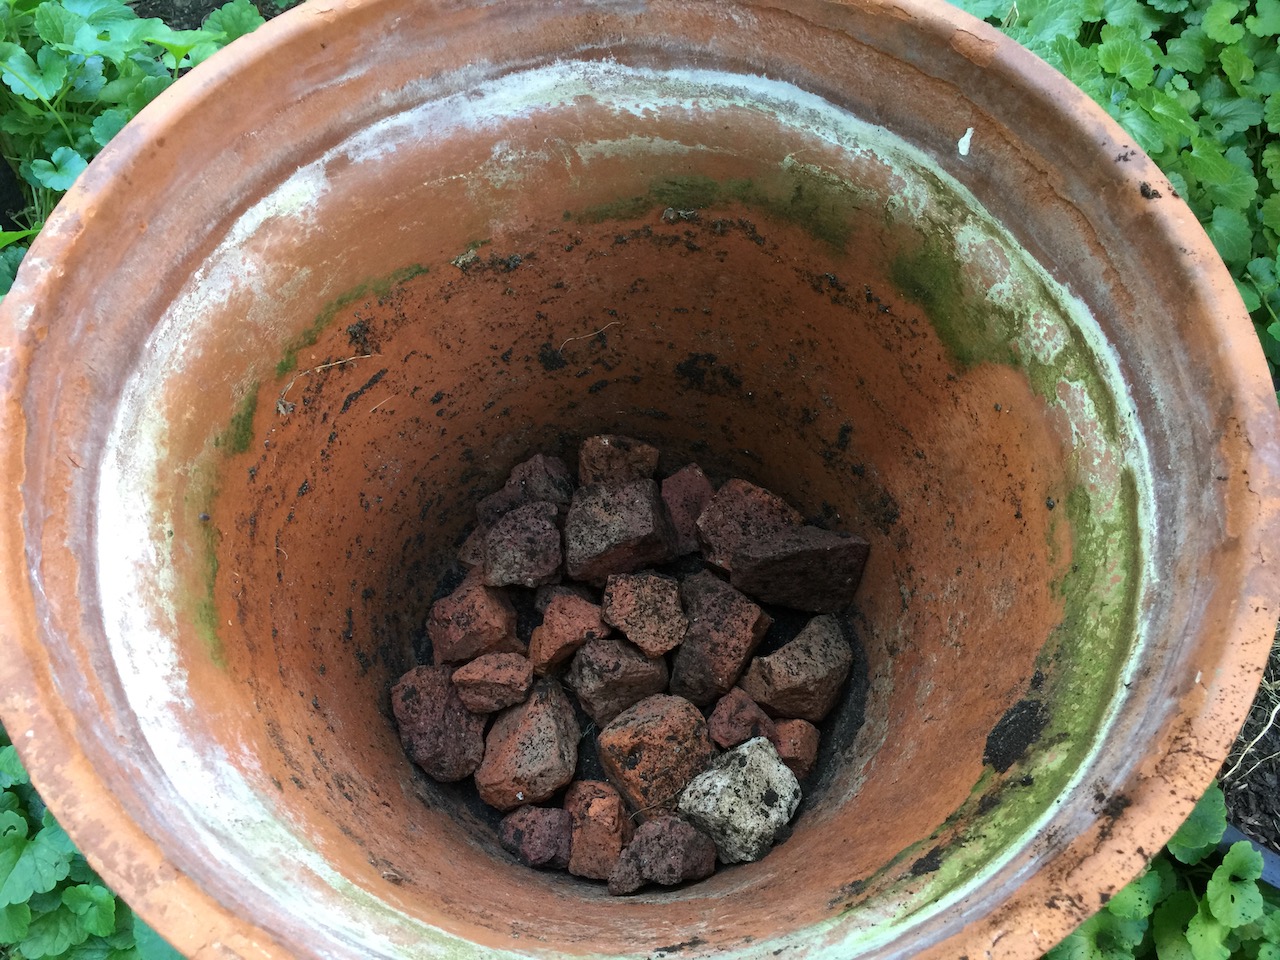
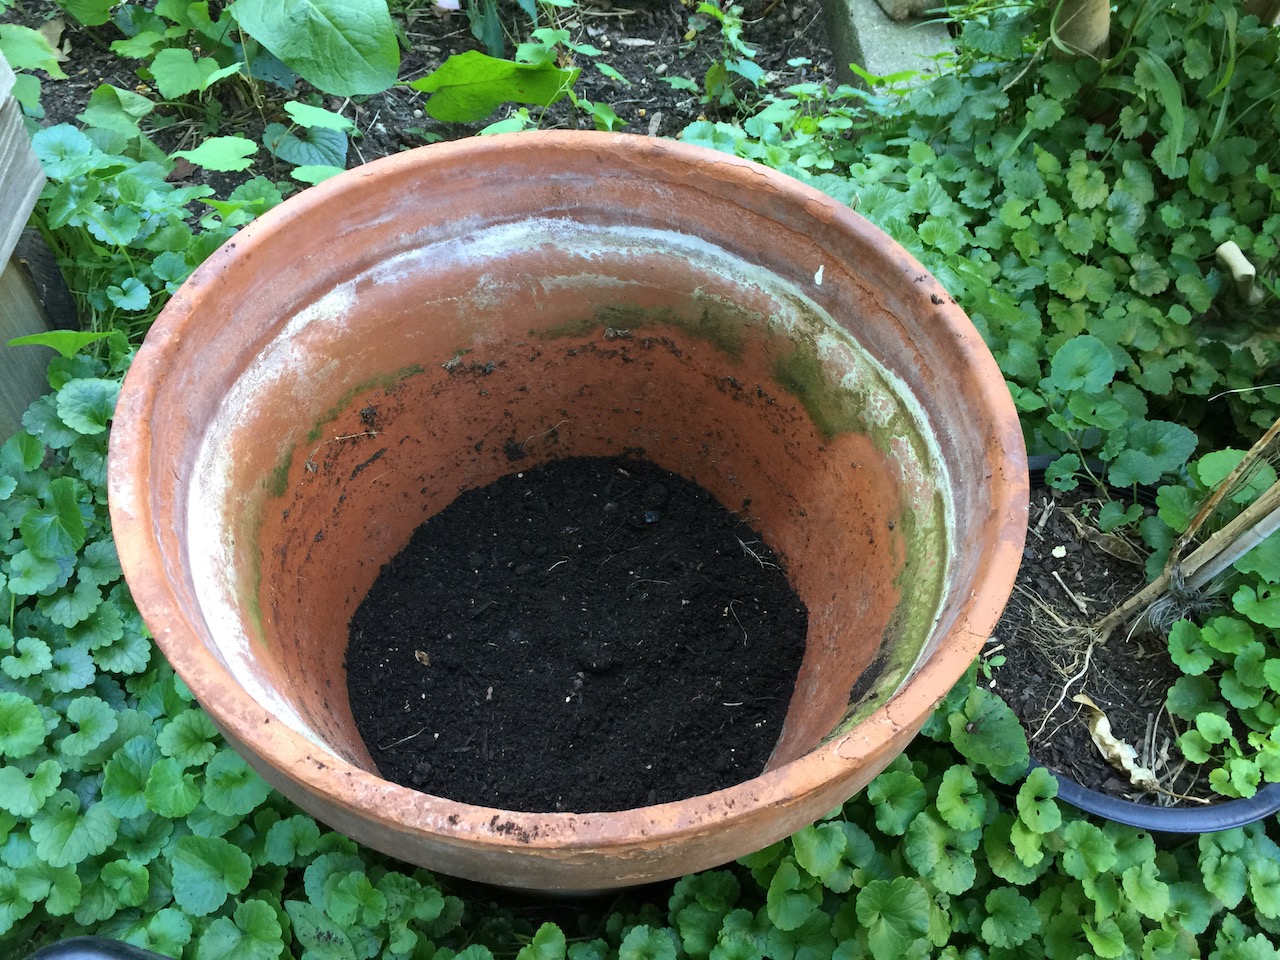
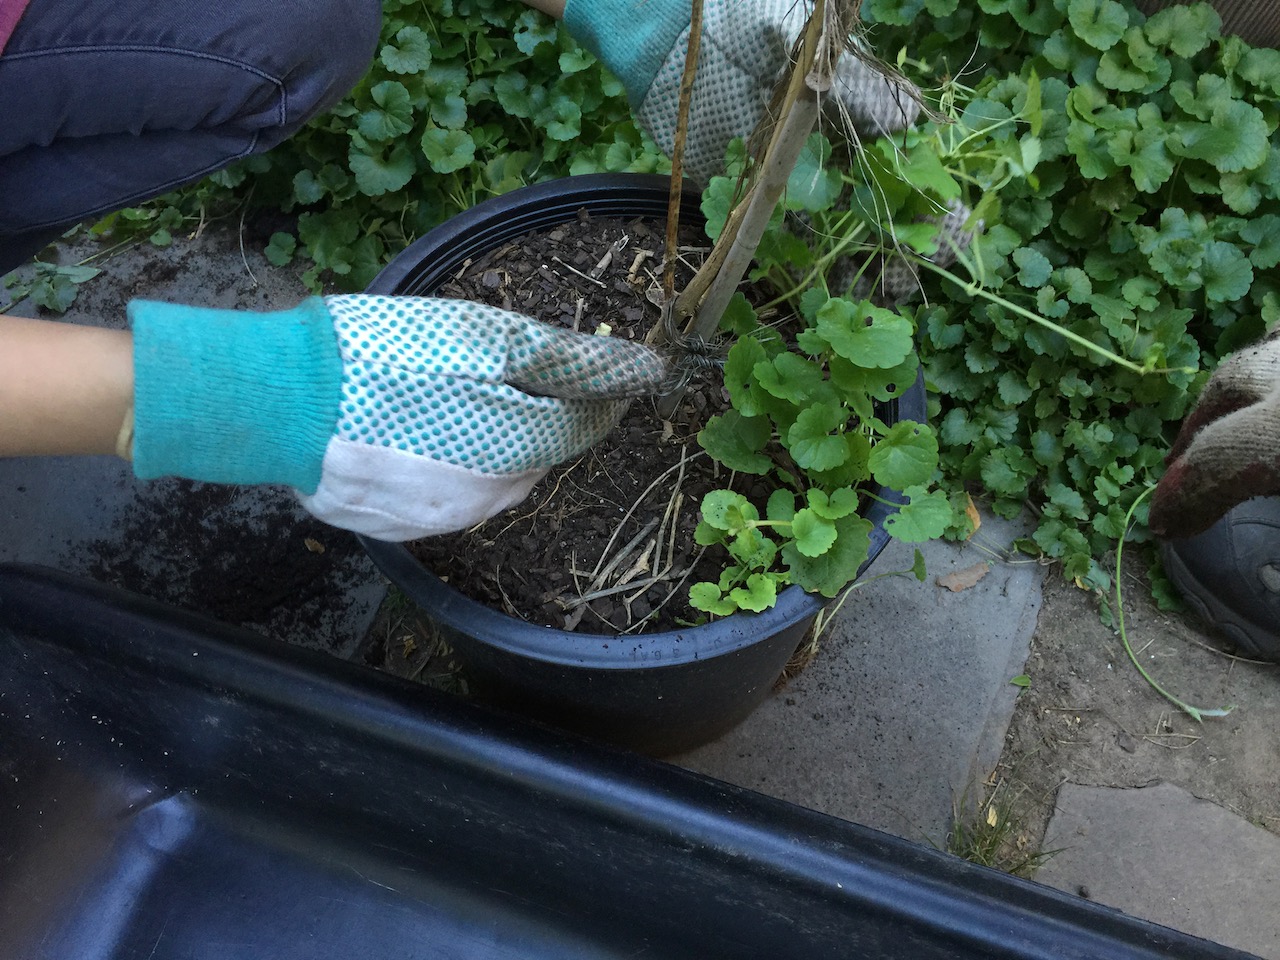
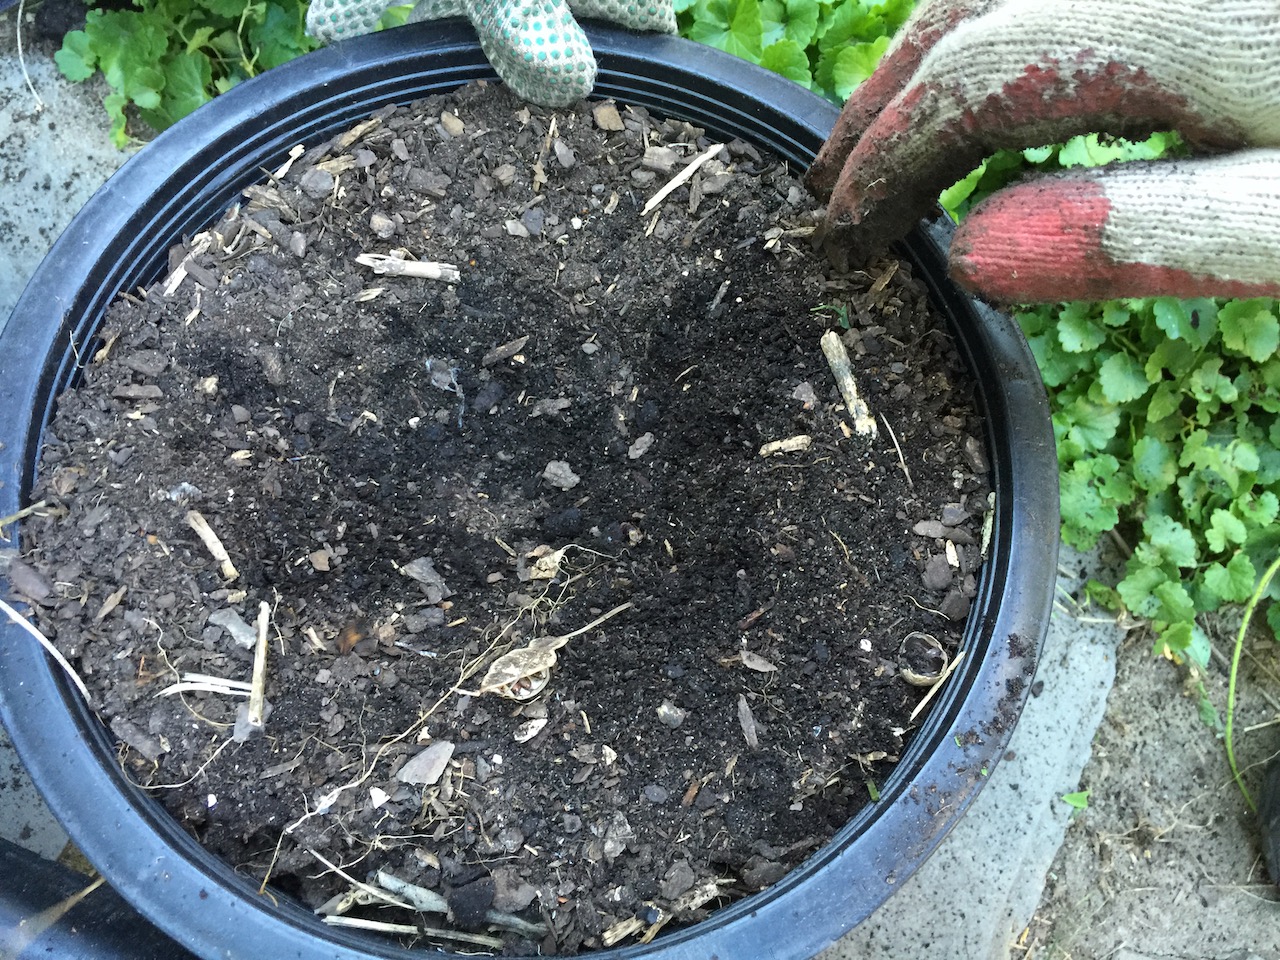
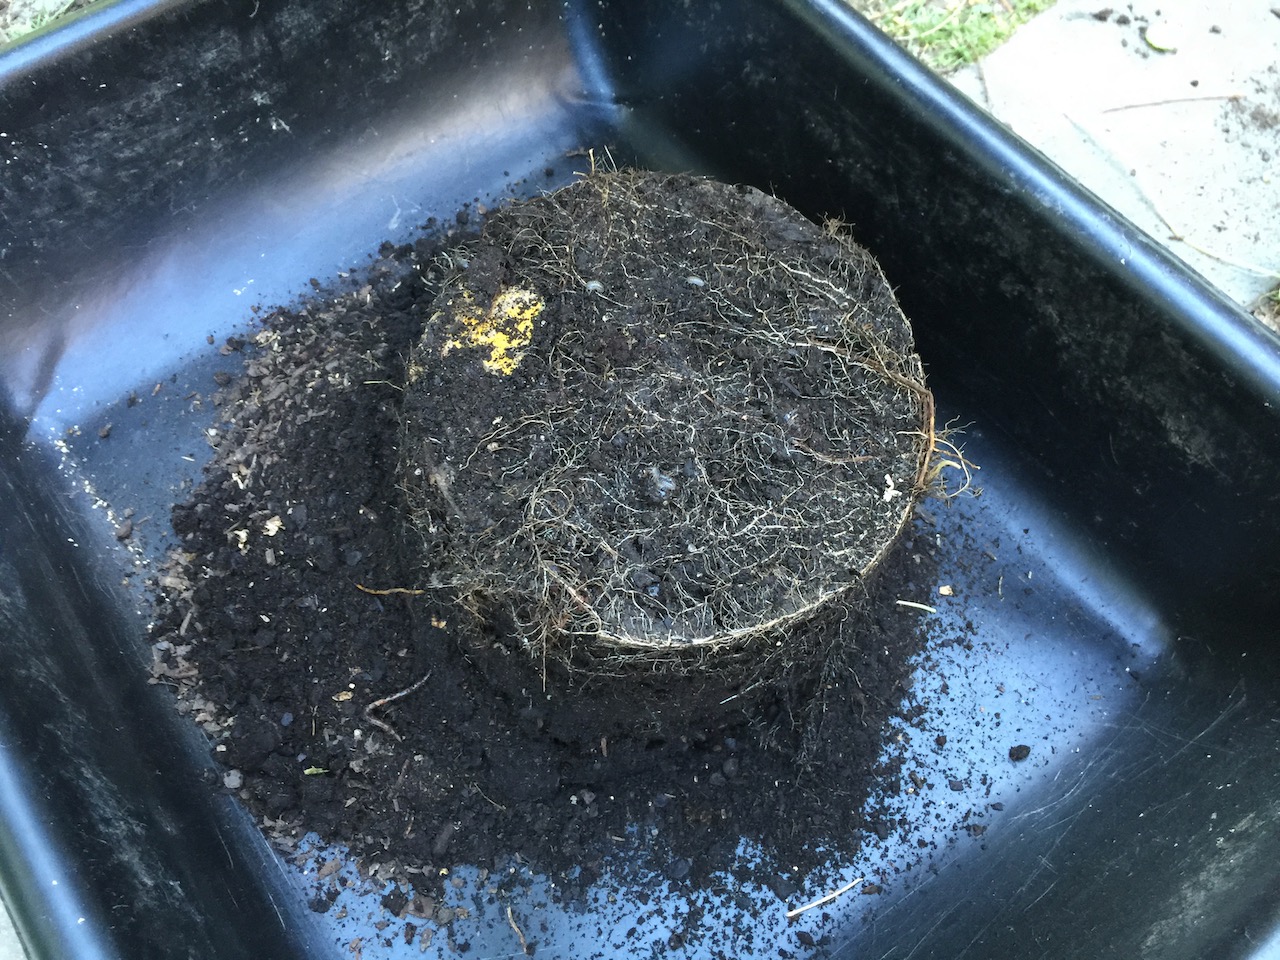
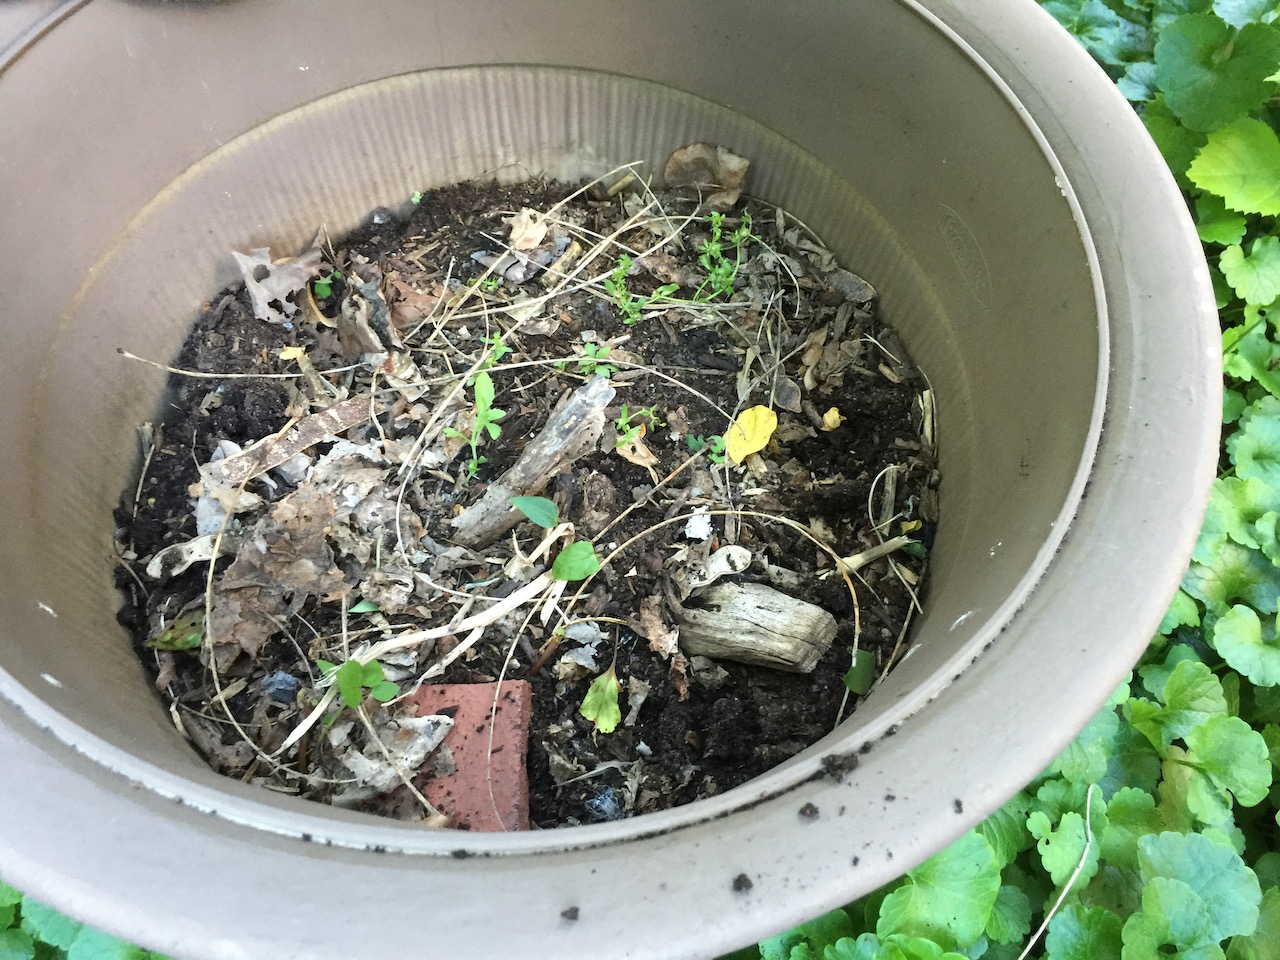
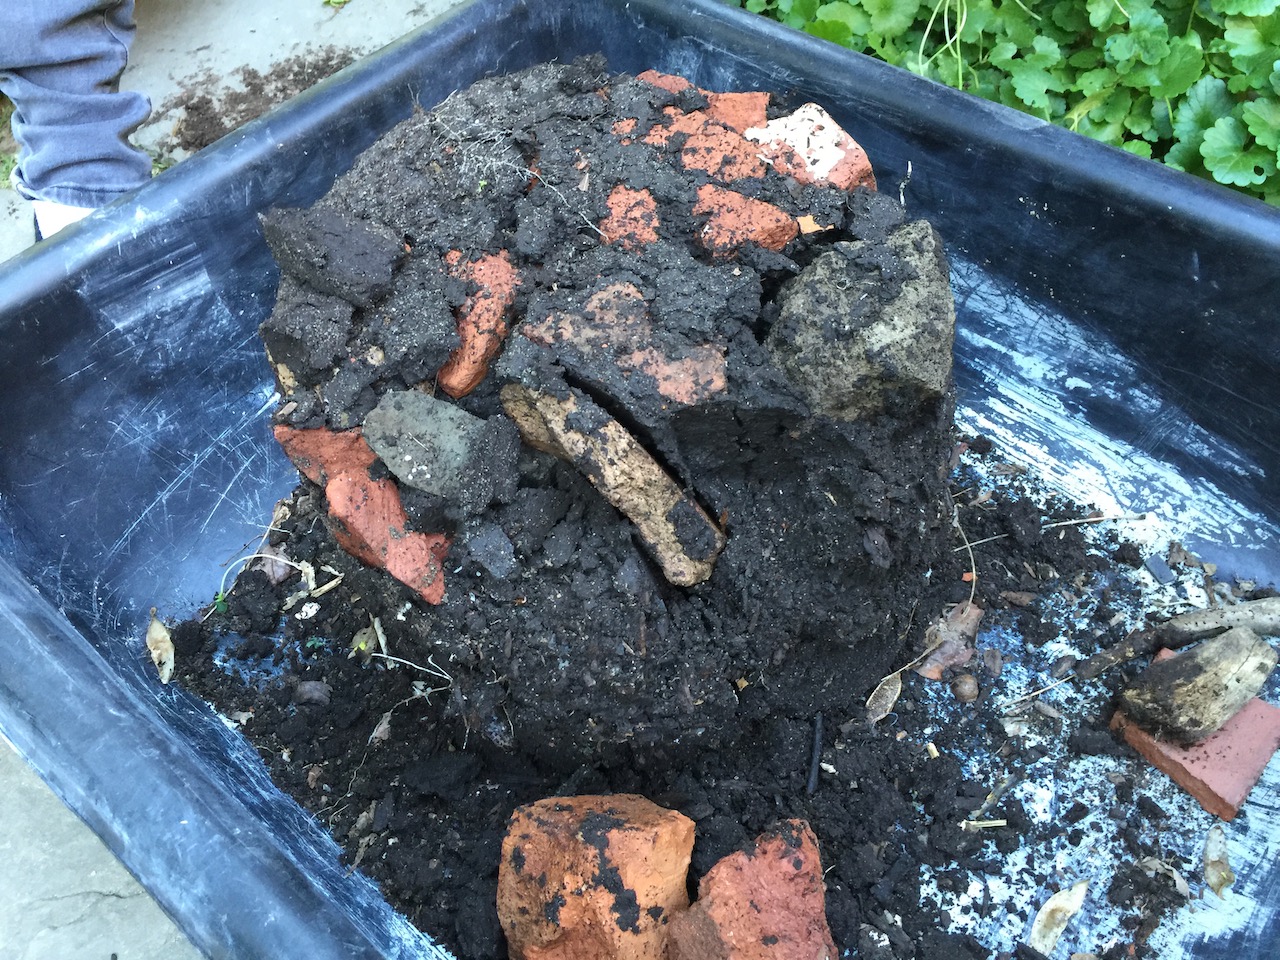
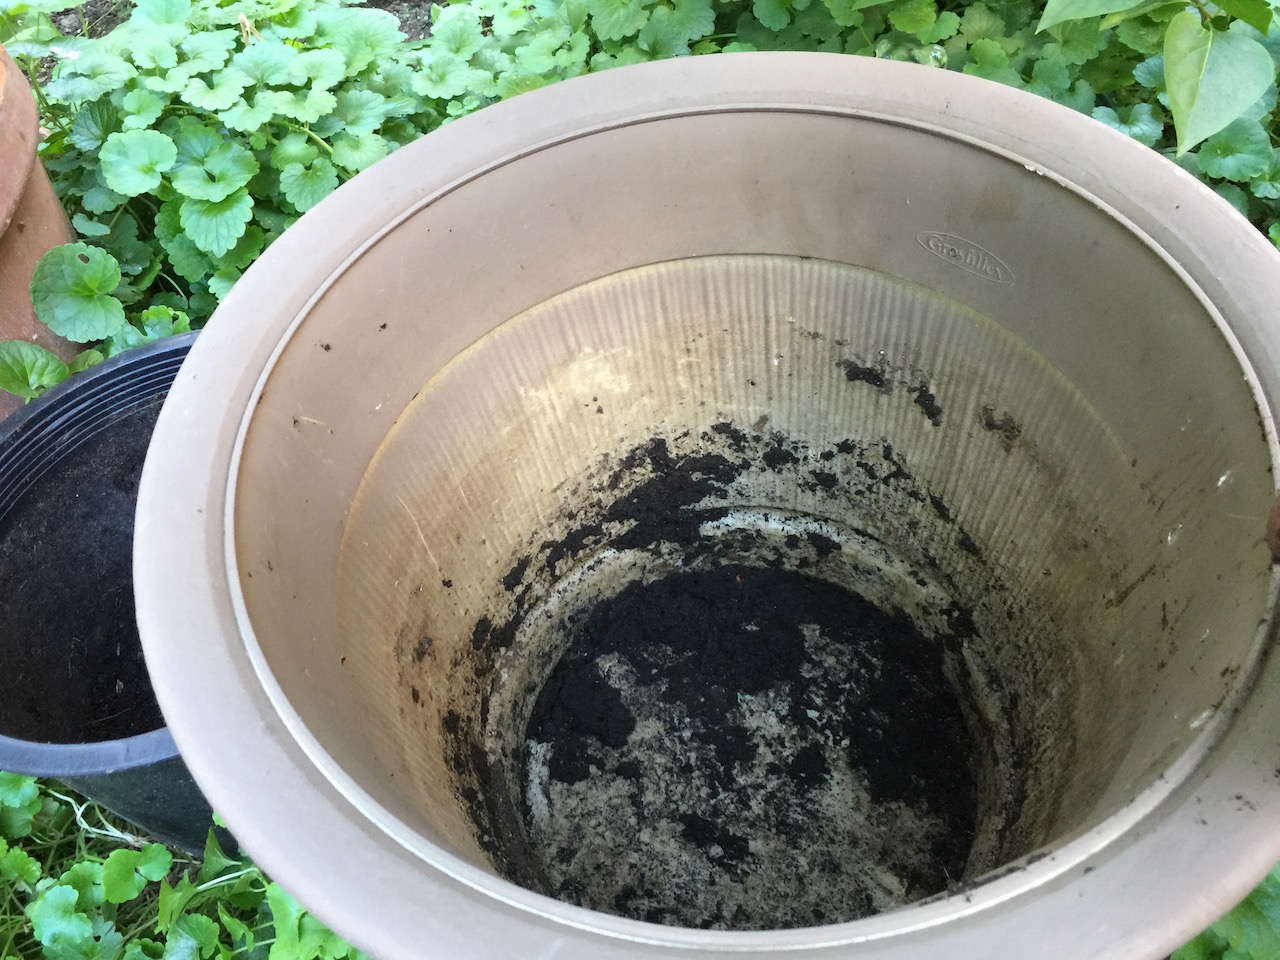
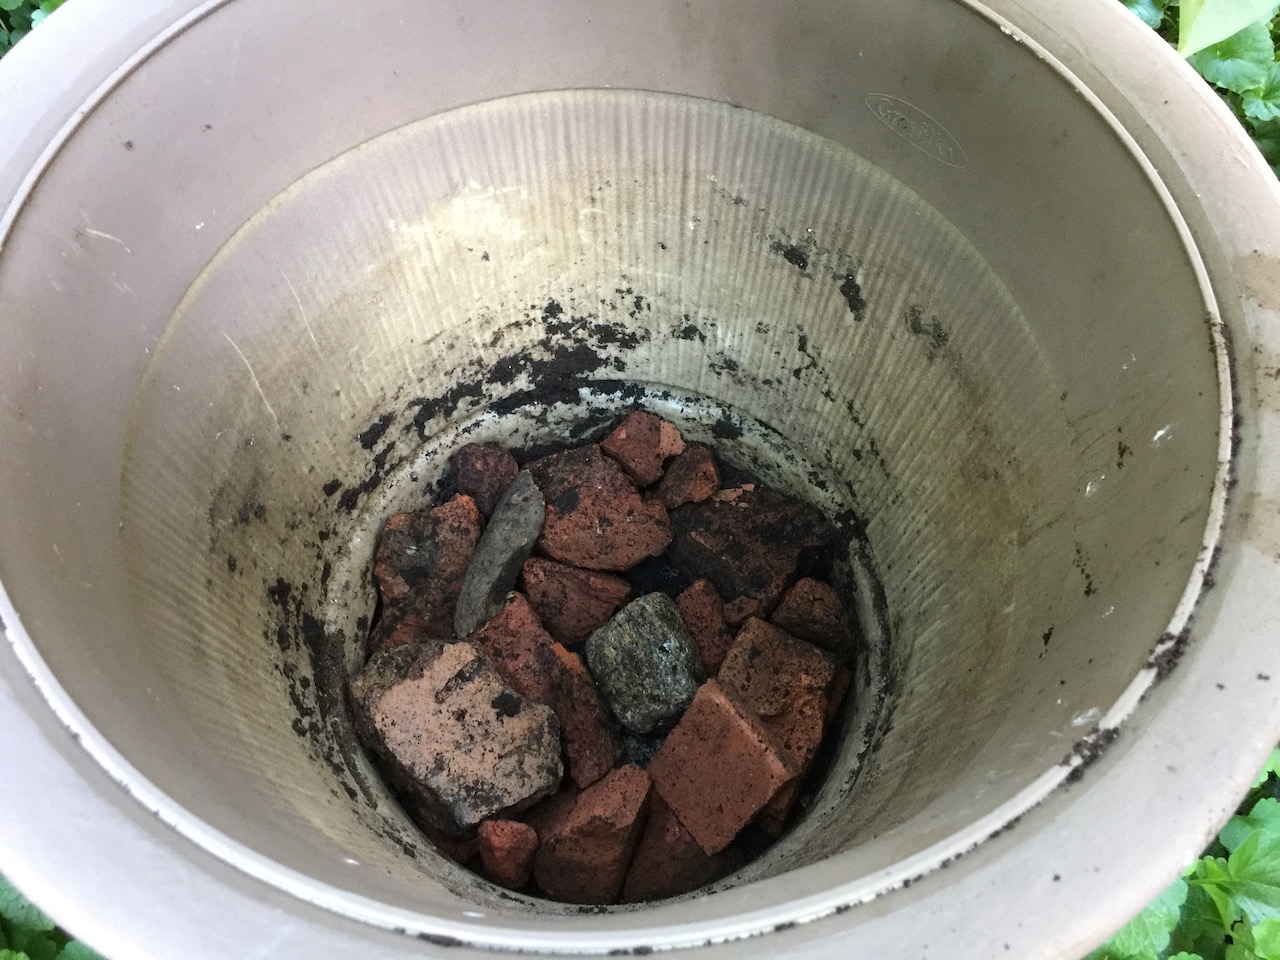
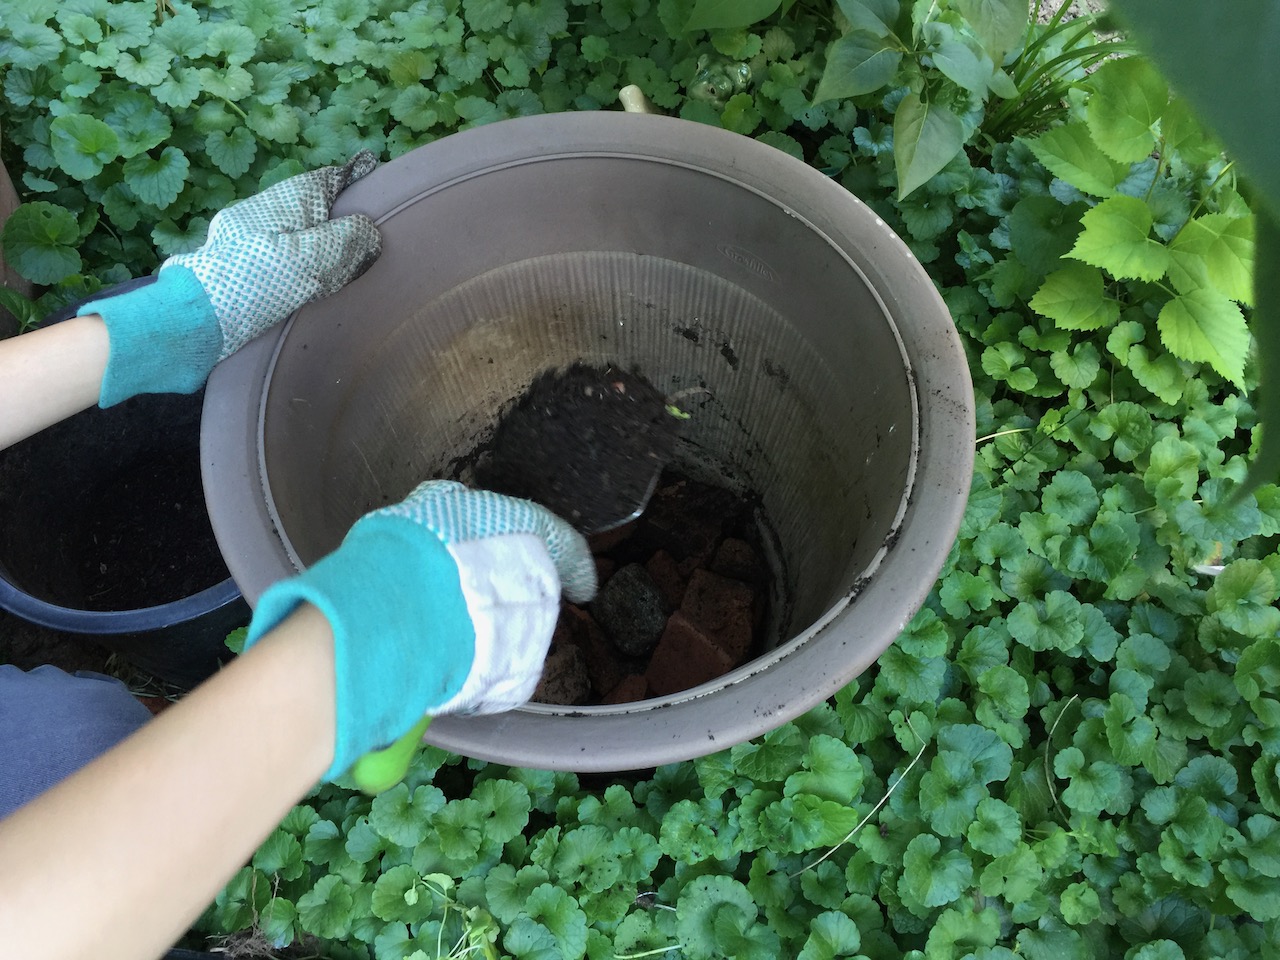
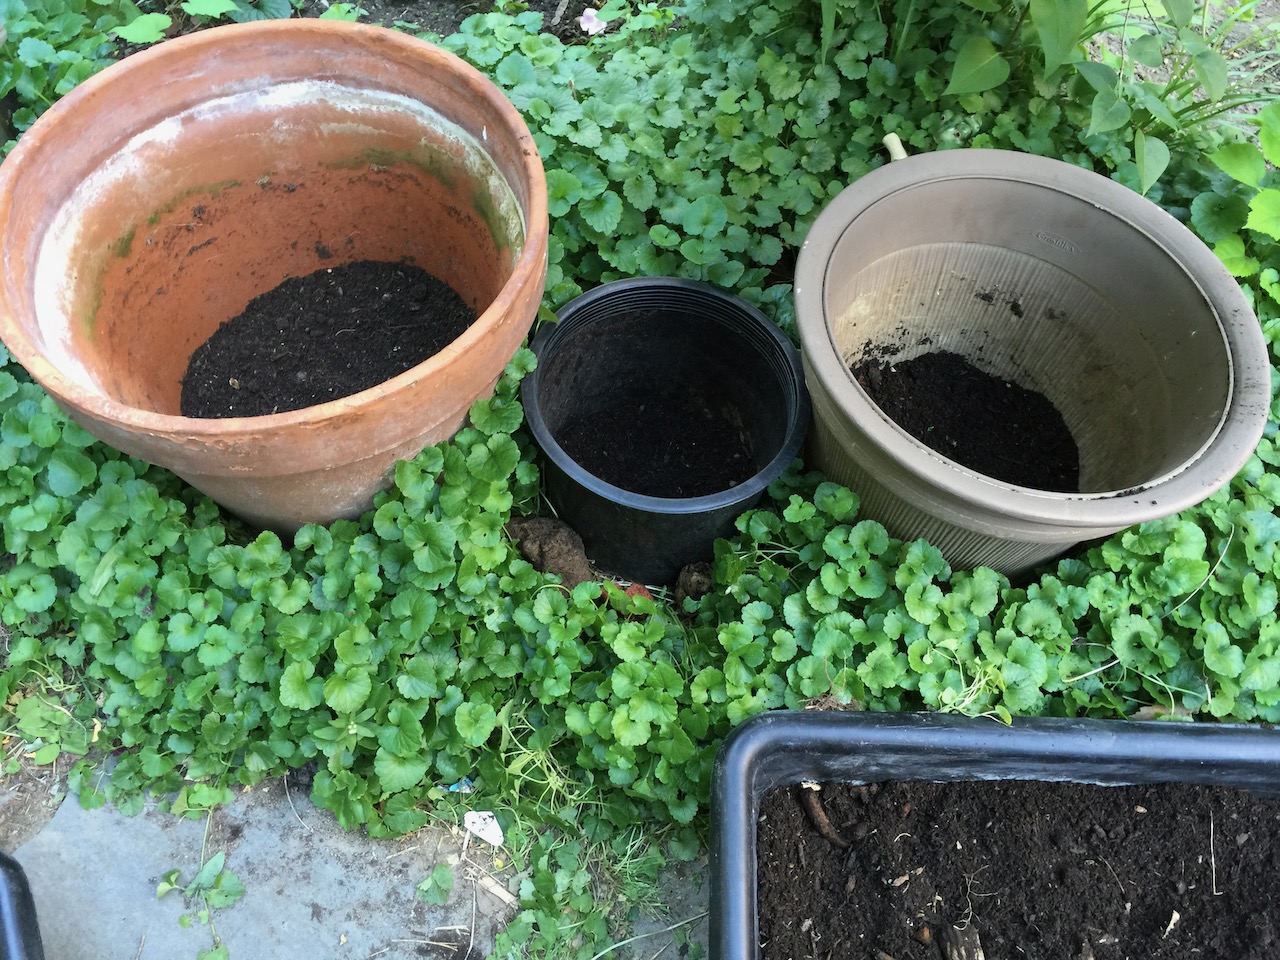
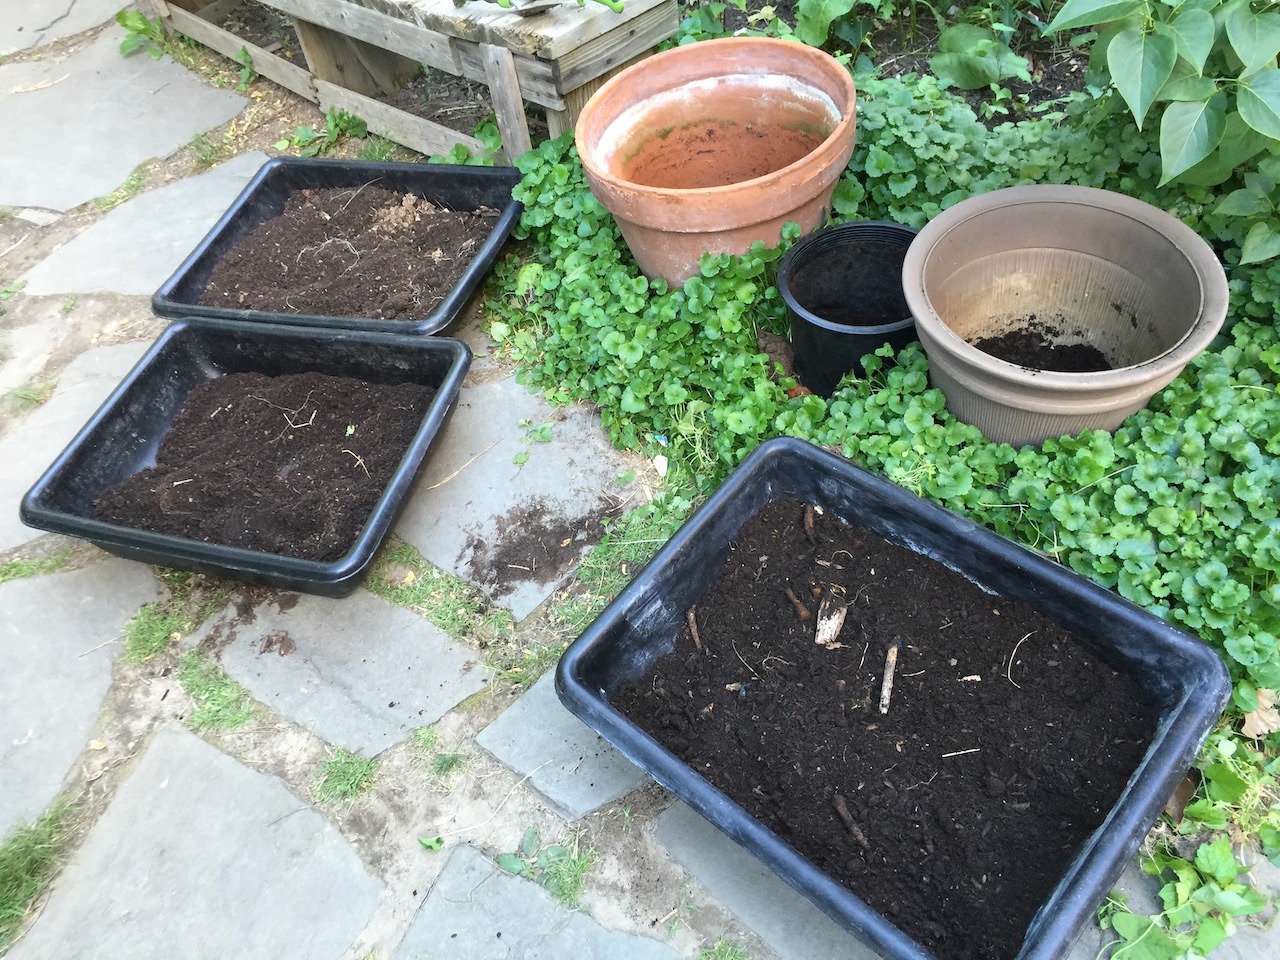
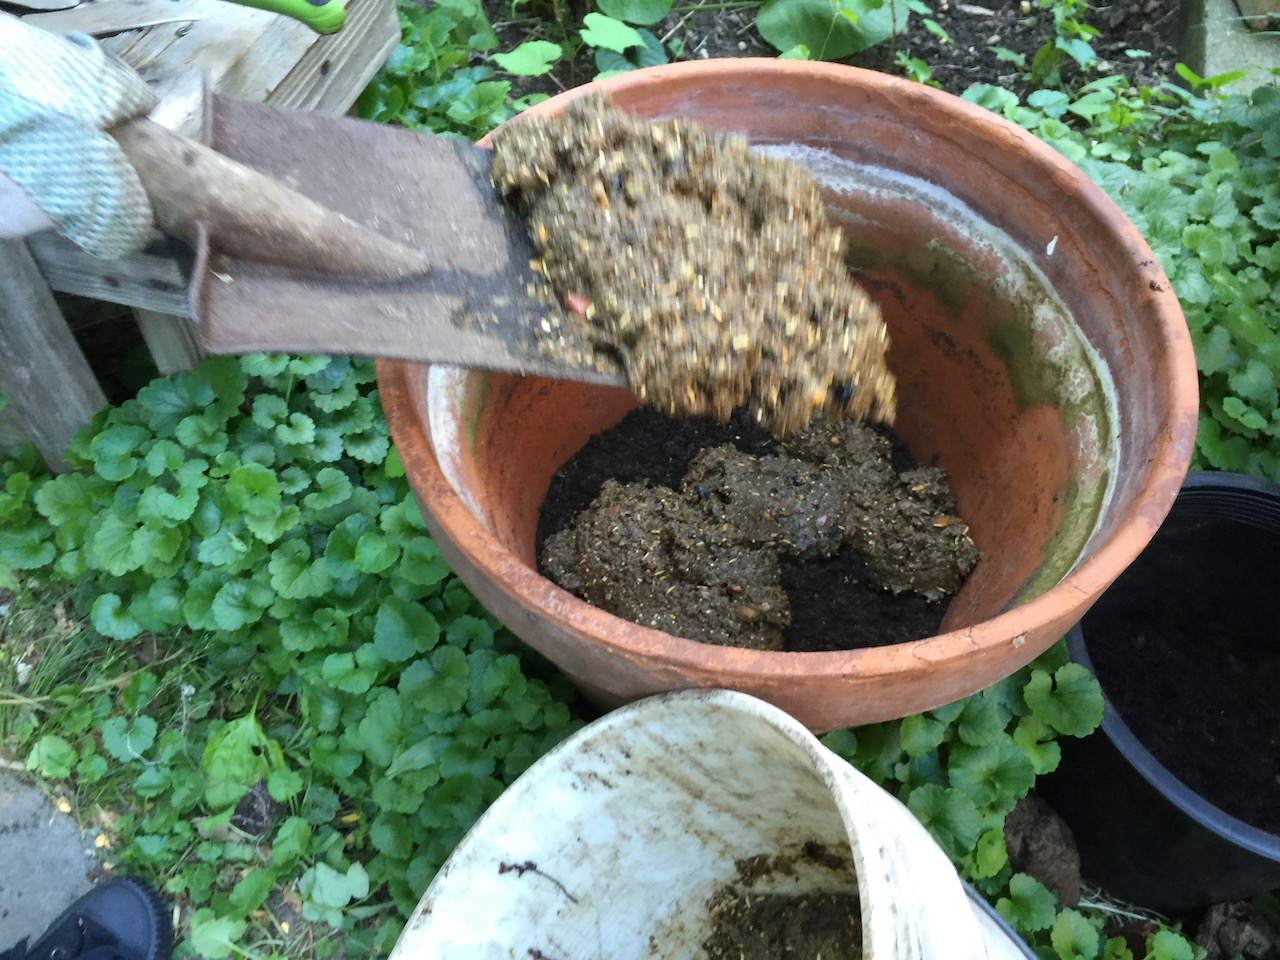
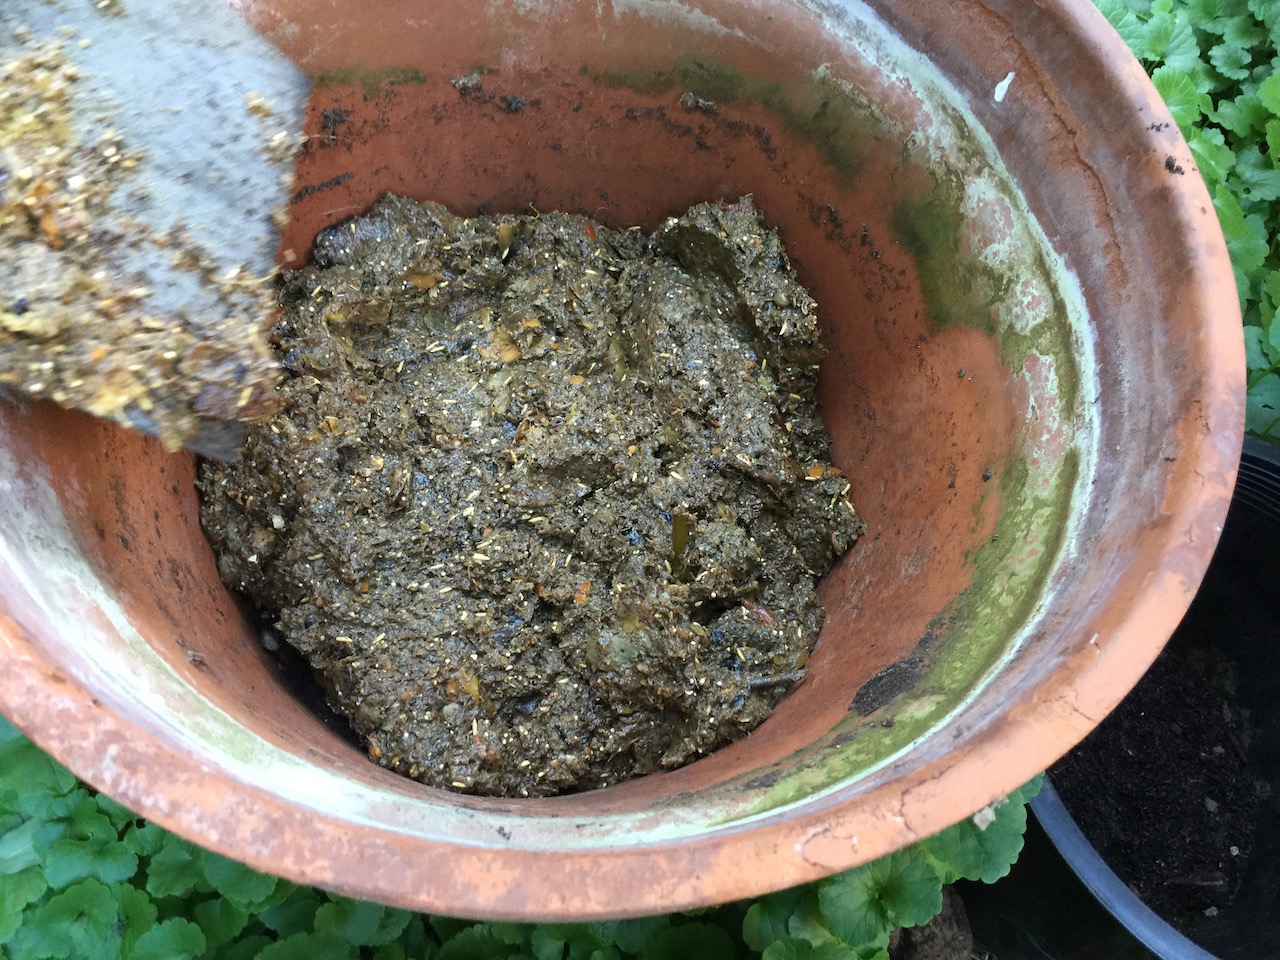
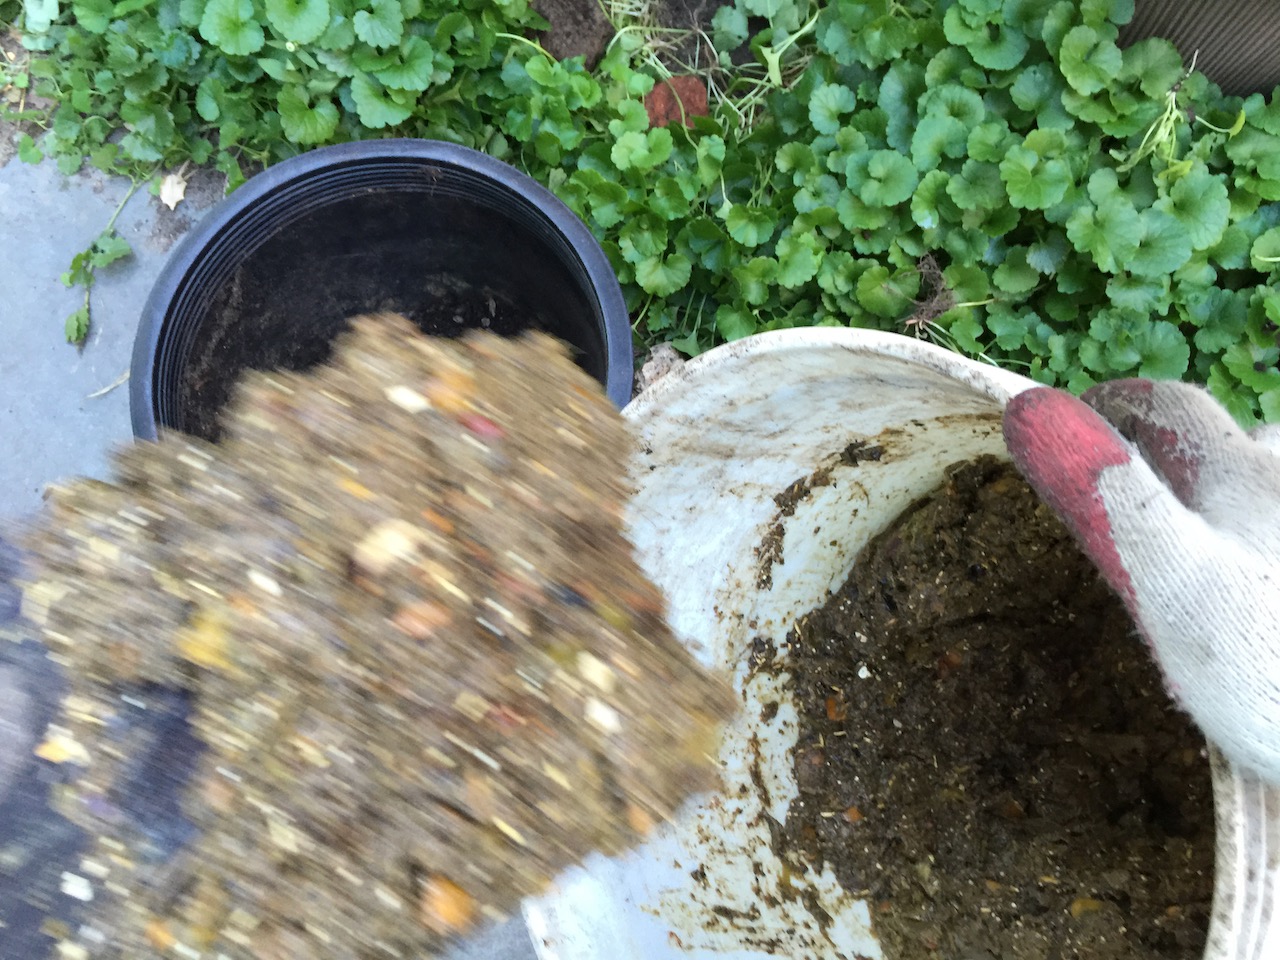
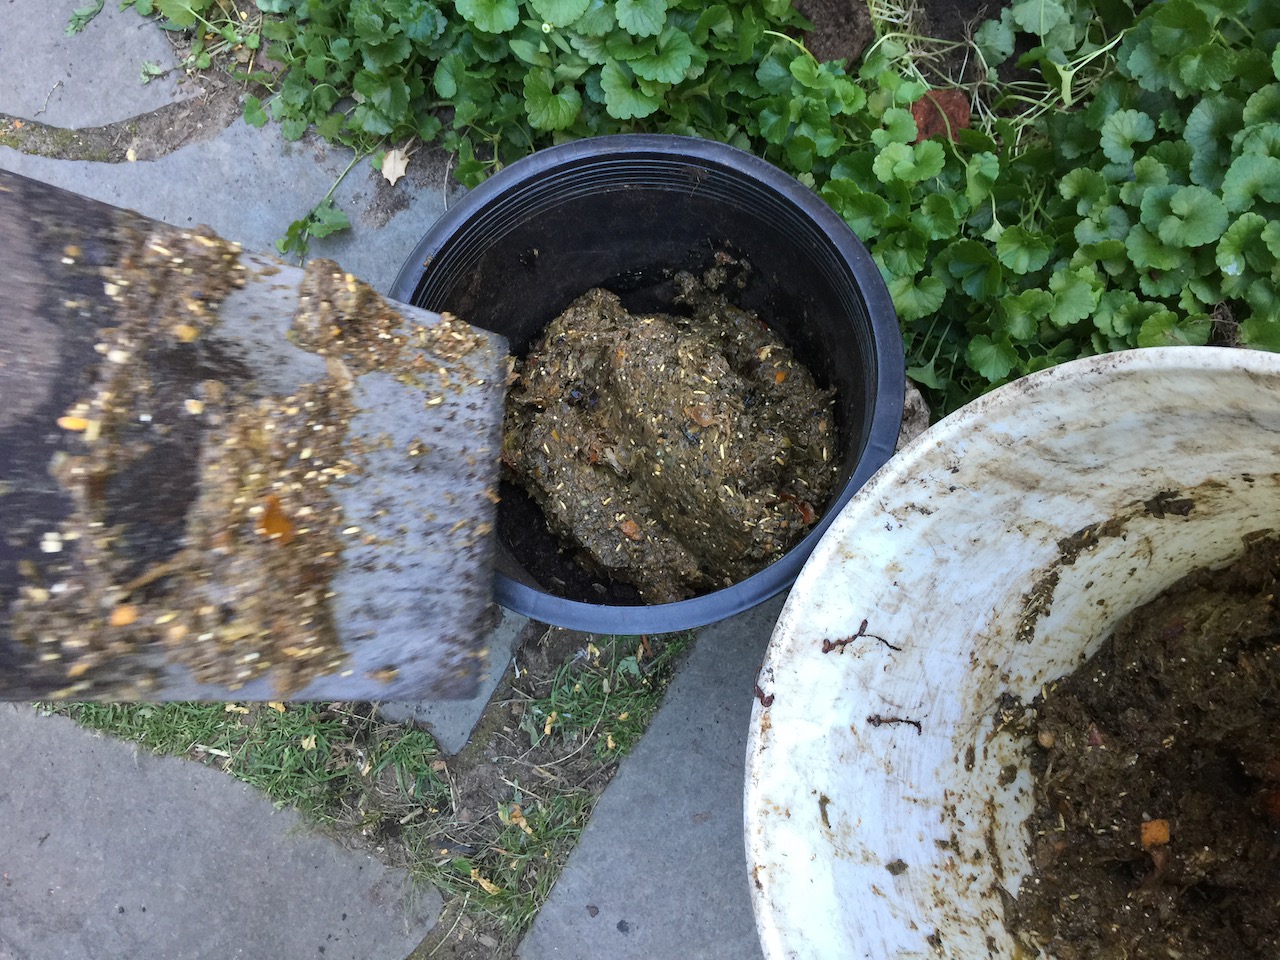
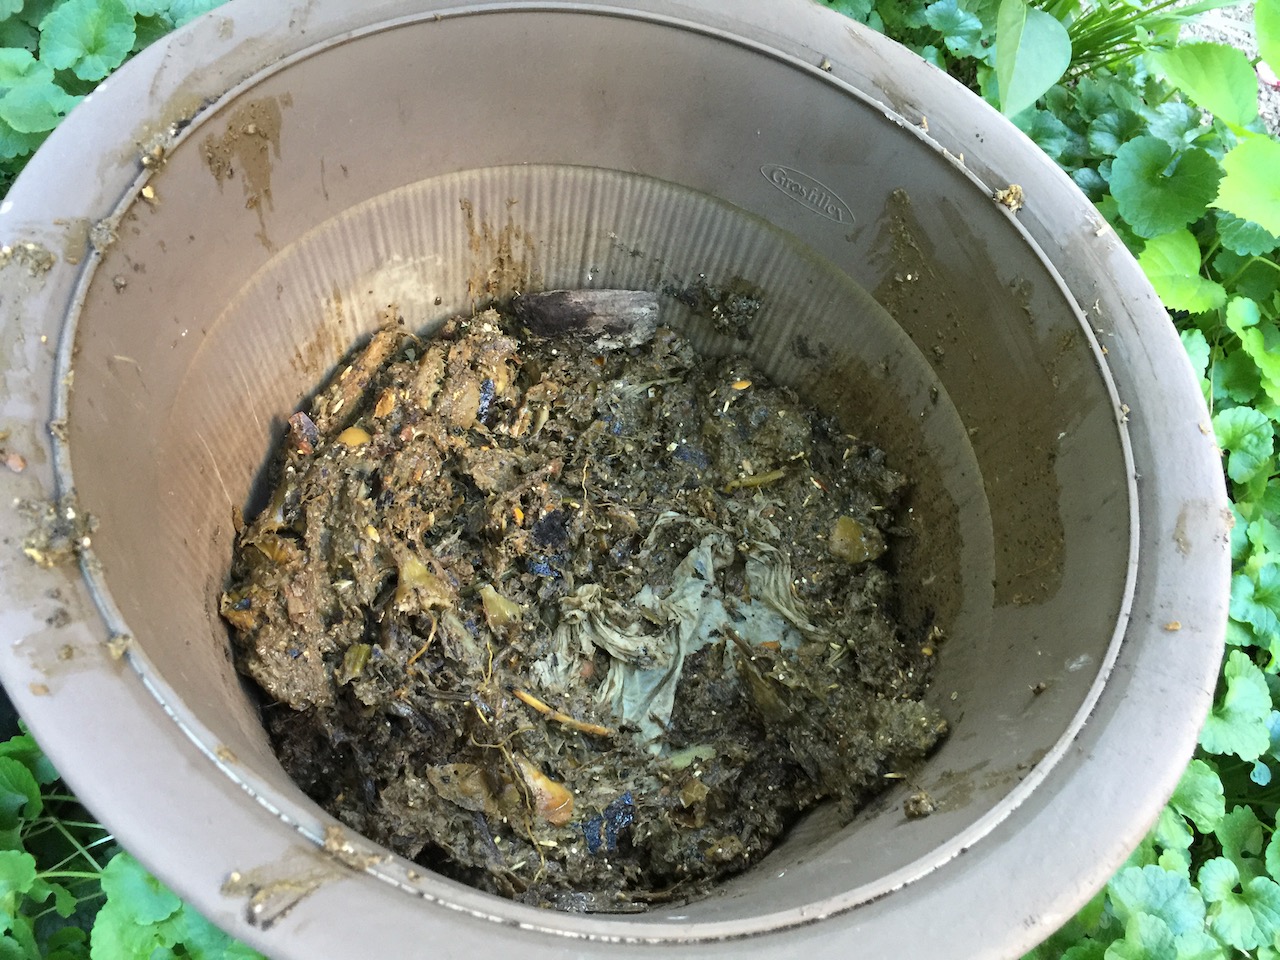
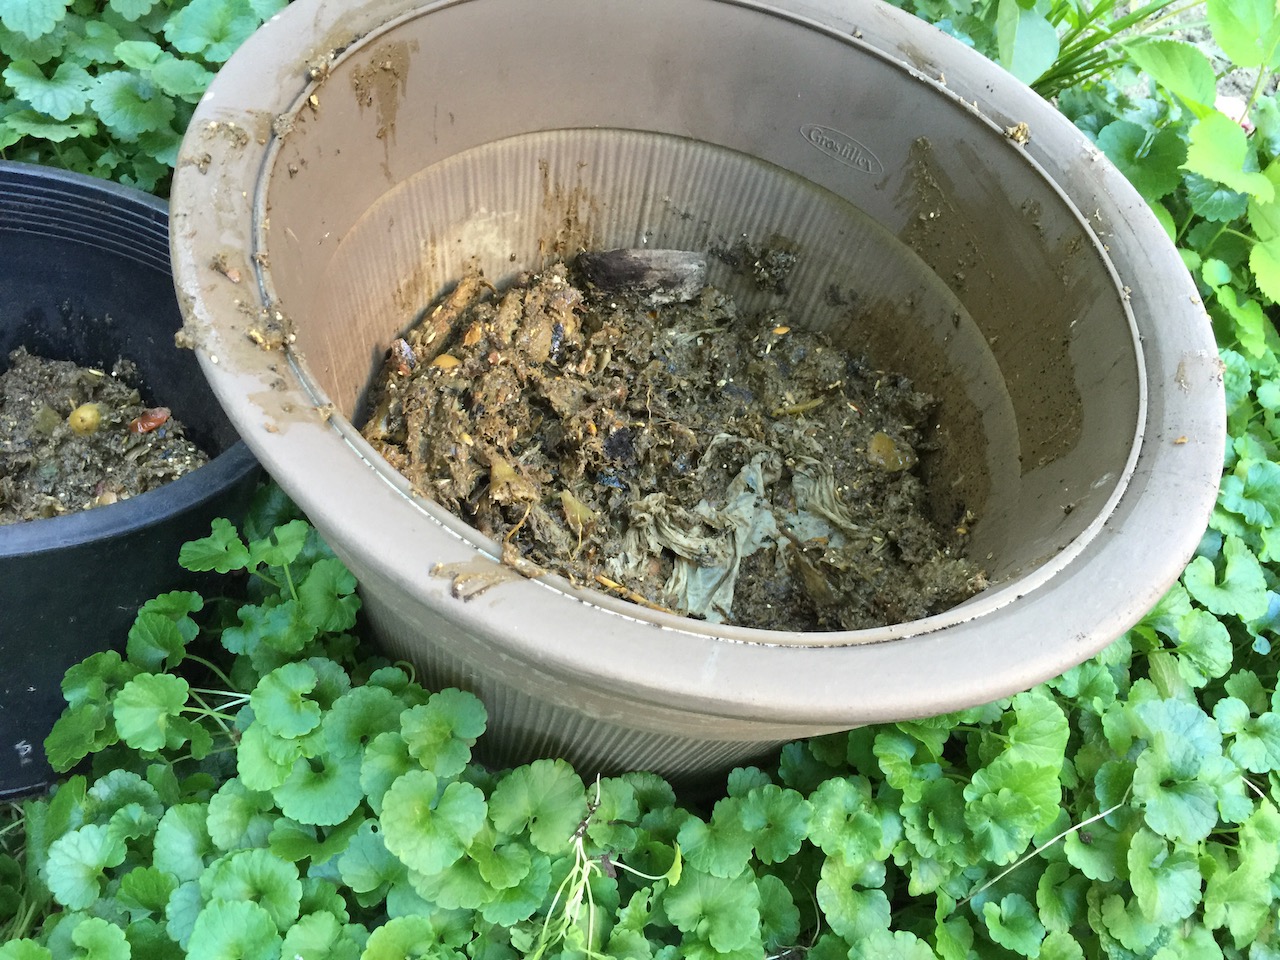
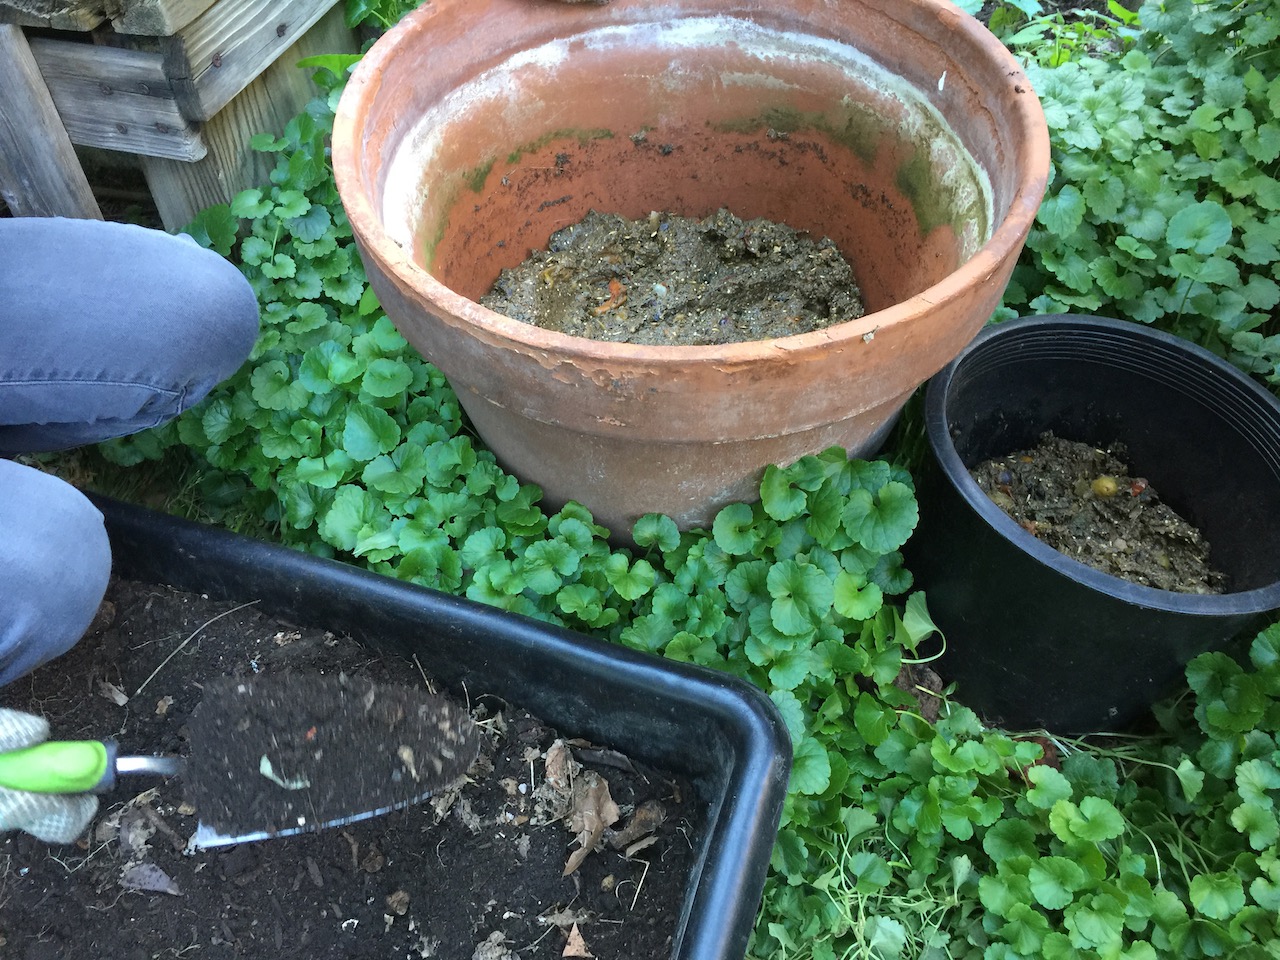
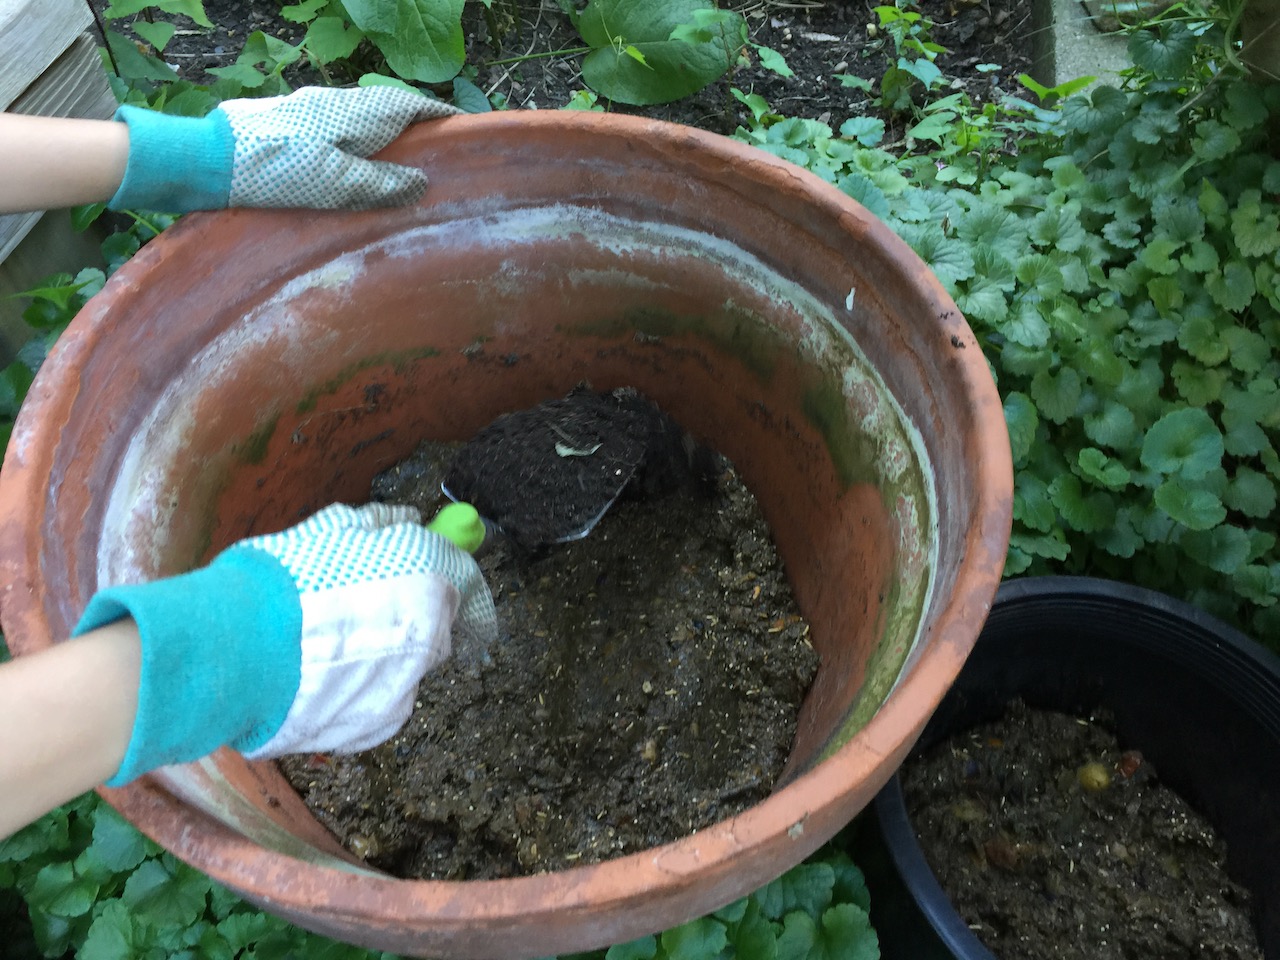
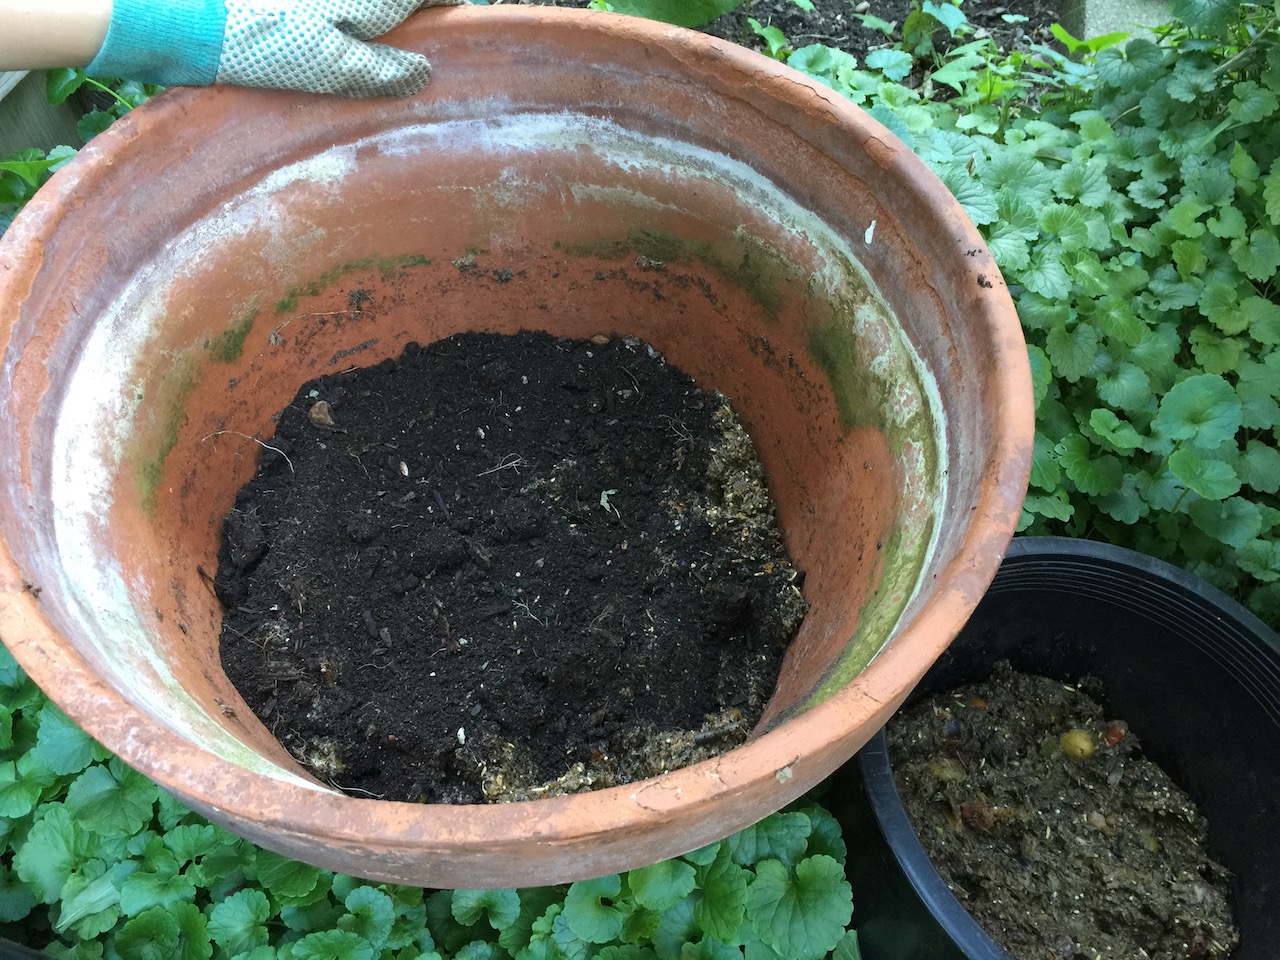
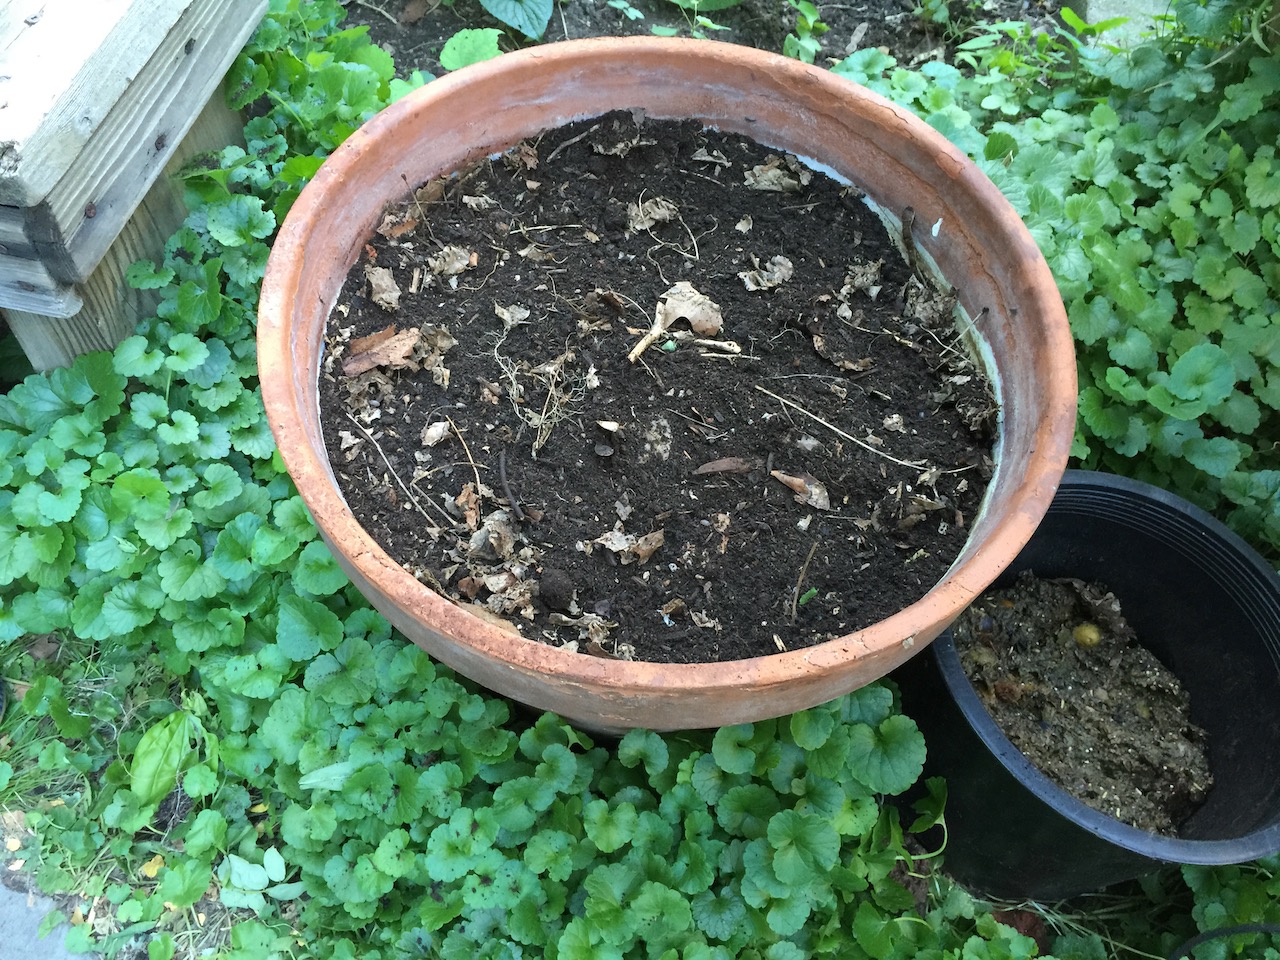
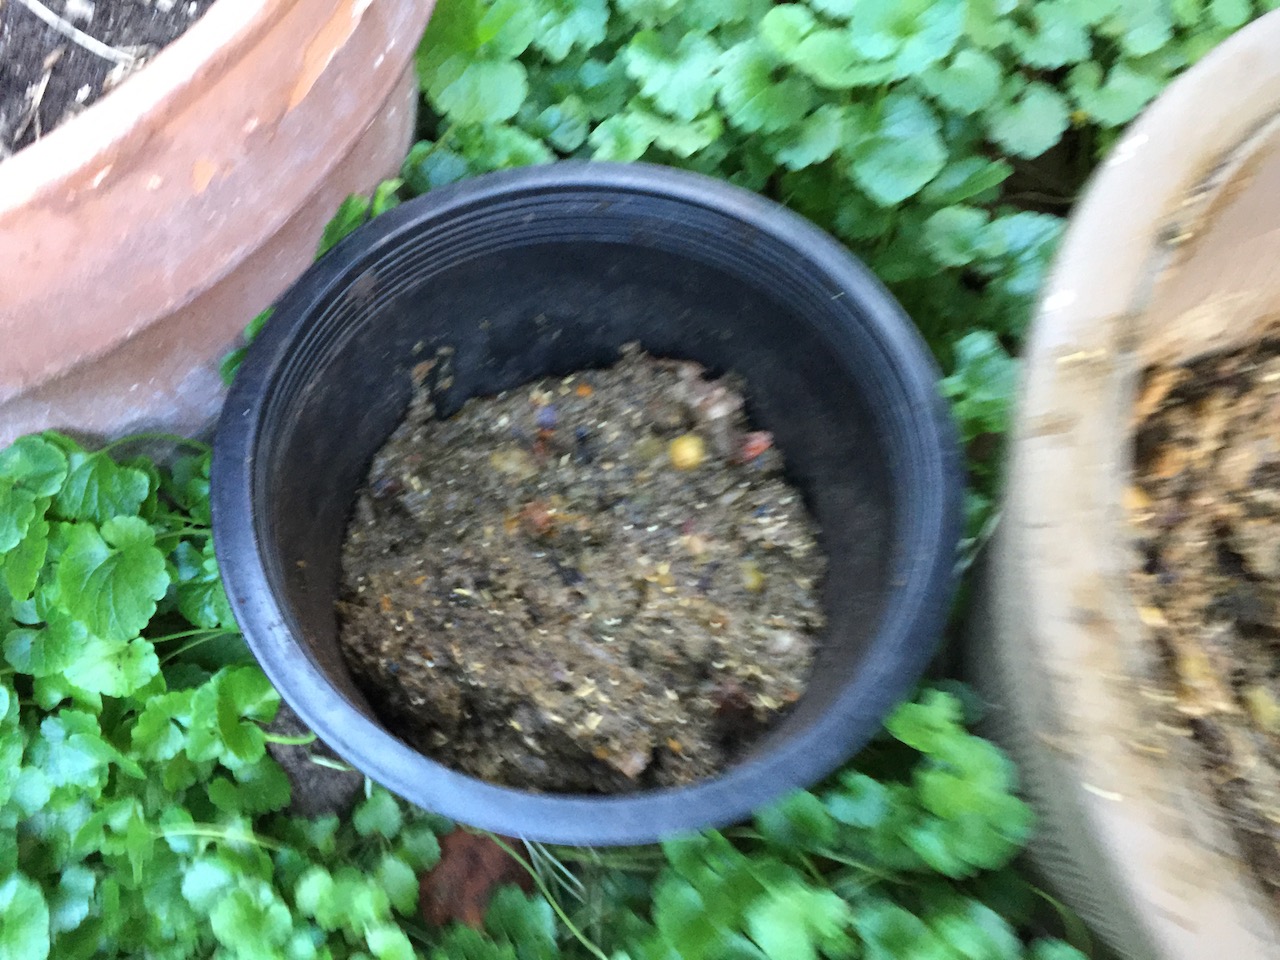
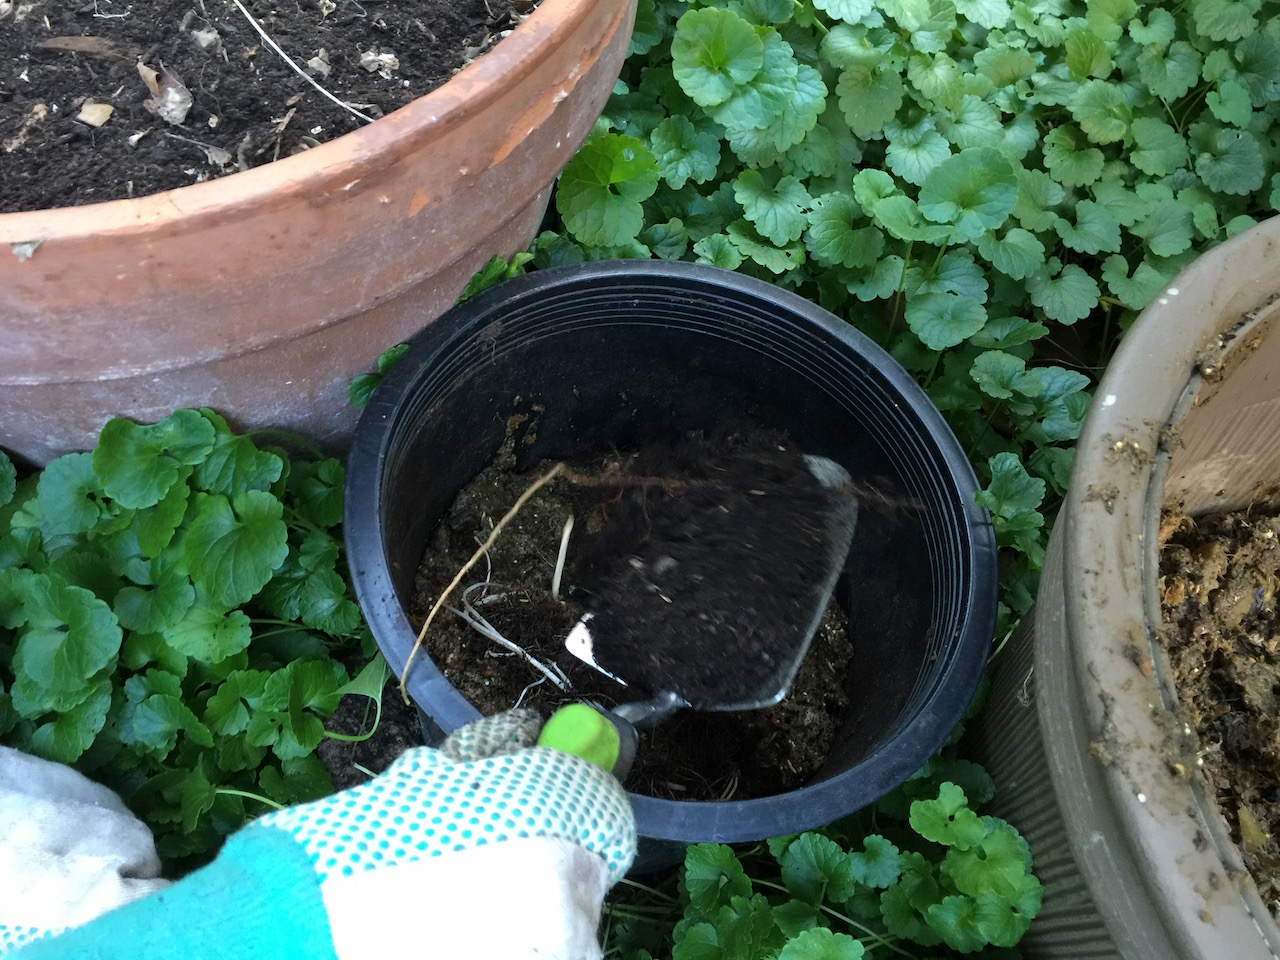
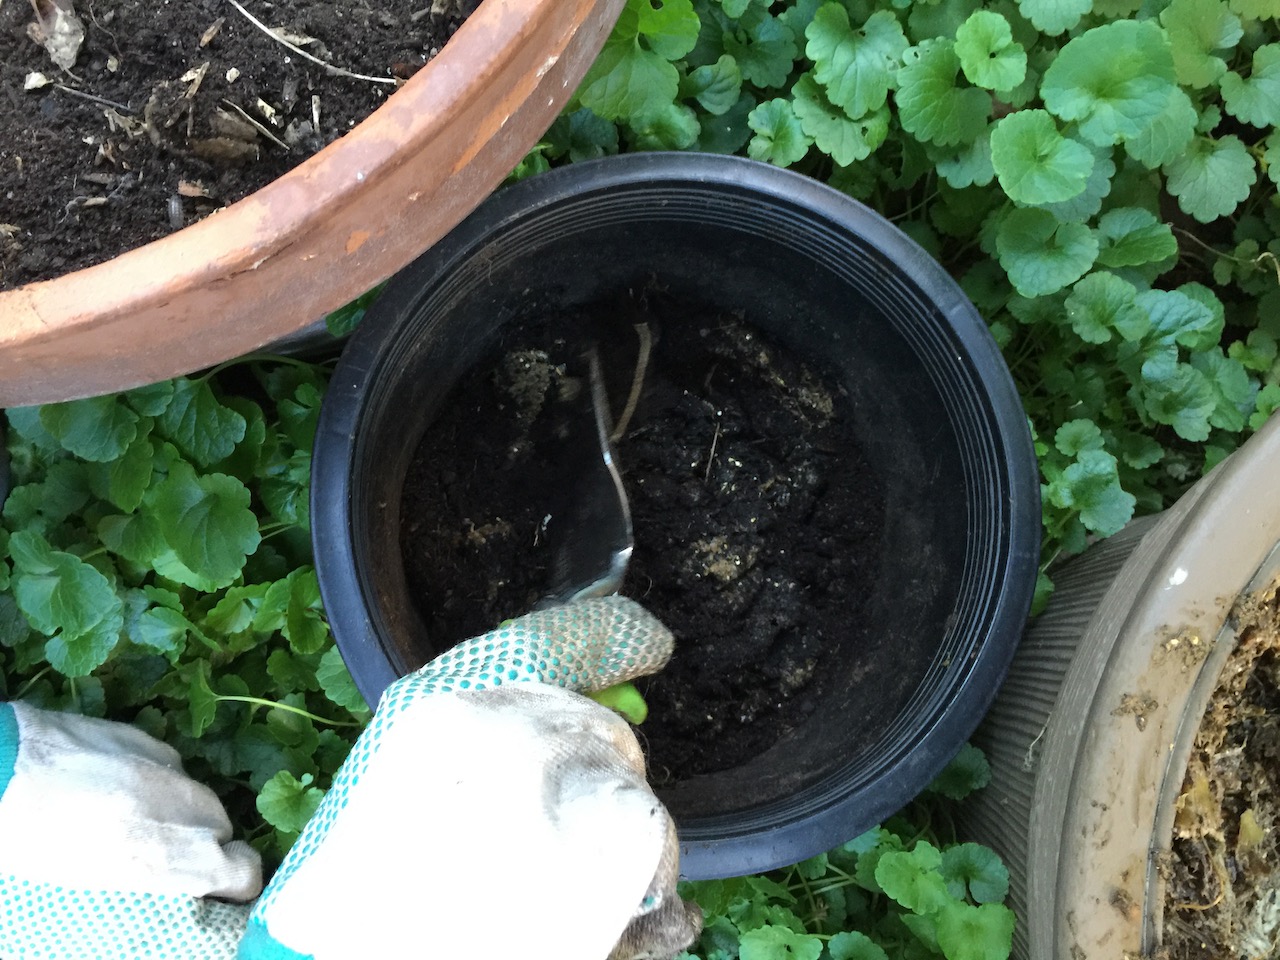
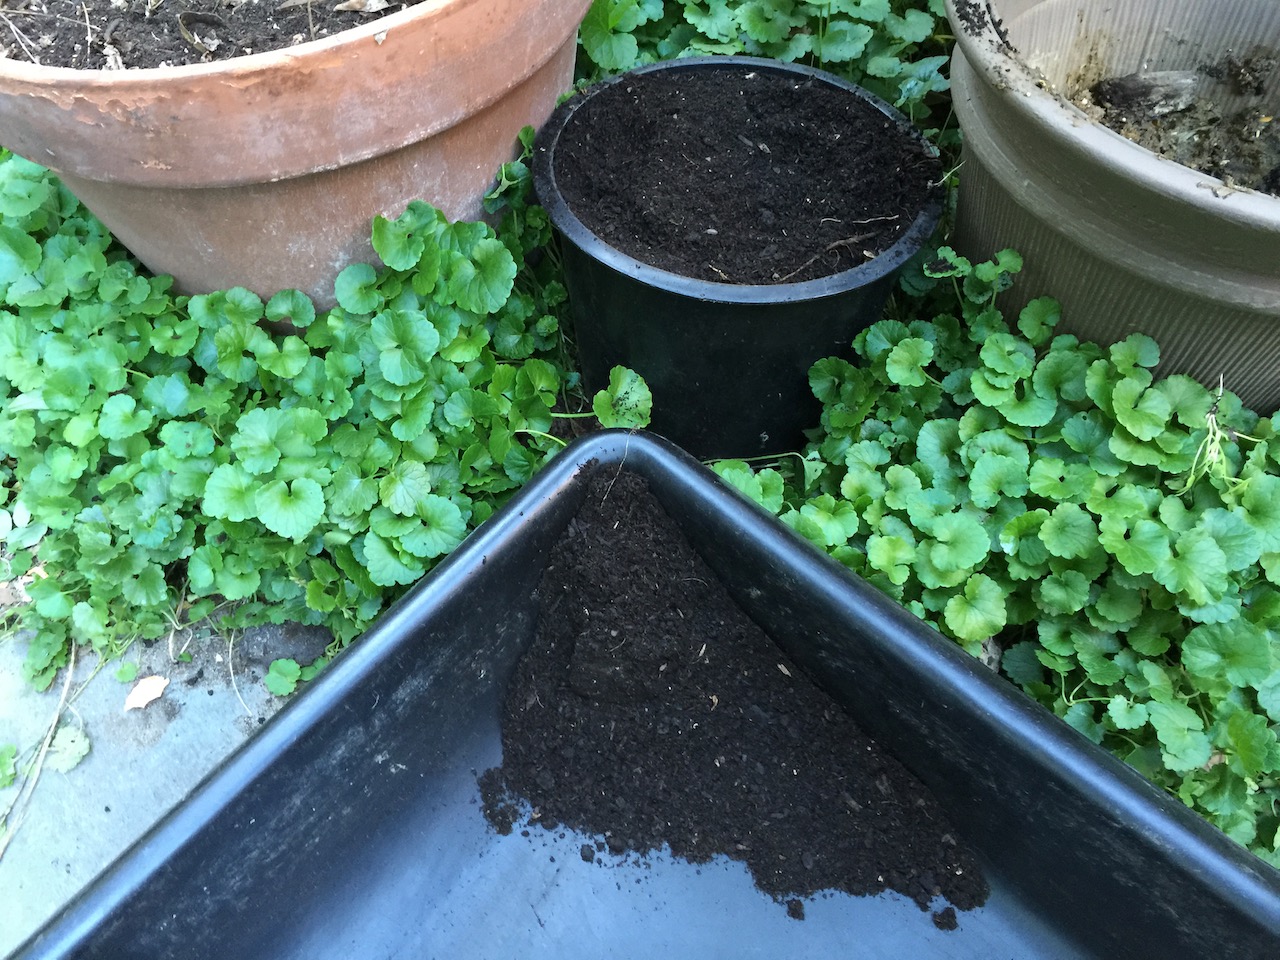
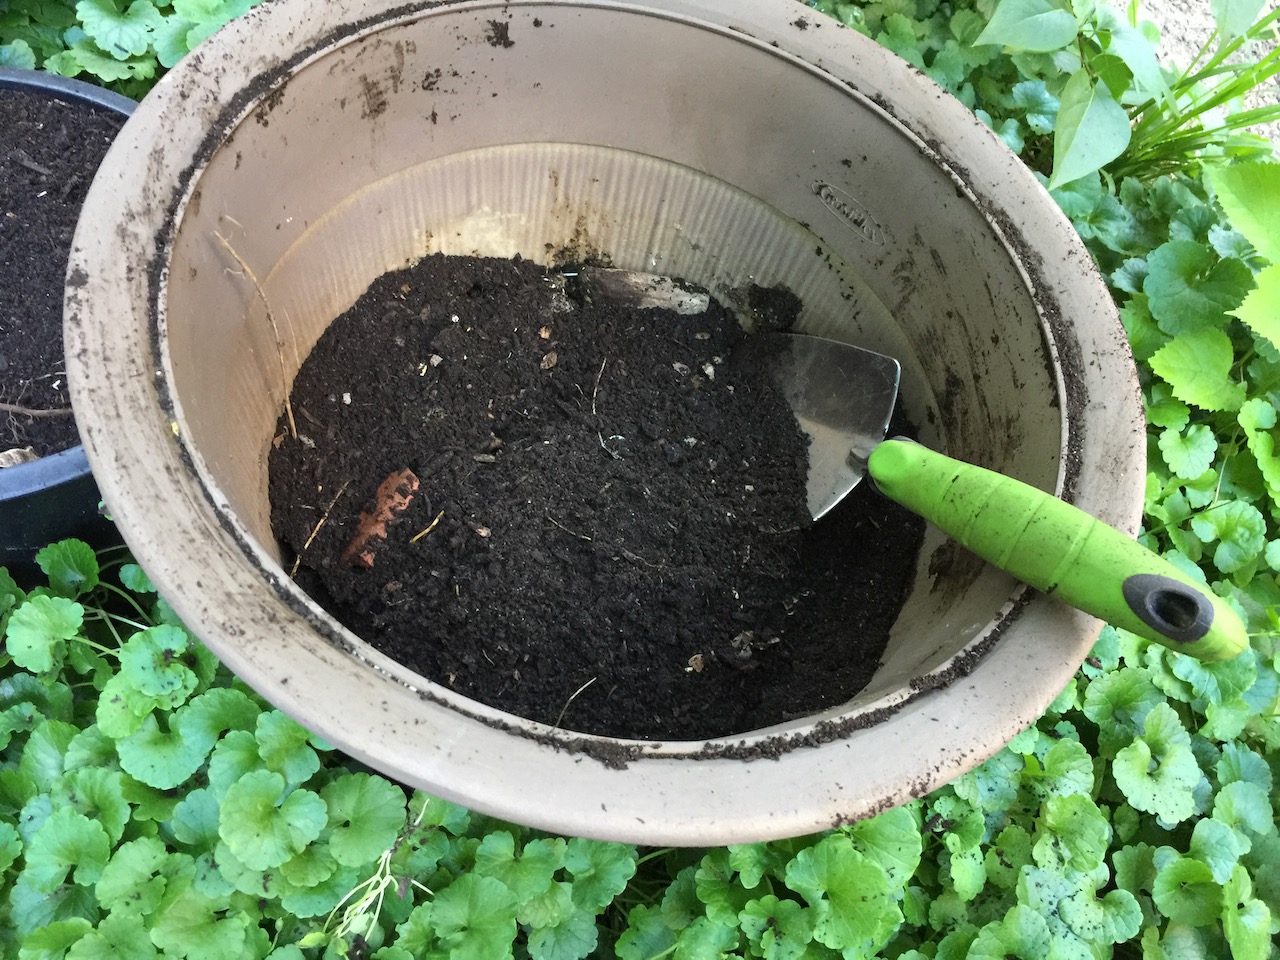
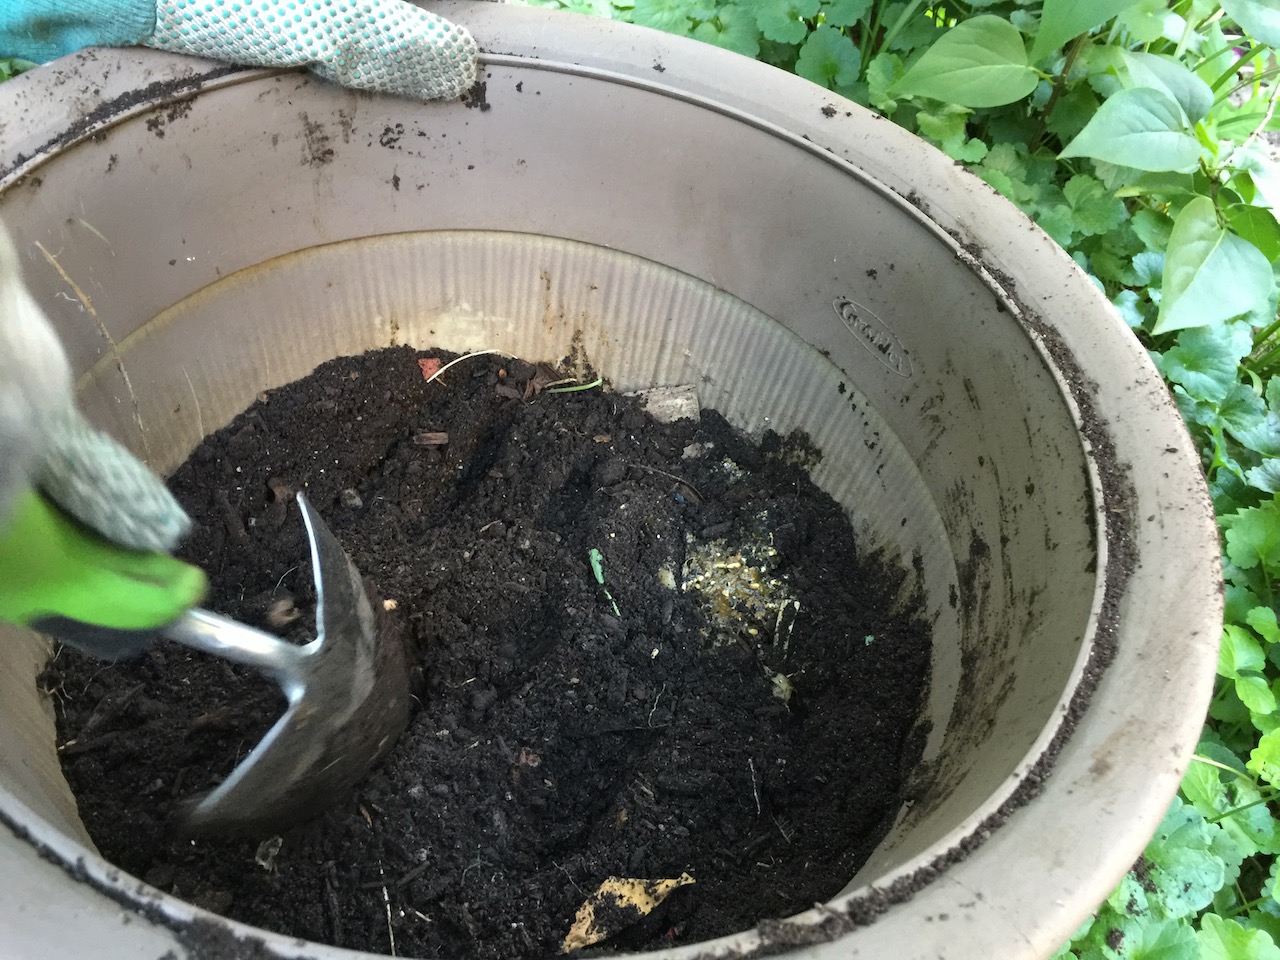
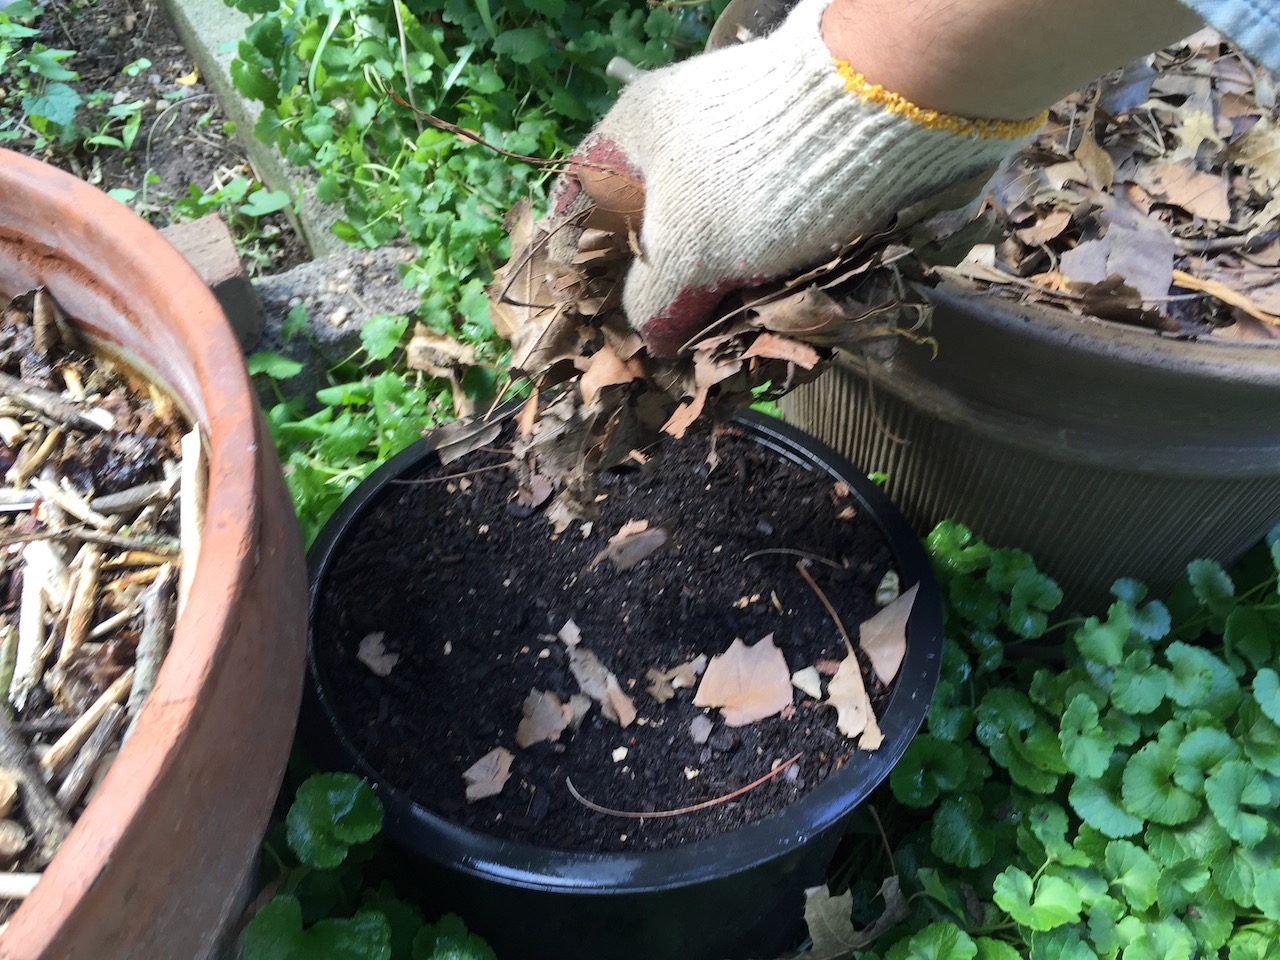
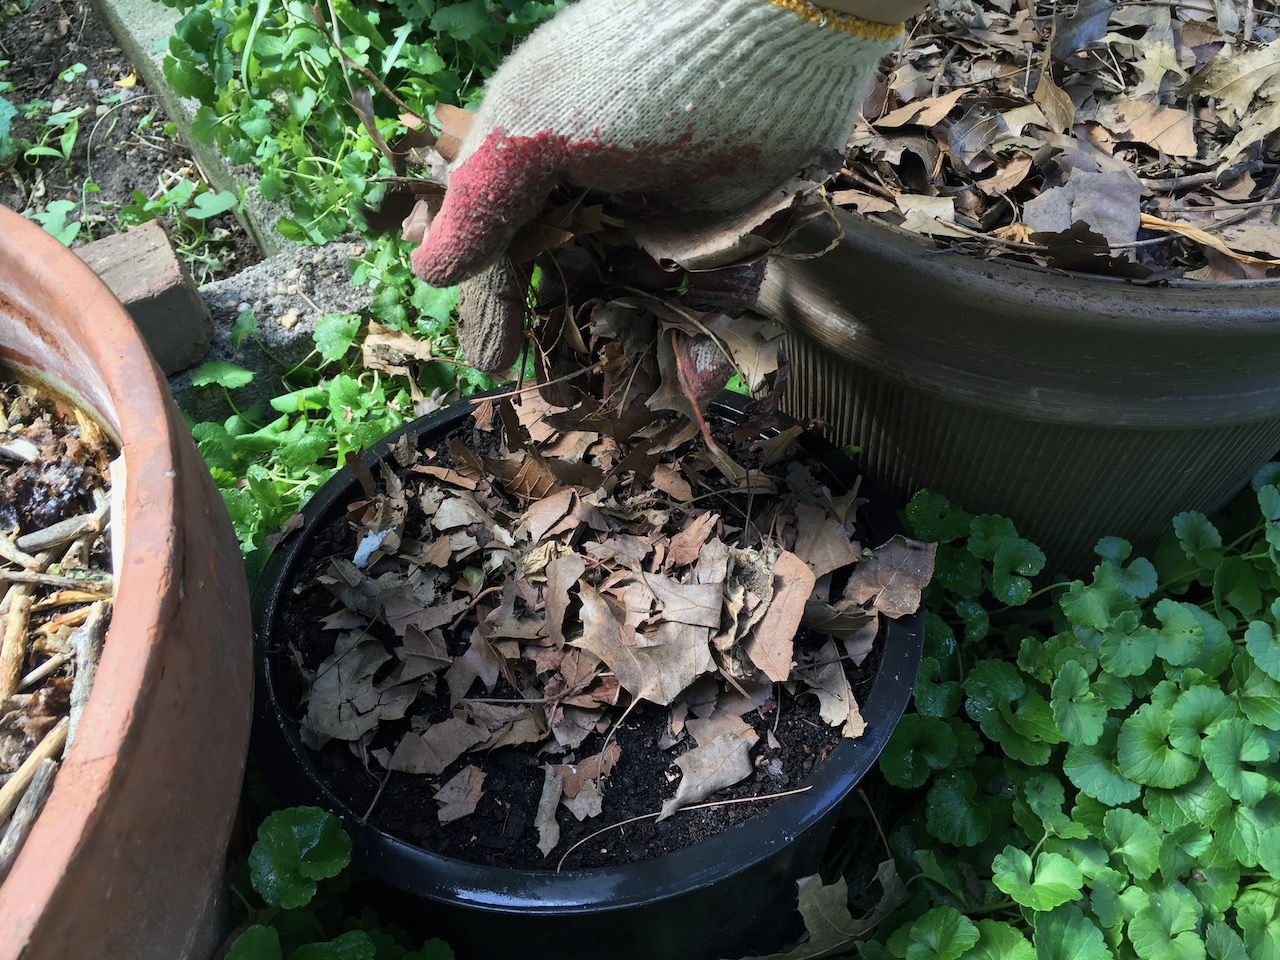
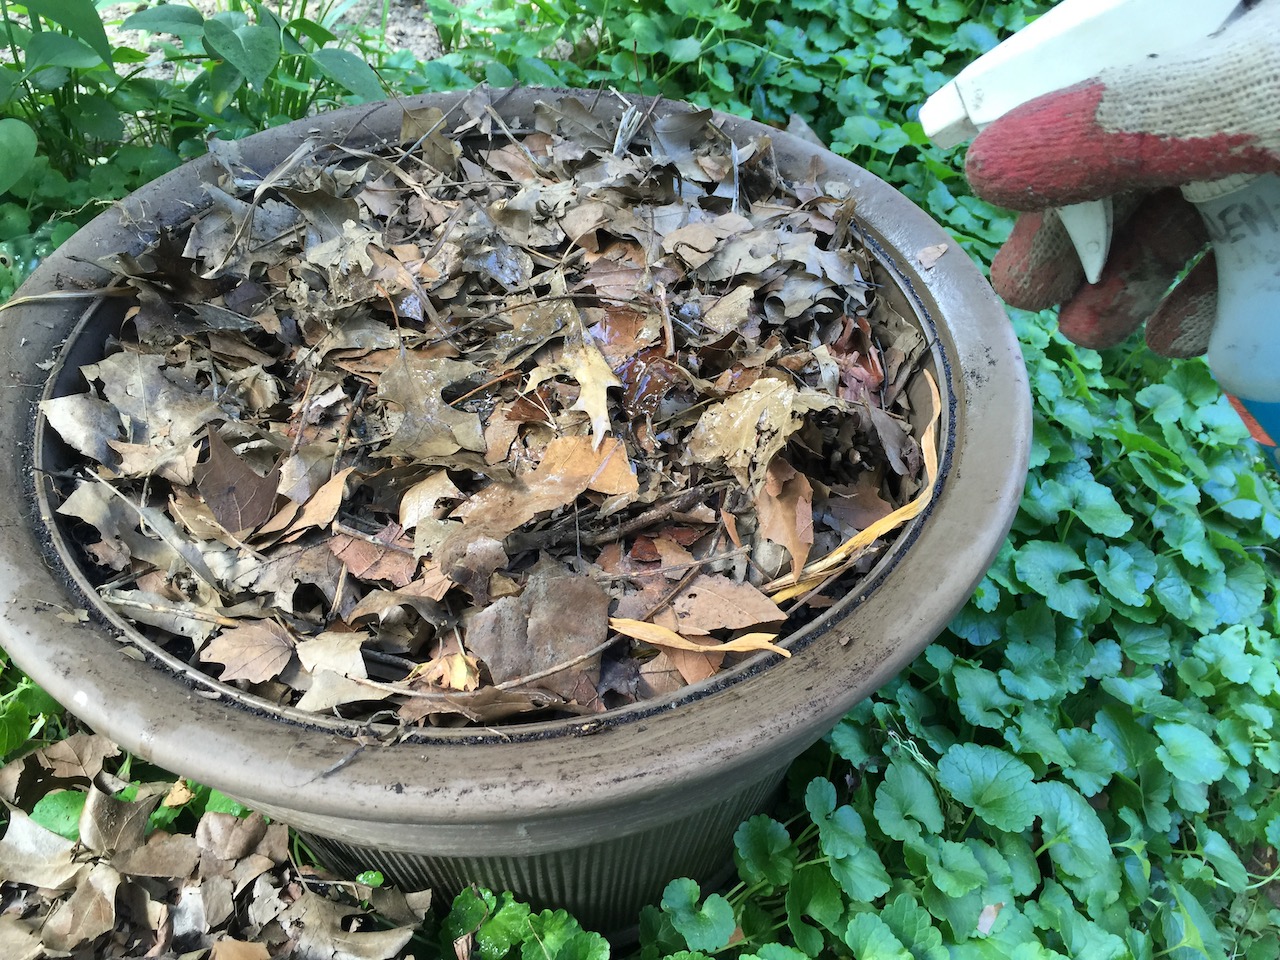
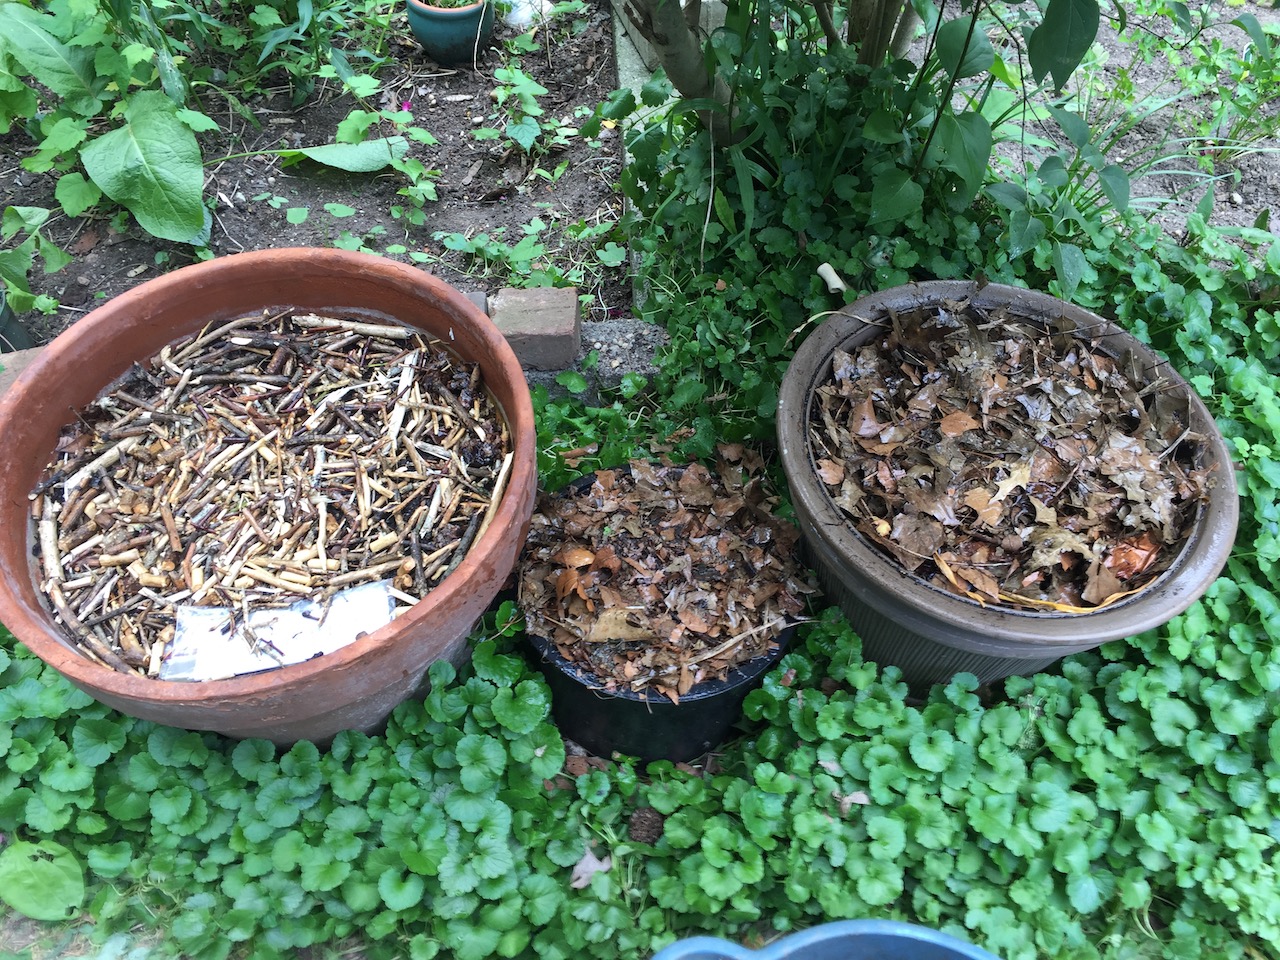
3.3. Sandwiching FFW Between Soil in Pots/Planters
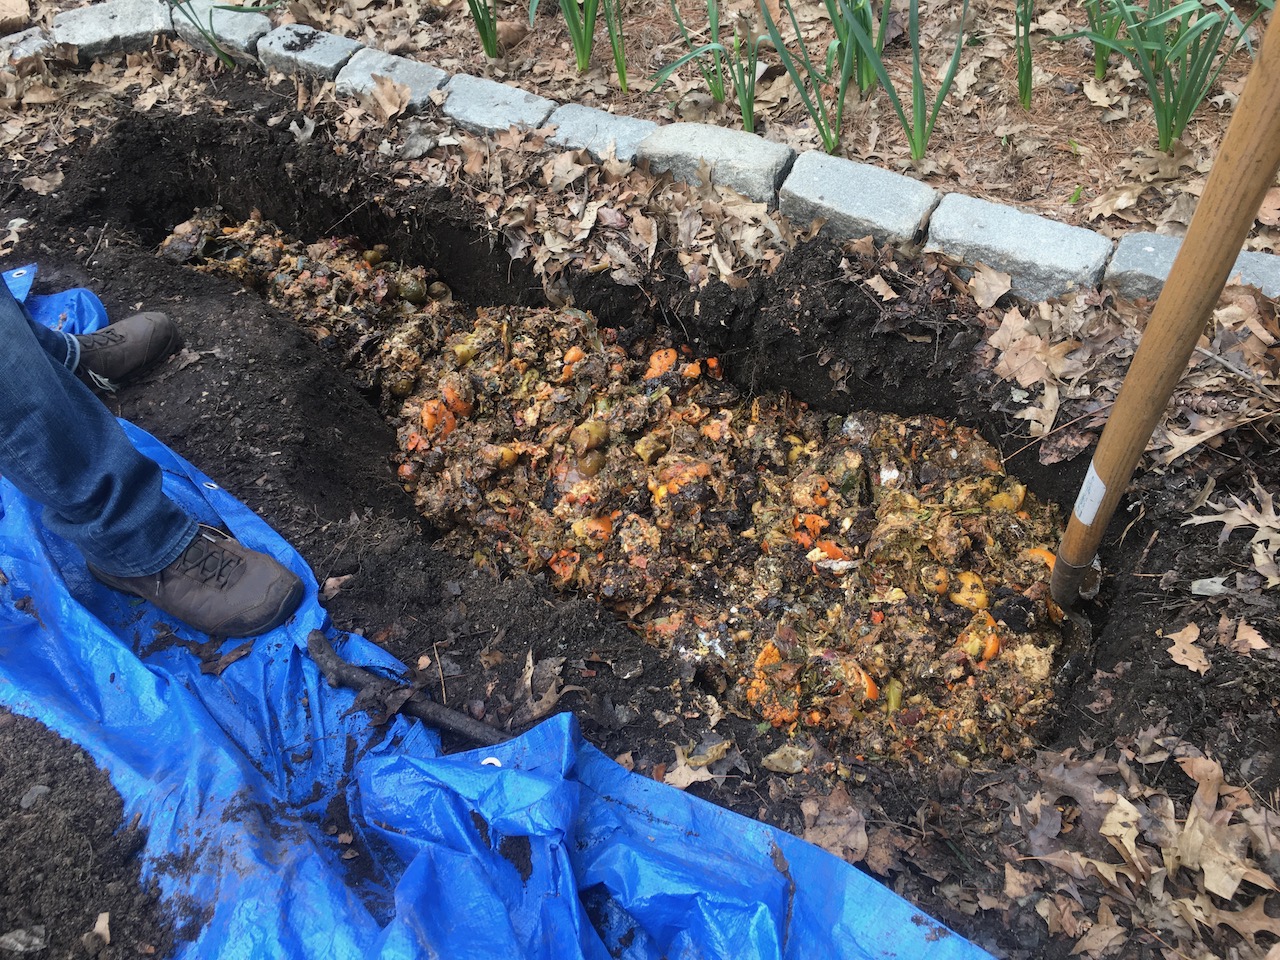
3.1. Trenching/Burying FFW
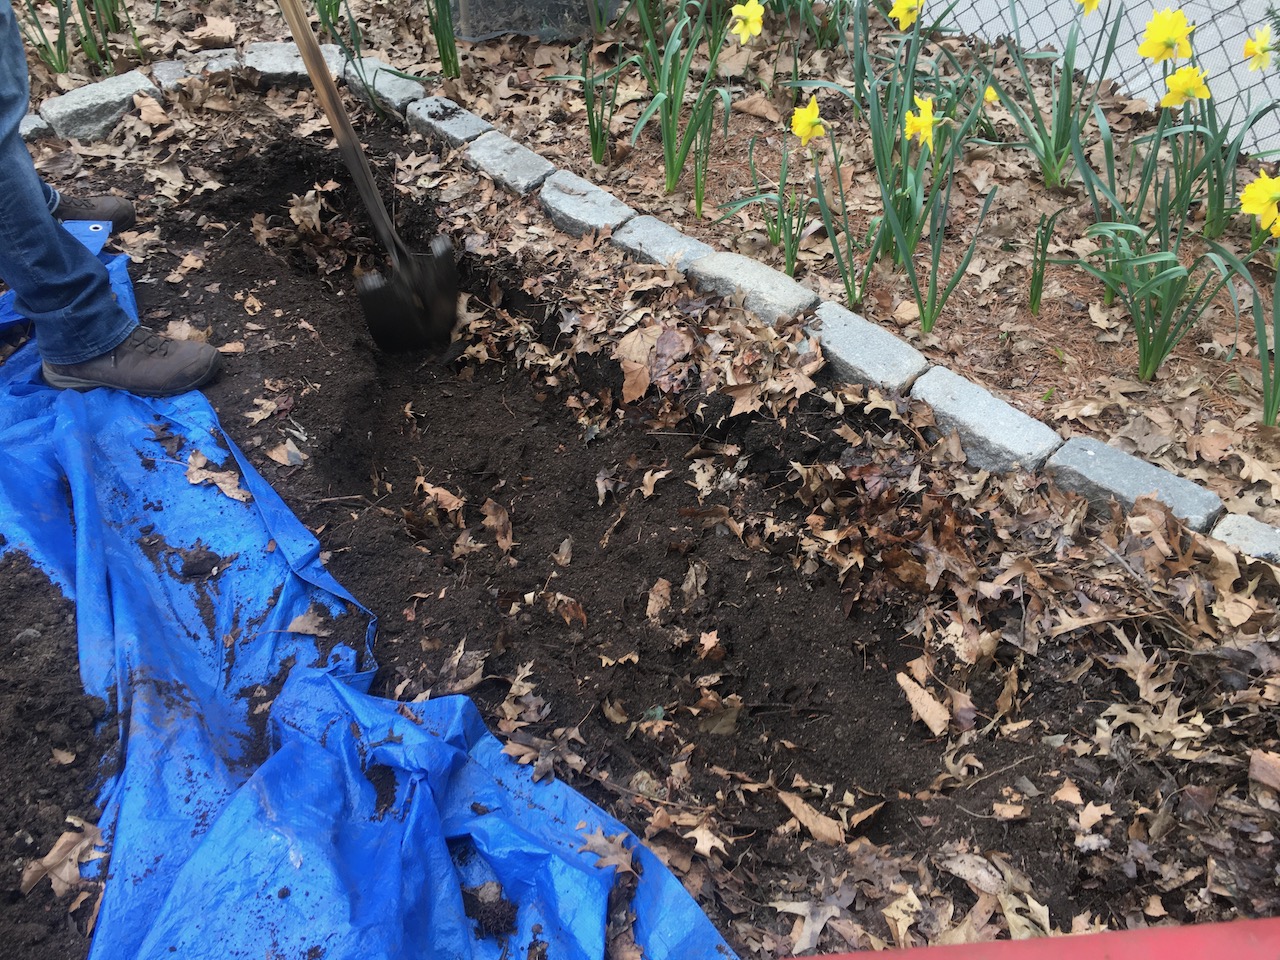
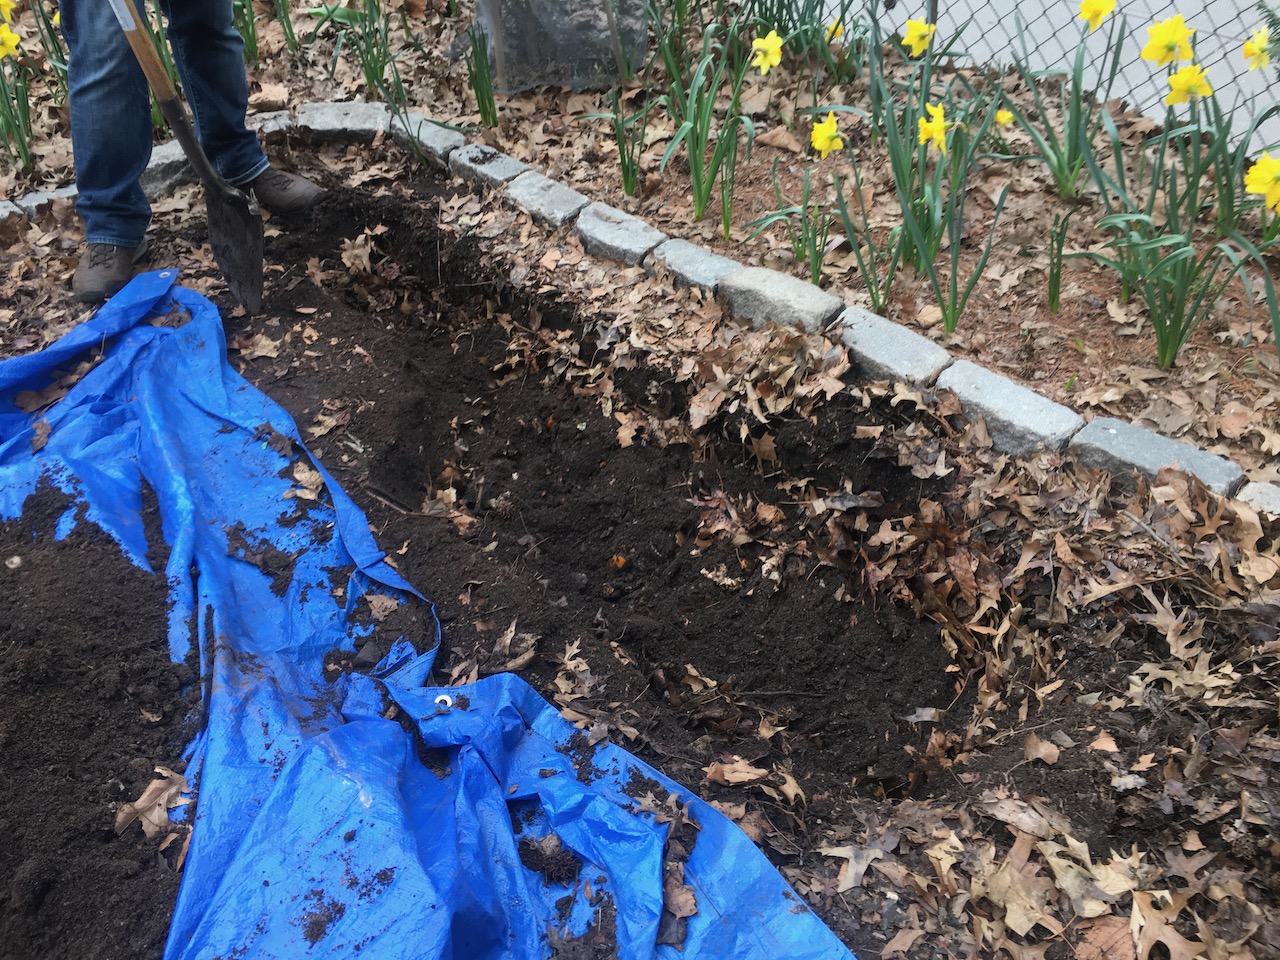
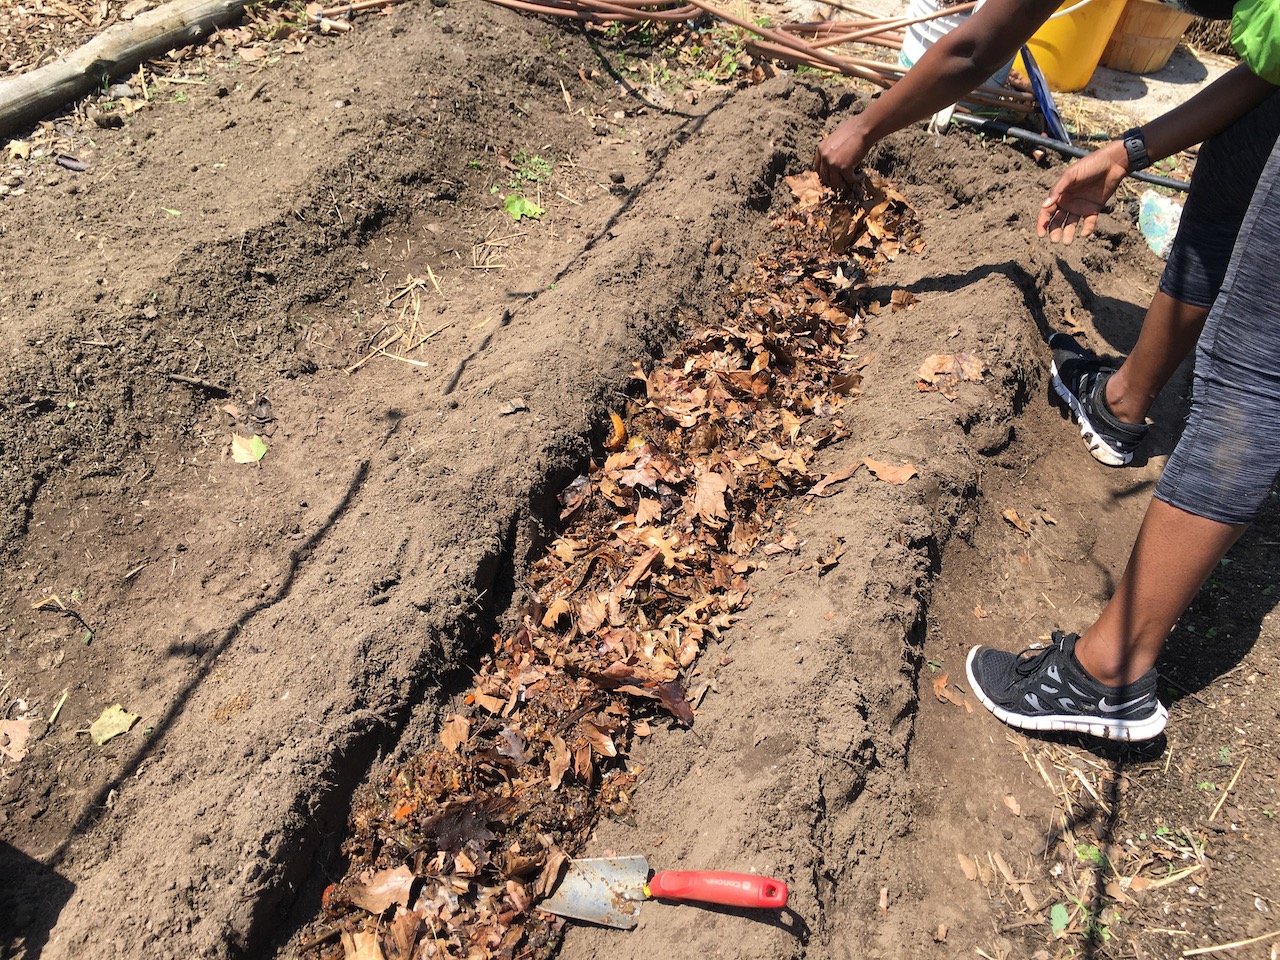
The easiest way to use FFW is by burying it in the soil (ground or garden bed) either in a trench or in pockets.
Best time to trench is in the fall and winter, especially after harvesting and annuals have withered. Trenching, particularly burying in pockets can be done throughout the year.
If trenching/burying close to plants (during their growing season) and/or perennial plants (during winter), make sure the FFW is at least 1 foot away from plants and 3 feet away from trees (however, the best location to feed a tree with FFW is to bury in a trench or pockets along the tree’s canopy edge). If you see roots of the plants/trees when digging, either make sure to avoid them/buffer them with soil against the FFW, or cut them off if it will not significantly affect the plant/tree (if cutting some roots, pruning the plant/tree should also be done since usually more leaves require more roots to support them). If the tree is young (a year old or less), then either trench/bury FFW outside of its canopy edge (at least 1 foot away, making sure it’s at least 3 feet away from the trunk), or instead of trenching/burying, apply ready-to-use compost topically (scratched into the soil) under the canopy up to the canopy edge but away from the trunk (more than 1/2 foot away).
If burying in the ground in soil where you don’t really want to grow plants, it may take one to three months for over 90% of the FFW to disappear and become part of the soil (depending on conditions and time of season). At which point, the soil can be harvested as amended soil and used in garden beds, tree pits, and landscaped soil areas. (Soils should be tested if you’re not sure of their condition, i.e., for heavy metals.)
If burying FFW in a garden bed, wait two weeks after burying before planting seedlings or seeds. There are certain plants that can be planted the same day when the FFW is buried (such as okra seedlings). Other plants (Swiss chard and other similar leafy plants) will not do well until the FFW has had enough time to break down in the soil, usually two weeks after burying the FFW.
When burying FFW:
- Keep at least 1 foot away from existing plants, and at least 3 feet away from shrubs and trees.
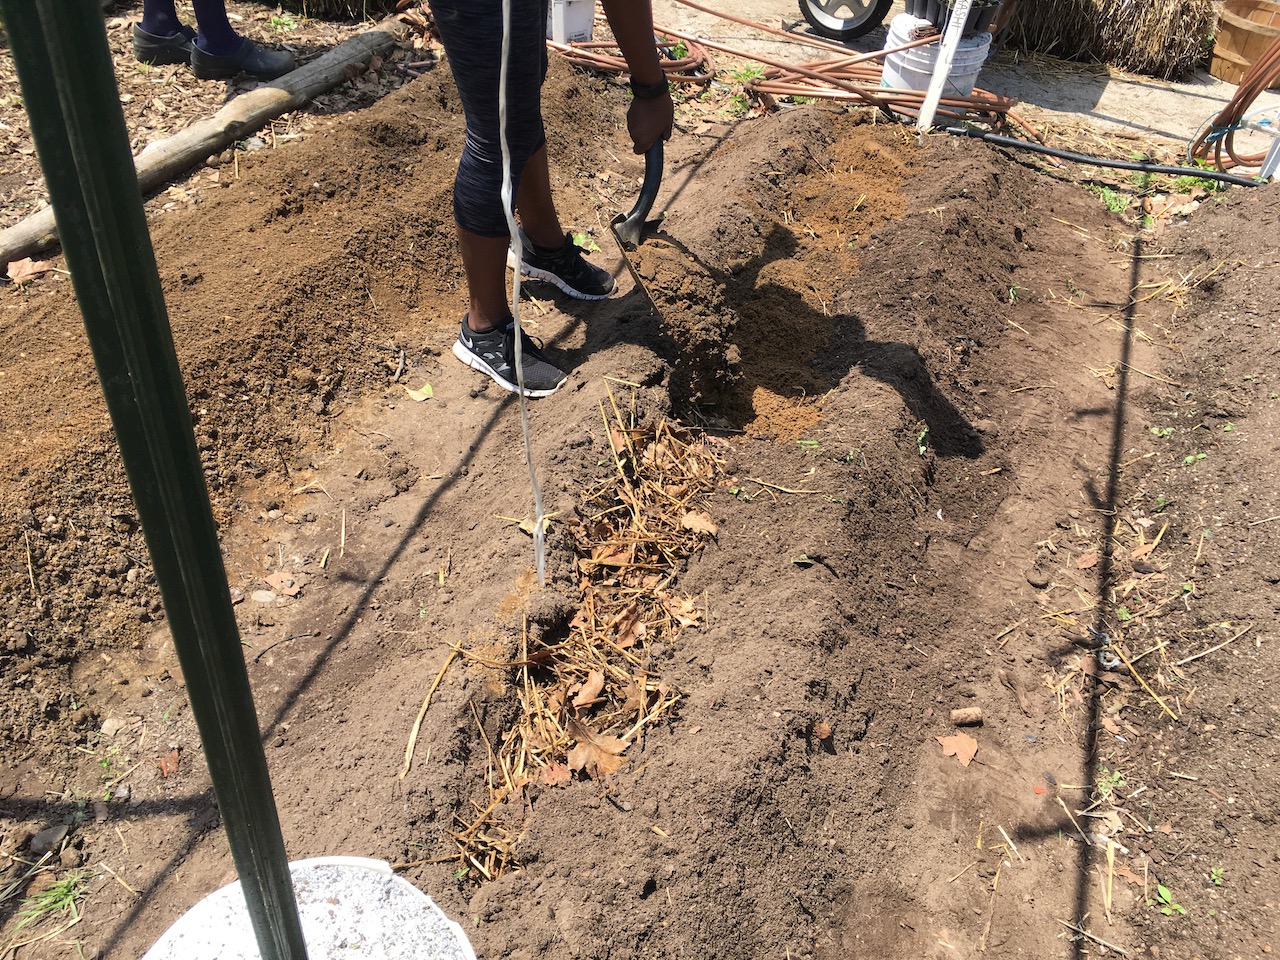
- Dig a trench (can be long and narrow 1-foot wide or large width) or hole(s) in a spot or a few spots, or throughout the ground or garden bed.
- Either dig deep enough, 1 to 2 feet deep, or for shallow digs the distance between the buried FFW and surface should be at least 8 inches or more, that is, mound the soil above the FFW level.
- The FFW can be done right on the surface (especially if the soil is too hard to dig or there’s too many rocks to dig through, or there’s a hardware fabric being used in the soil) as long as there’s at least 8 inches or more of soil completely covering the FFW.
- With surface trenching, use soil to make a bowl to contain the FFW (see Bowl-burying FFW photos below).
- For pockets/small holes, using a hand trowel, you can make any size hole, but as an example, say 5-inch wide and 6 to 9 inches deep, add only about 1/2-cup to 1 cup of FFW, mix with some soil and optionally a handful of plant matter, then fill with plain soil, and cover on top with mulch, leaves and/or other plant matter (see 8 below).
- This will feed nearby plants.
- This can be done throughout the garden bed or garden area.
- Either dig deep enough, 1 to 2 feet deep, or for shallow digs the distance between the buried FFW and surface should be at least 8 inches or more, that is, mound the soil above the FFW level.
- Before covering the FFW with plain soil, it is best to break up any clumping or large pieces.
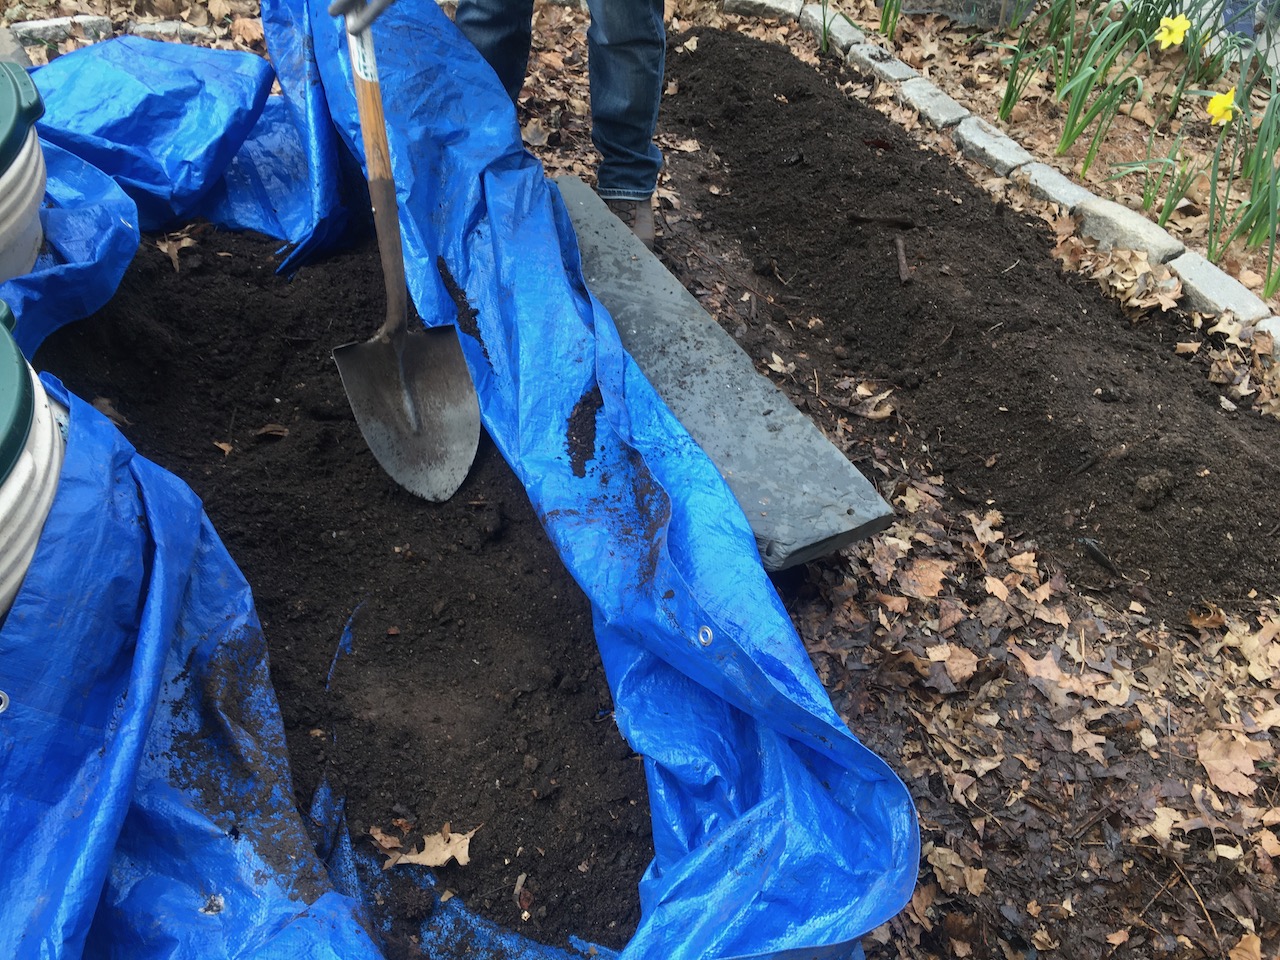
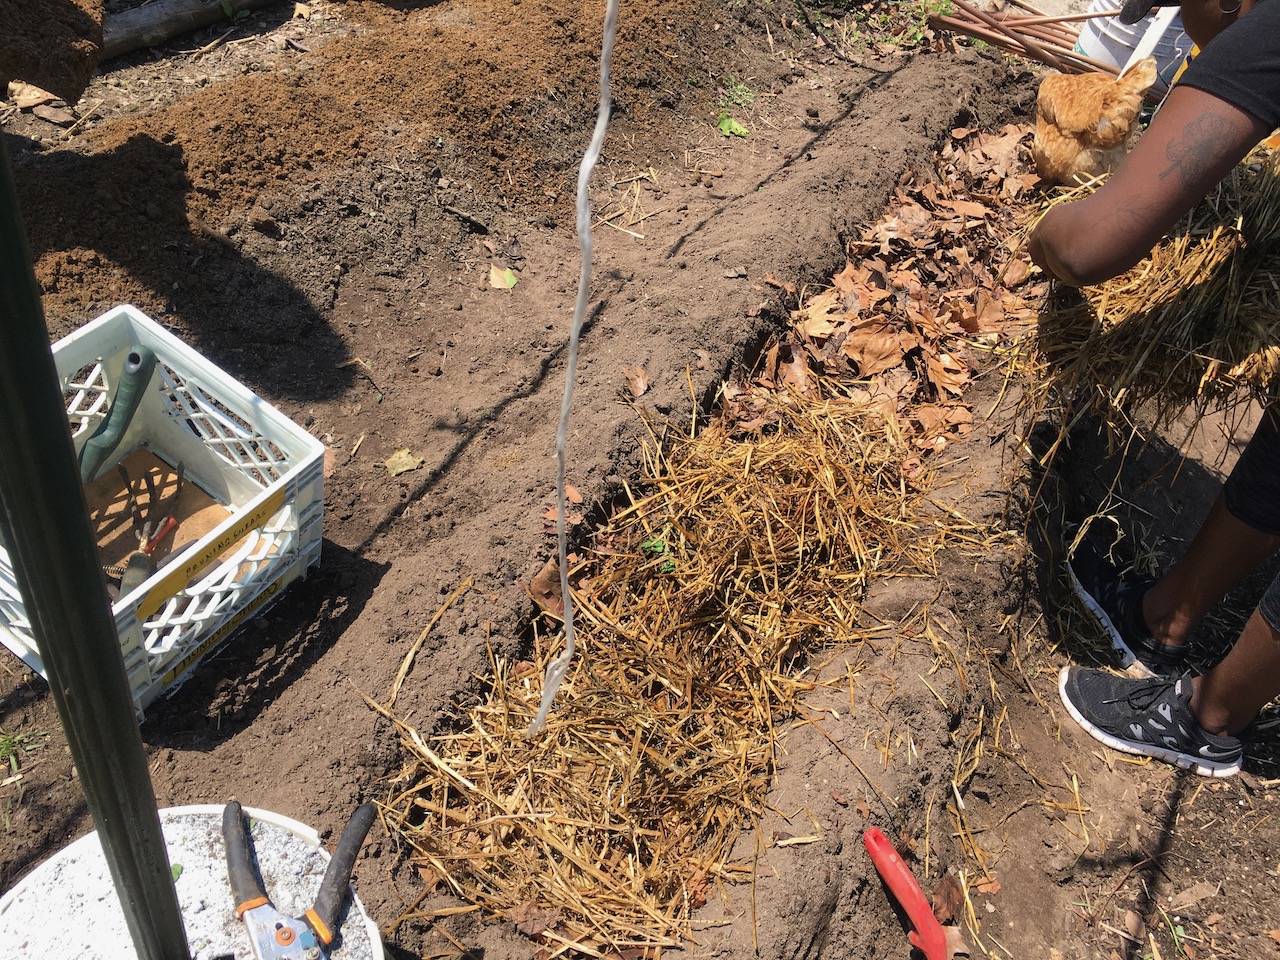
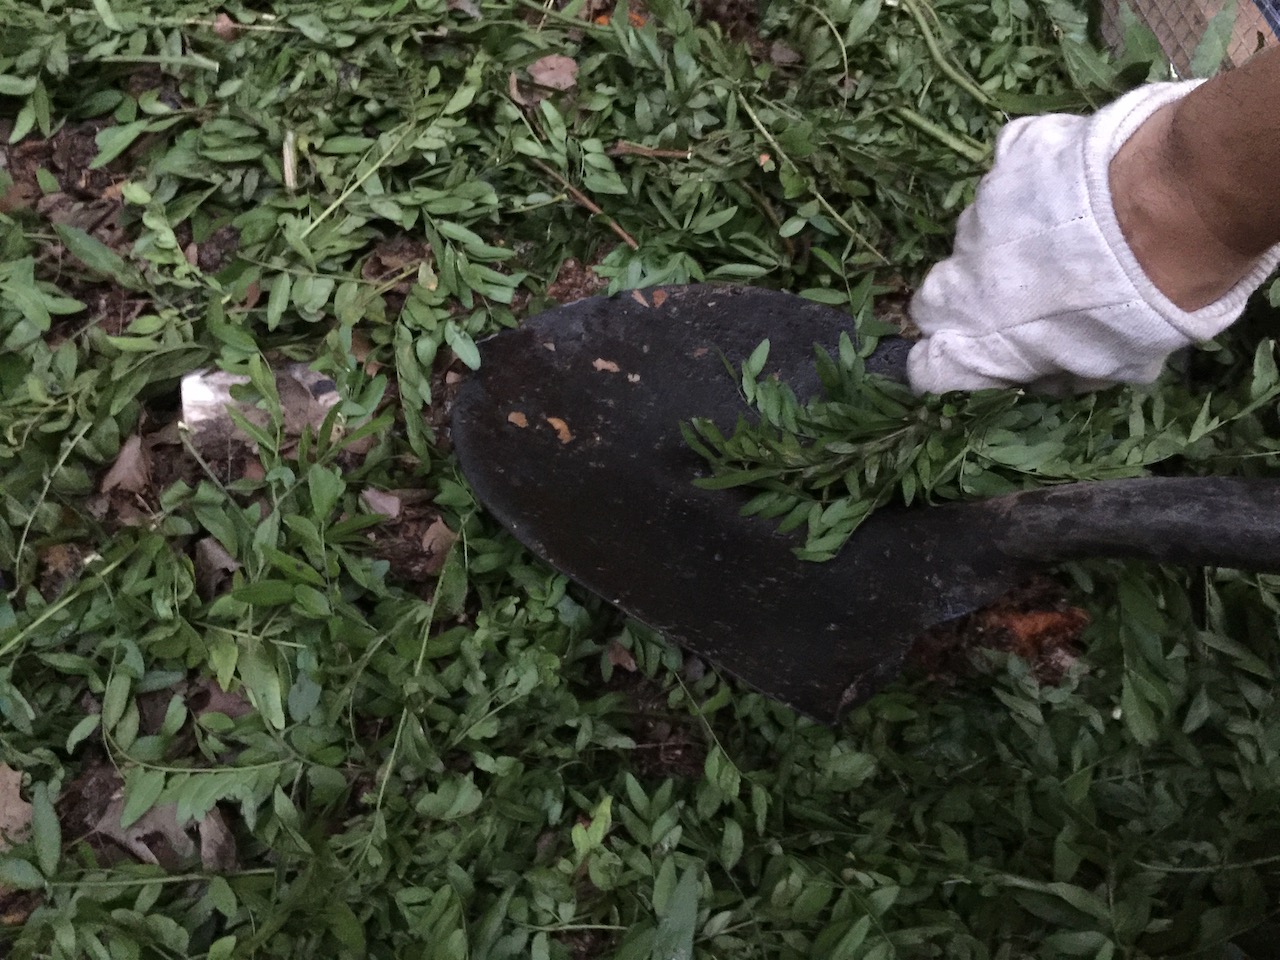
- Mix into the FFW any plant matter you may have on hand to help fluff the FFW since it can be very dense (which may then take longer for it to break down in the soil), especially if putting in more than 2 lbs of FFW per square foot. Use either a shovel or ice chopper to mix the plant matter into the FFW.
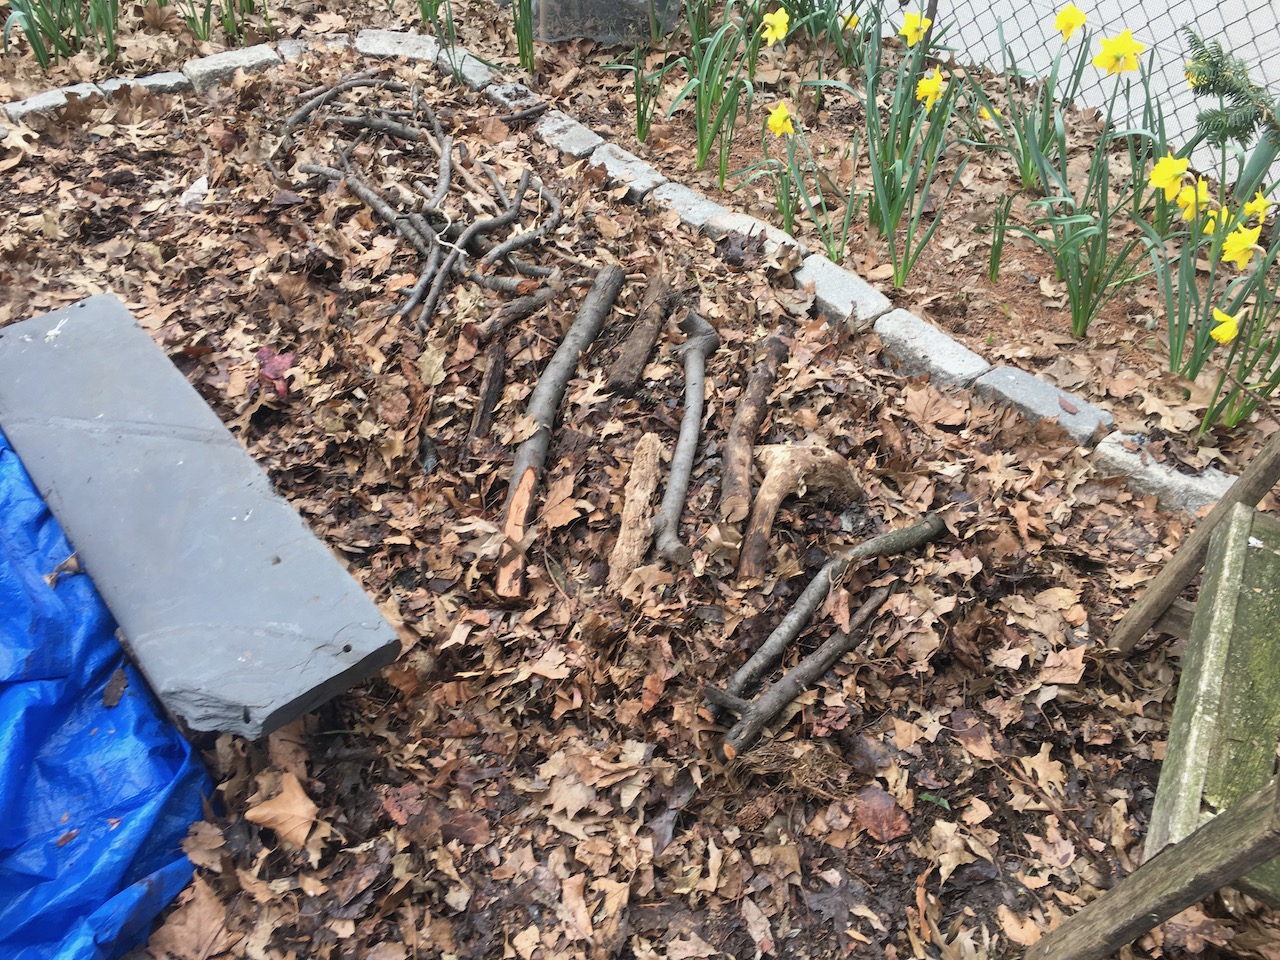
- Plant matter can include leaves, clippings (browns or greens), twigs, branches cut into small pieces (thick branches, 1-inch or thicker, into a few inches; thin branches, less than 1-inch thick, into less than a foot long).
- Some soil, or soil-compost mix, can also be added onto the FFW and mixed in using a shovel or ice chopper. The amount of soil to mix in is about an amount that would very lightly cover the FFW (about 1/4 shovel per square foot). Also, if trenching in the same spot as a previous trenching, if there are any unbroken down FFW bits in the soil, use that soil to mix into the fresh FFW (see 7 below).
- When covering the FFW + plant matter mix,
- first, make sure that there are no bits of FFW outside the trench or hole, because over the next few days, those bits exposed to the air can cause a foul odor.
- second, make sure to use either plain soil or a soil-compost mix to completely cover the FFW mix at least 8 inches or more. In other words, make sure there aren’t any FFW bits or if burying in a spot where FFW had been recently buried and there are still unbroken down bits still in the dug-up soil, place those parts in the trench/hole first.
- If burying in a spot where FFW was recently buried, either avoid the area until enough time has lapsed (1 to 3 months), or when digging up the soil, there are still bits of unbroken down FFW, then make sure that part of the dug-up soil is placed separately from the plain soil. Use this soil with unbroken down bits first when mixing in some soil into the freshly added FFW and/or when covering the FFW mix with soil.
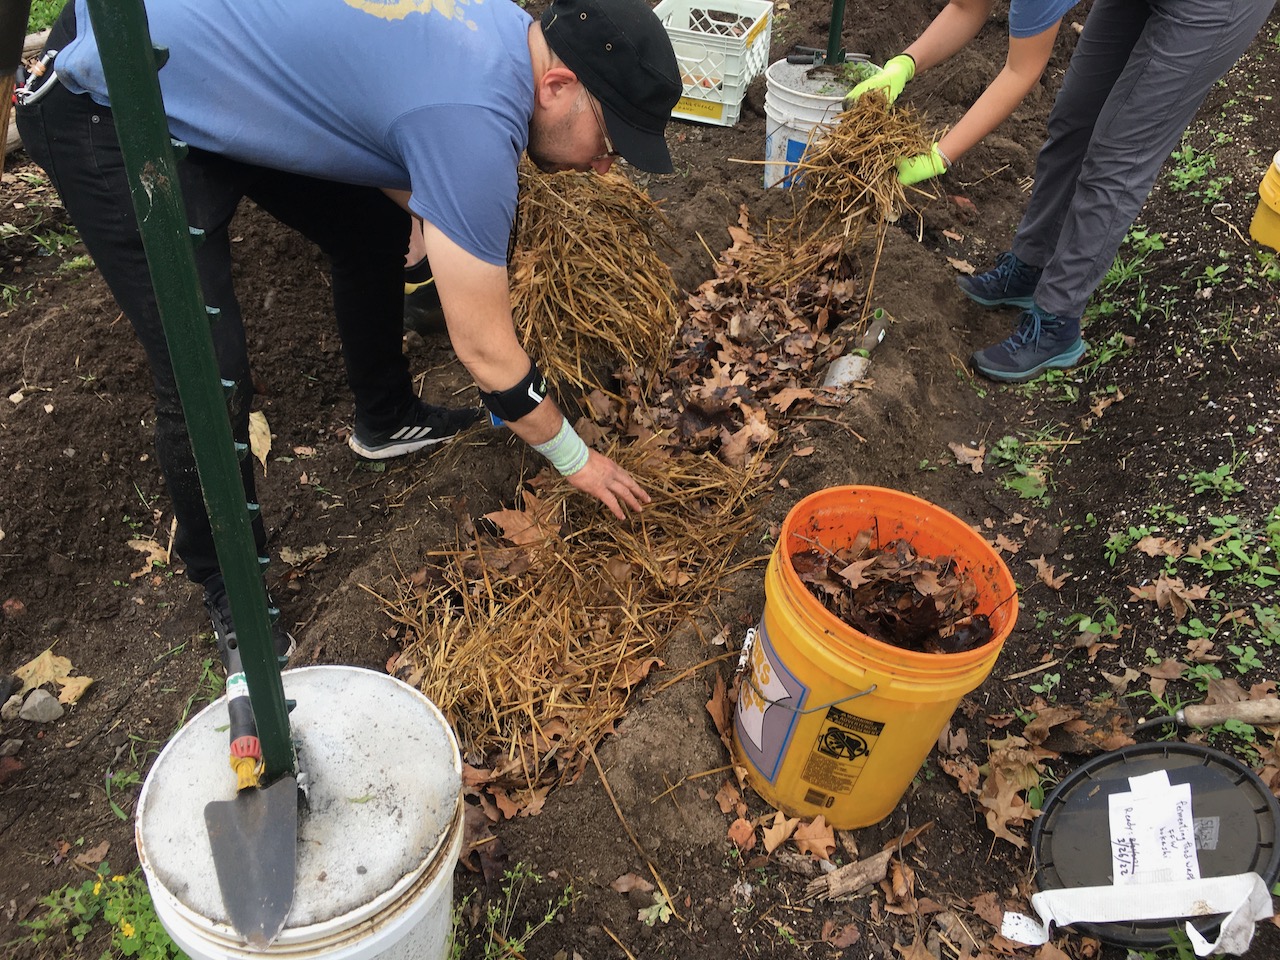
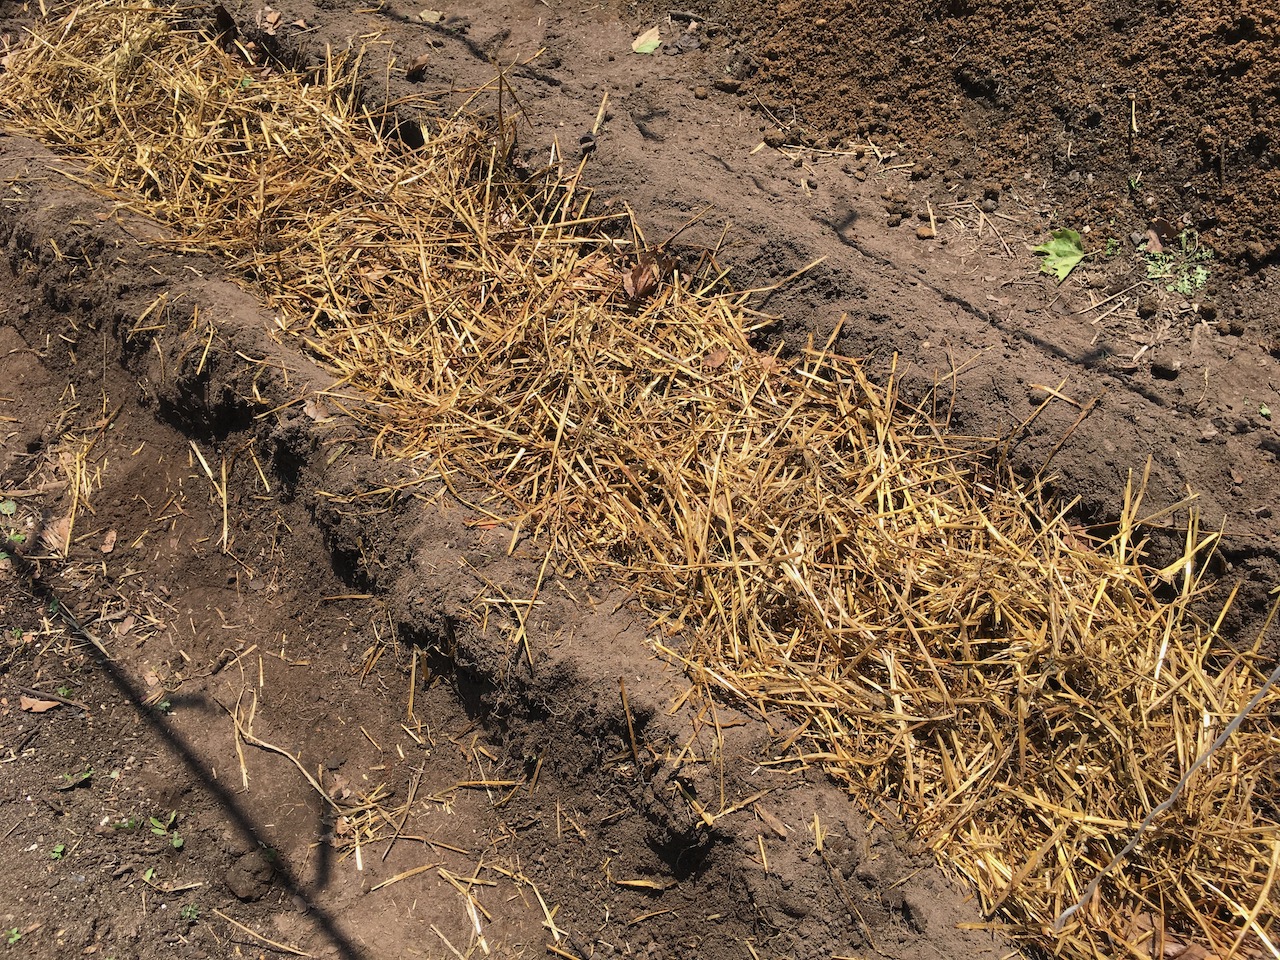
- After completely covering the FFW mix with soil, cover the soil with a mulch or ground cover: use leaves, plant matter, twigs, whatever you may have on hand.
- This will prevent or minimize evaporation of the soil. Moisture is critical for microbial activity which is what the bokashi method is all about (microbial activity, microbial density and diversity in the soil). Microbial activity means continual breakdown of plant matter and the FFW and release and greater bioavailability of nutrients in the soil; microbes attracts and feeds other organisms (worms, insects).
- The cover will mean less dusty conditions when no rainfall for awhile; and less muddy conditions when lots of rain.
- The cover will also act as a blanket during the winter, keeping the ground from freezing over and keeping minimal life underneath even during the coldest part of winter (microbial and worm activity). See Ground soil temperature Jan. 15, 2022.
- For this reason, we can trench in the garden throughout the winter.
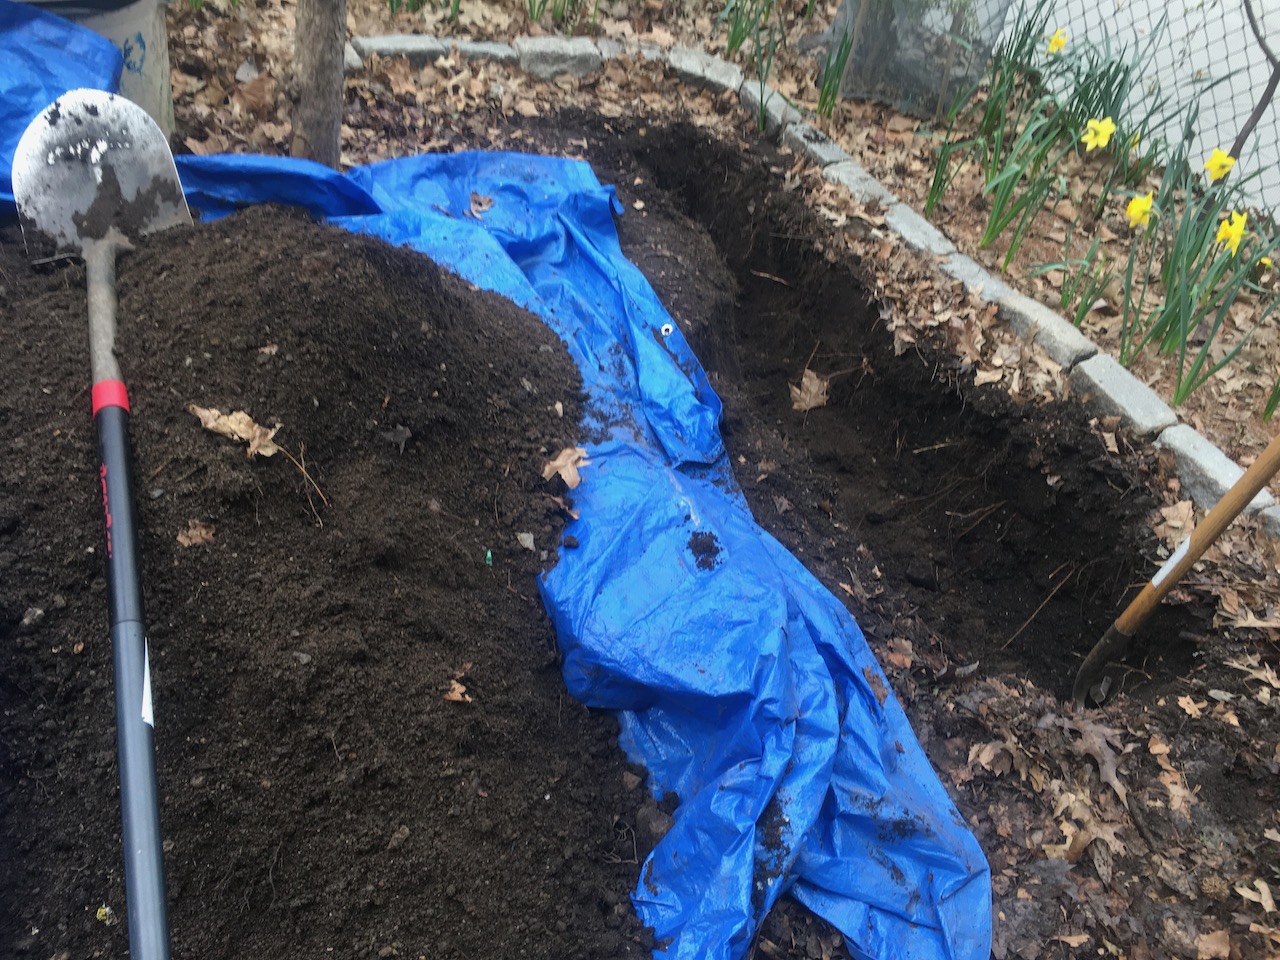
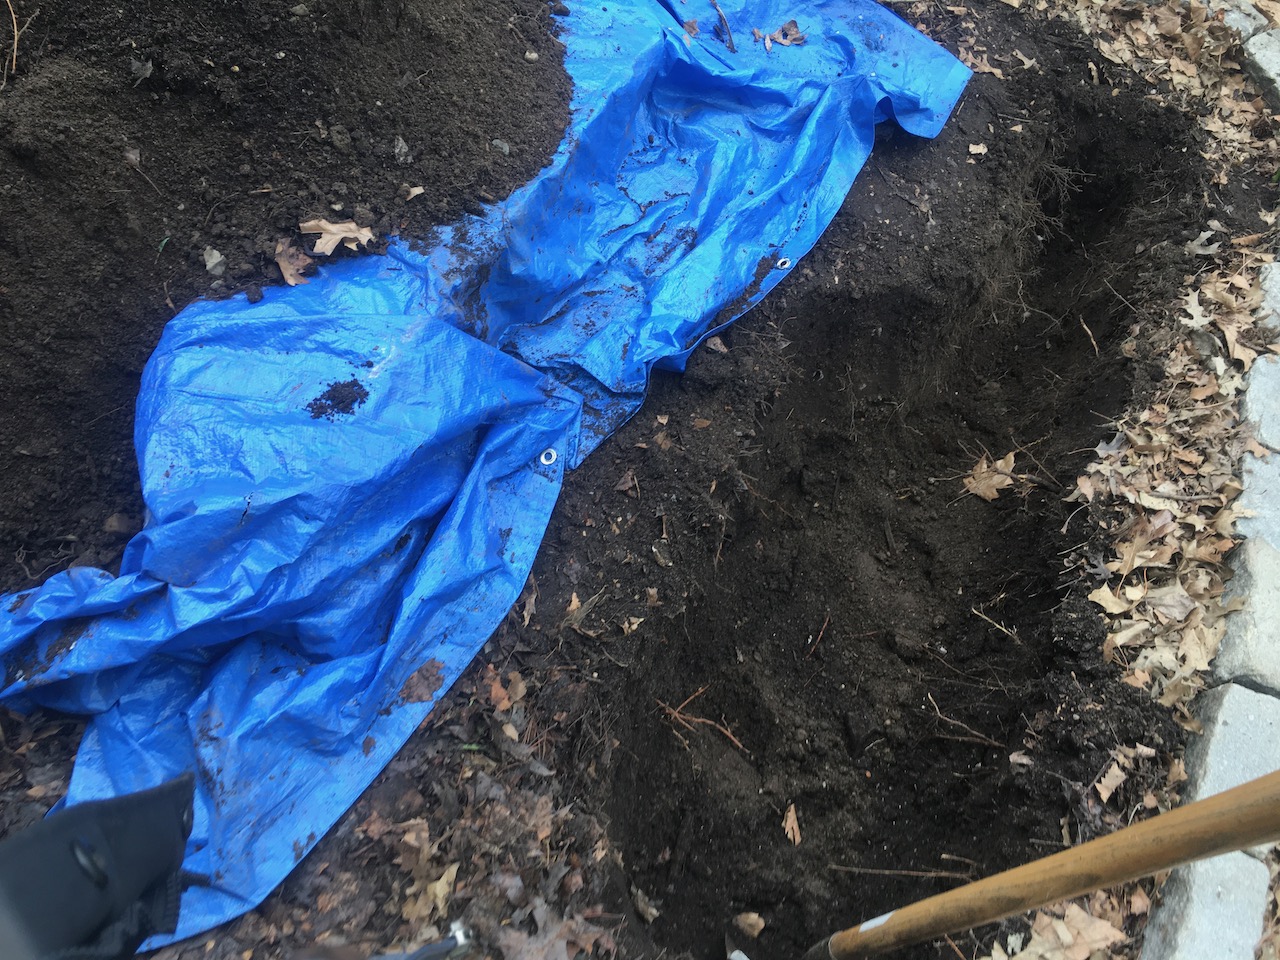
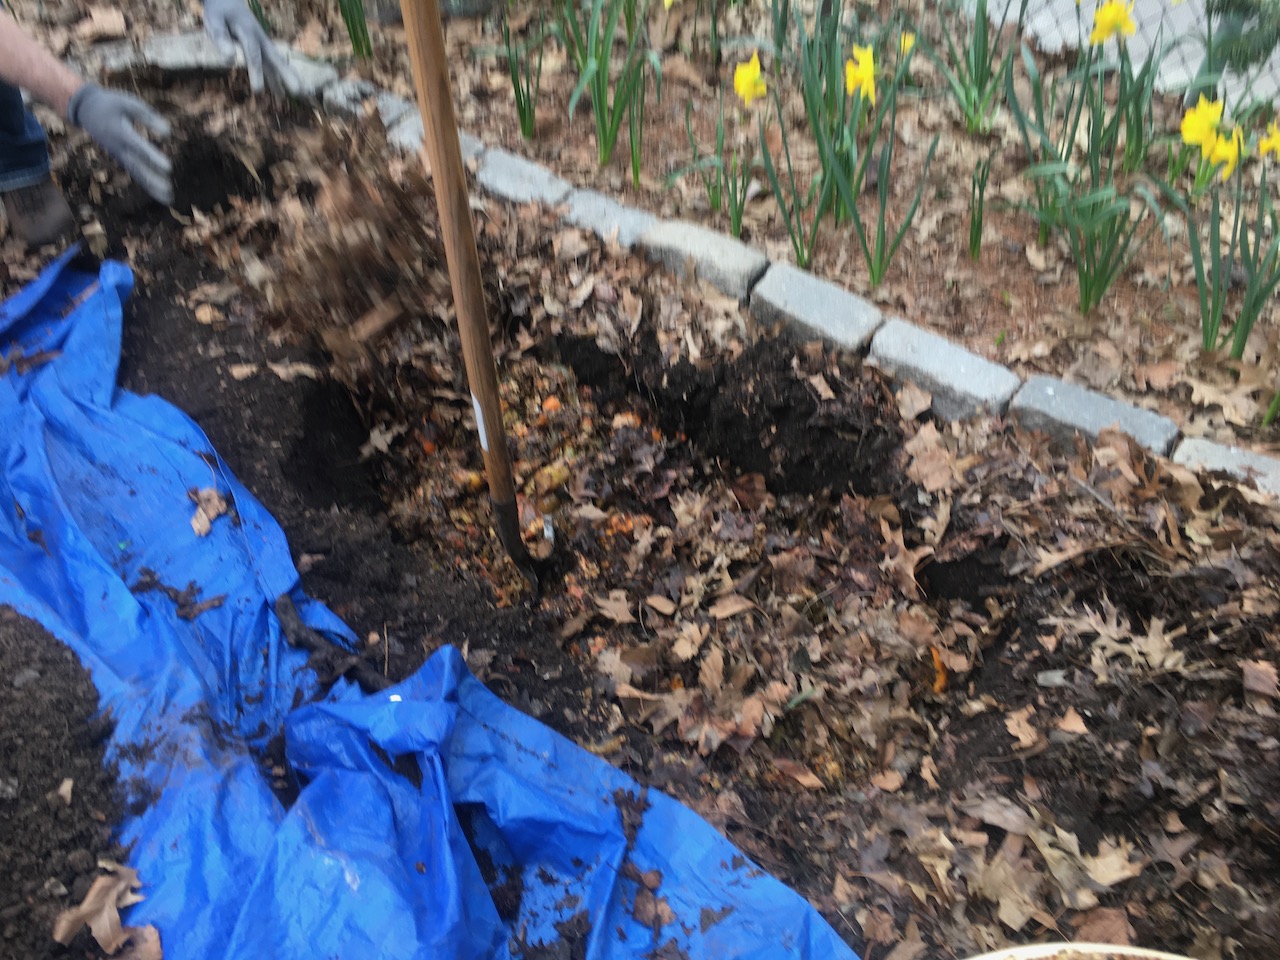
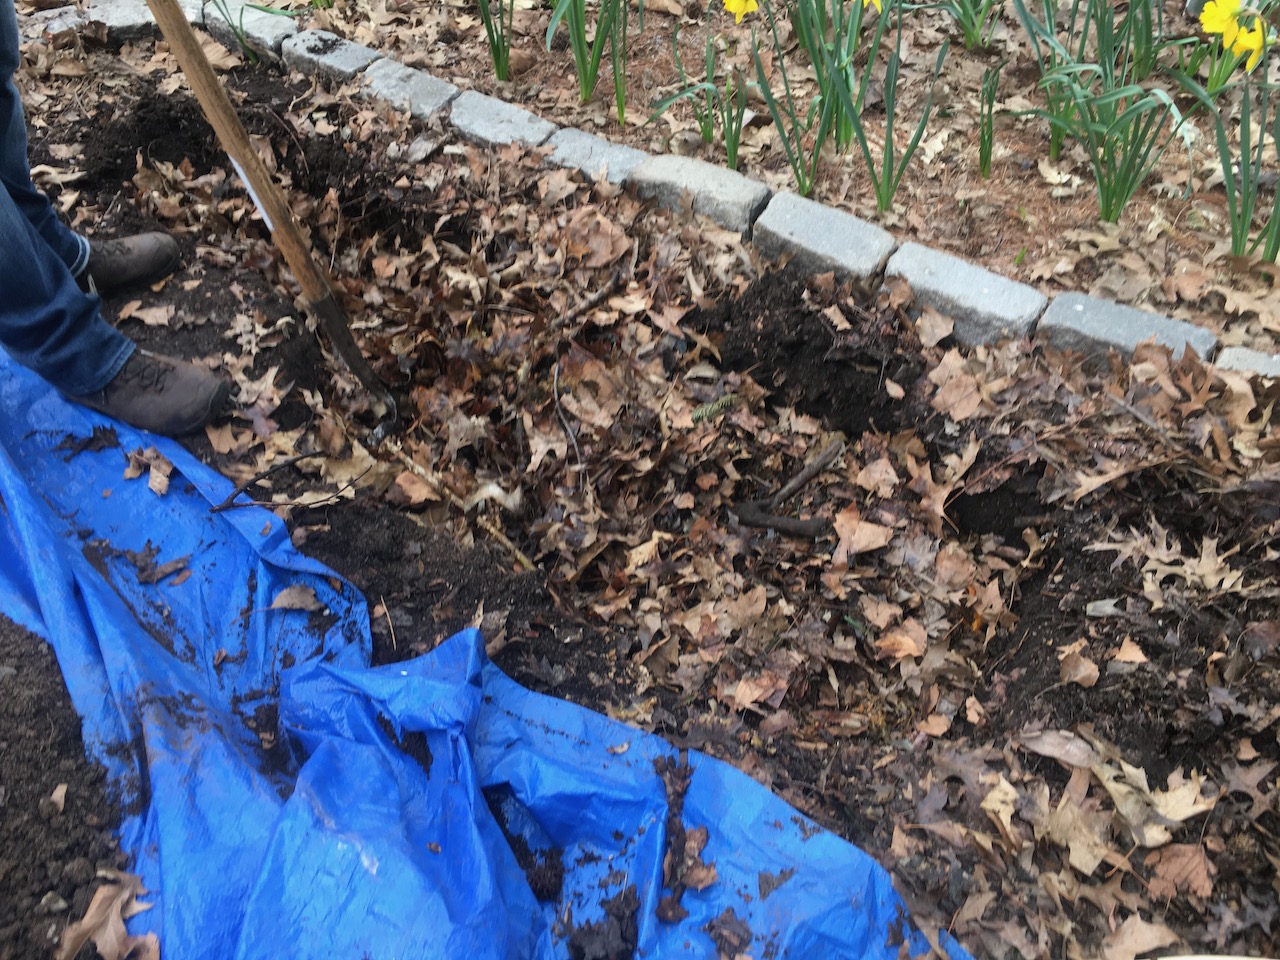
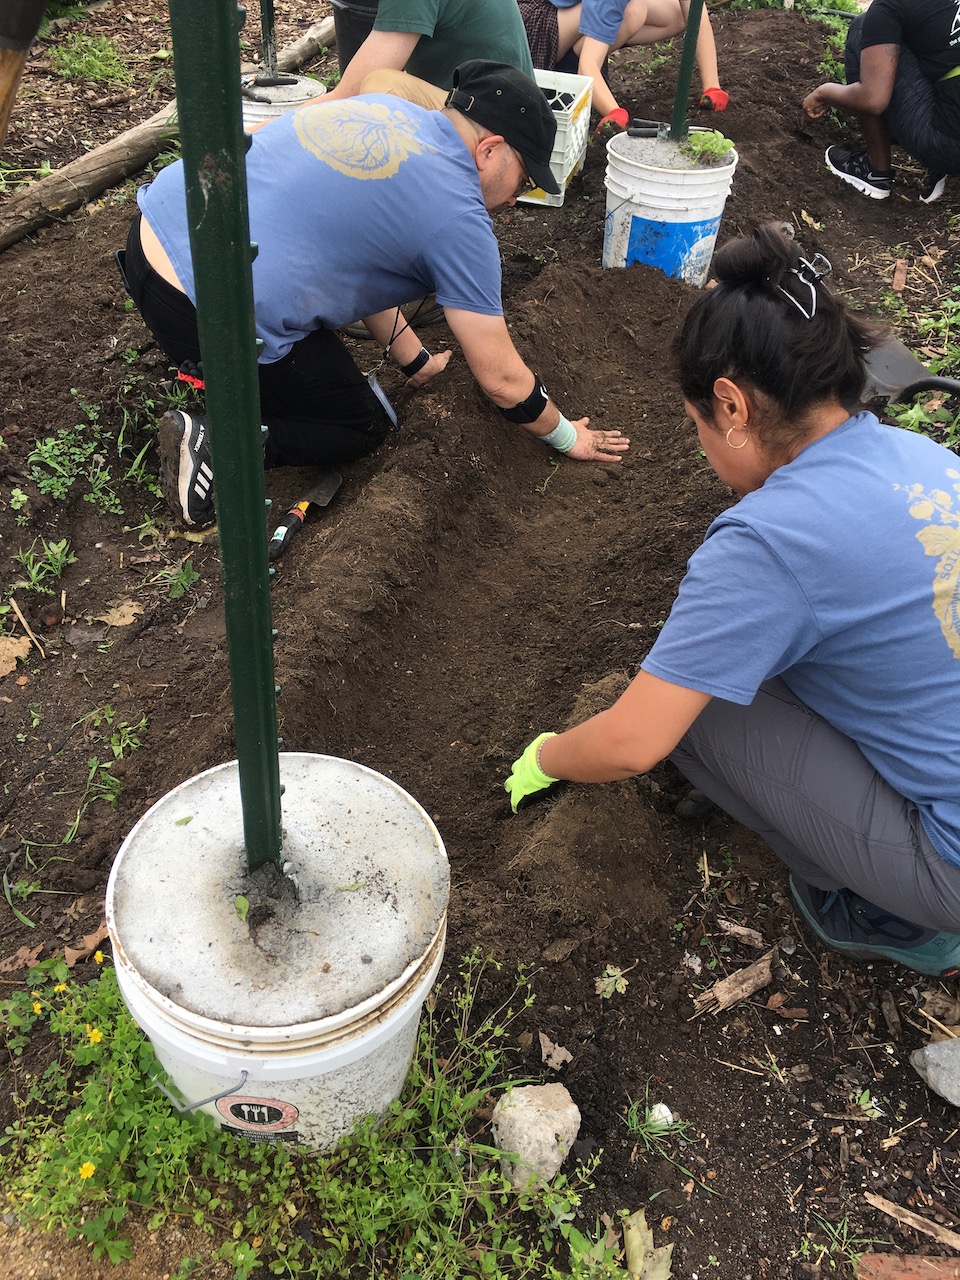
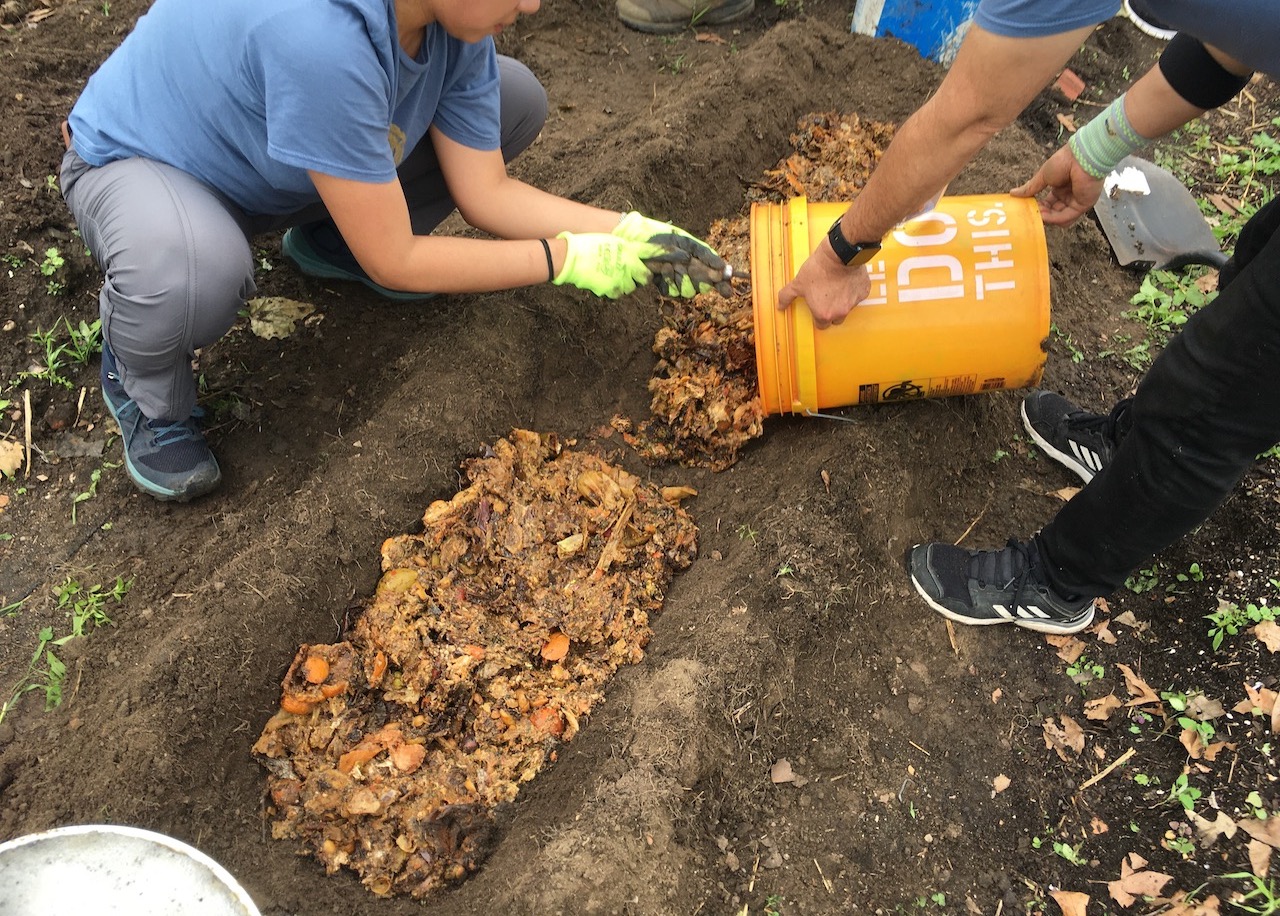
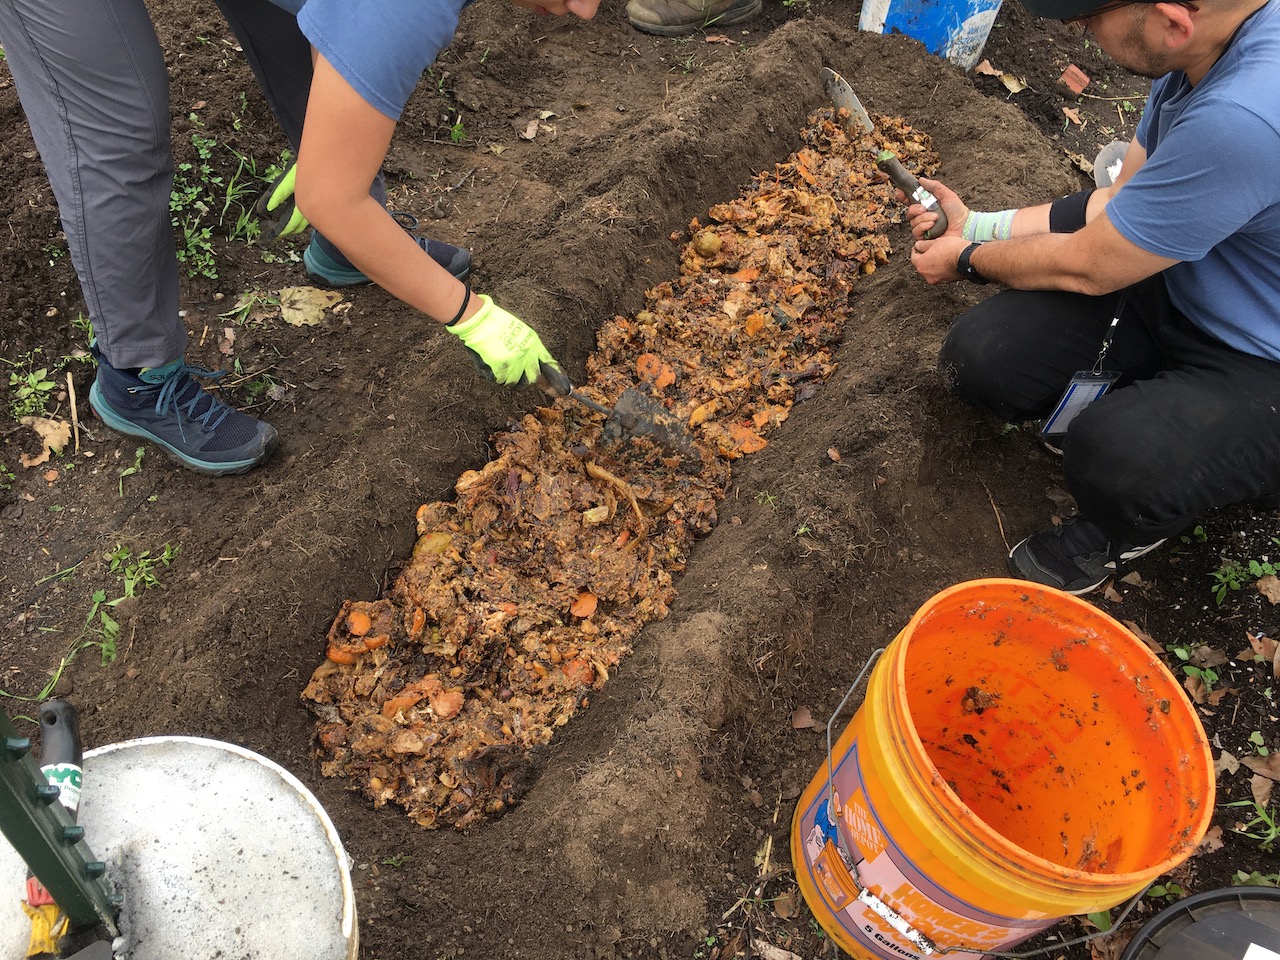
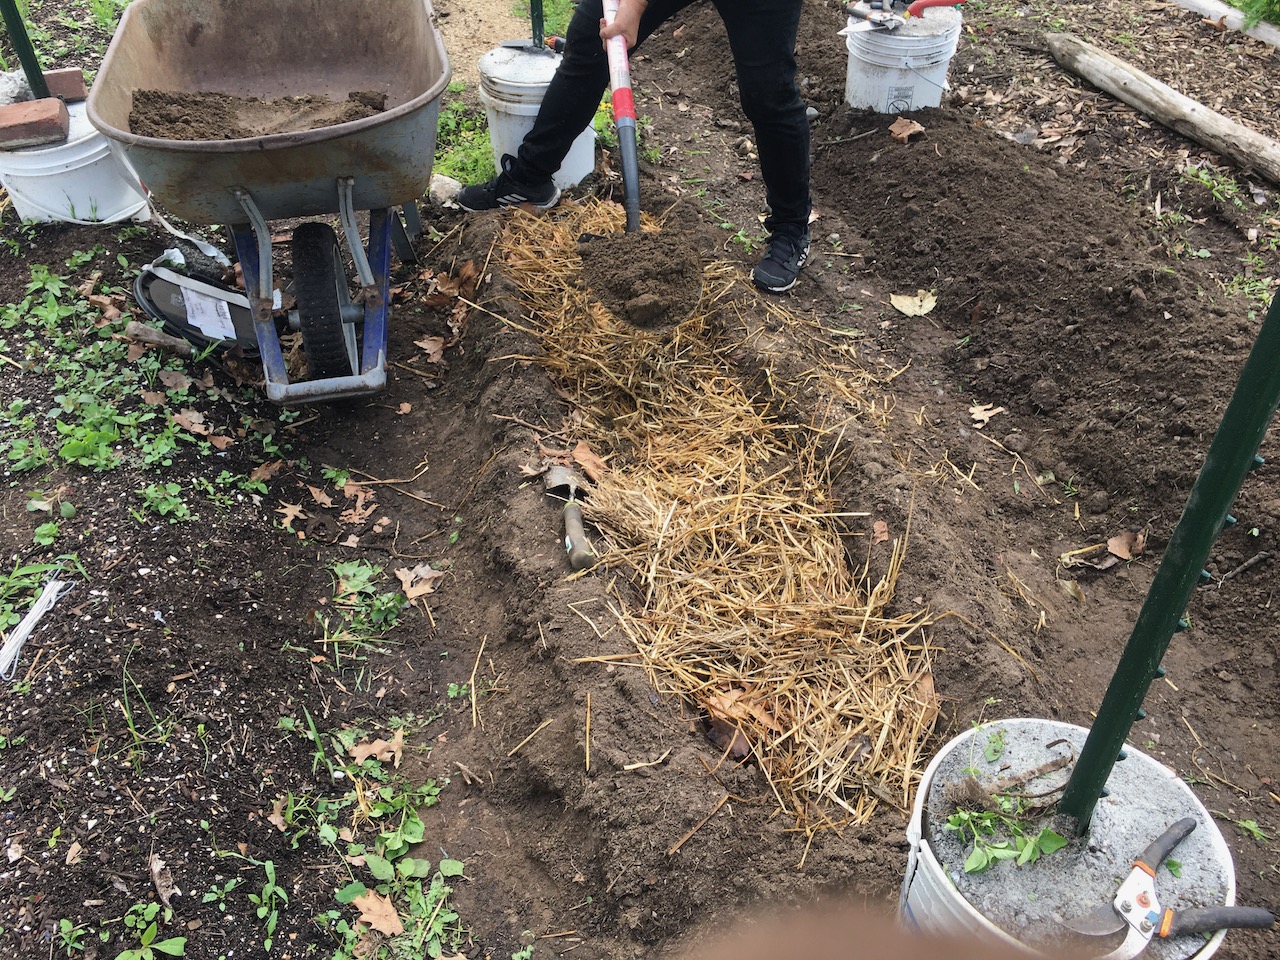
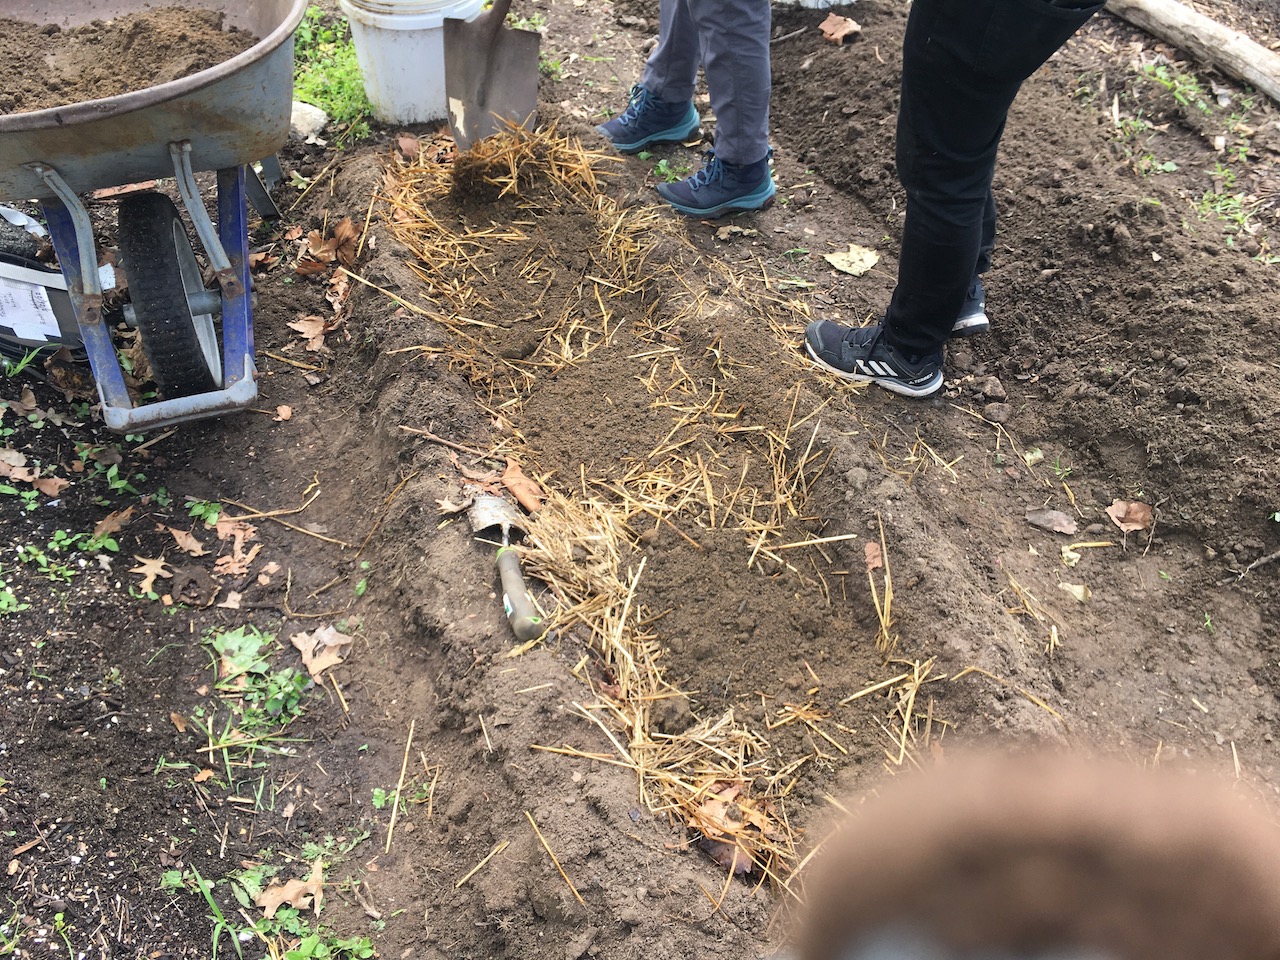
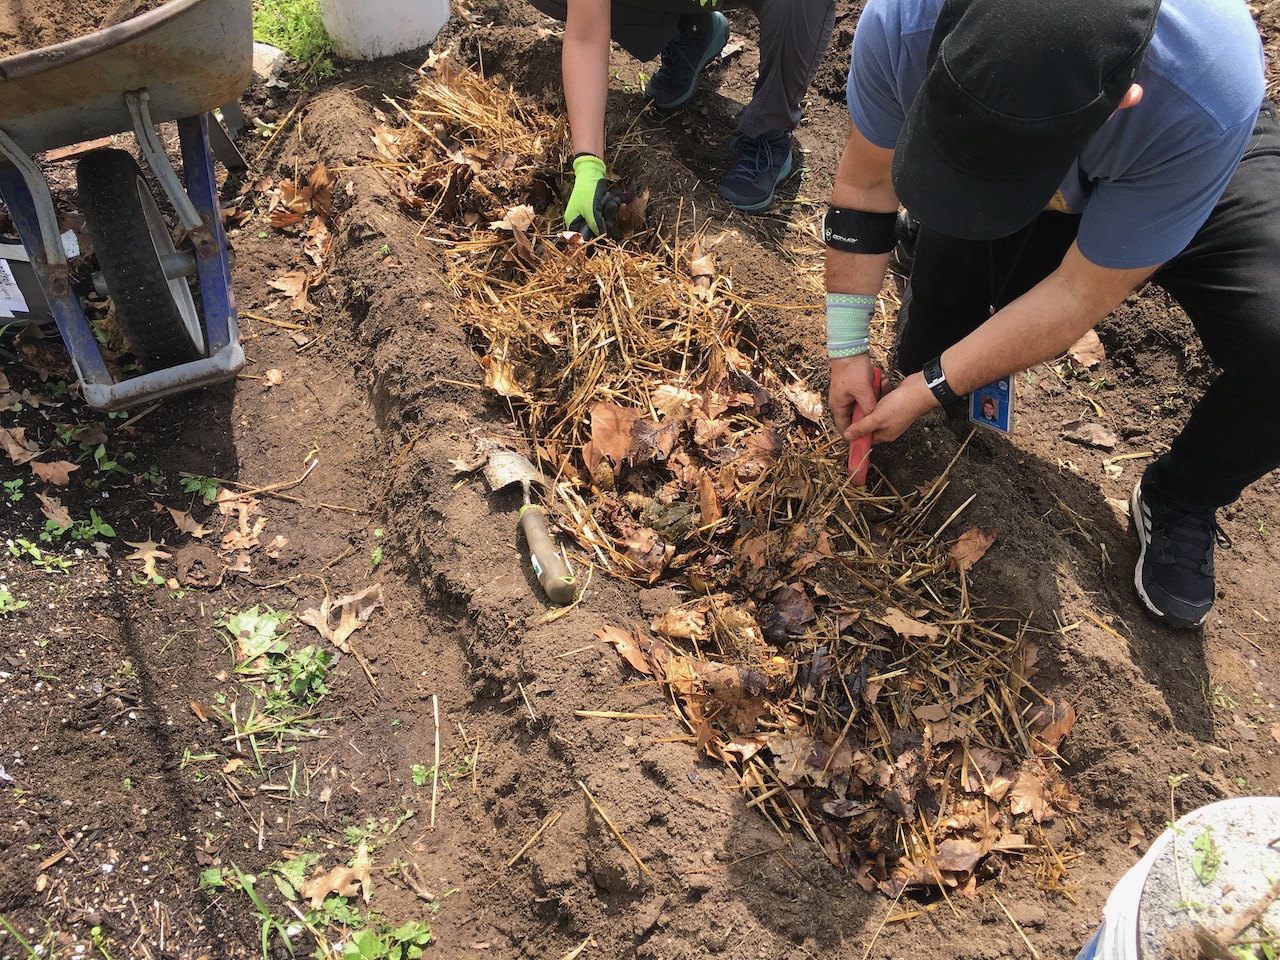
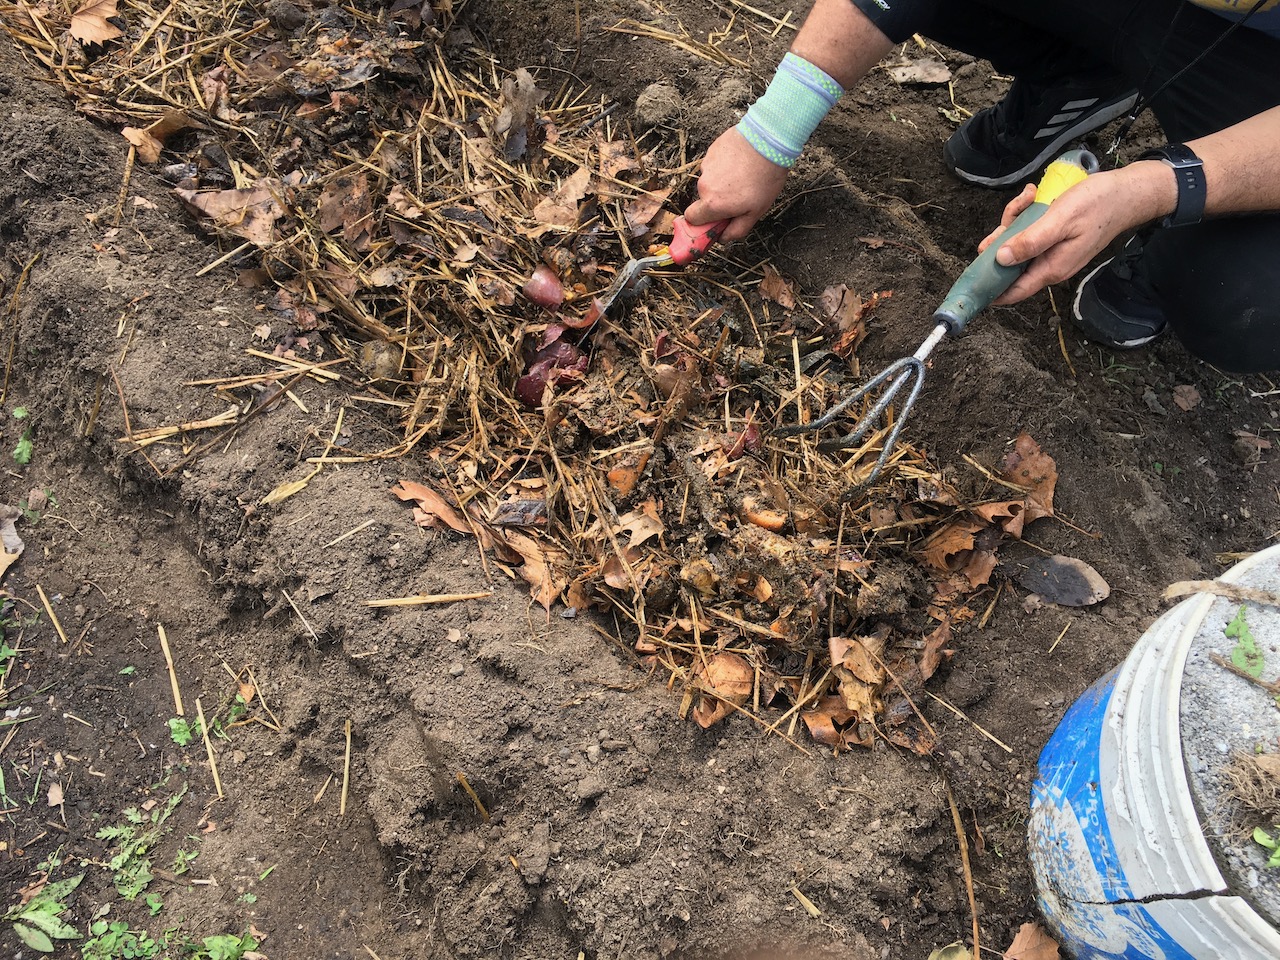
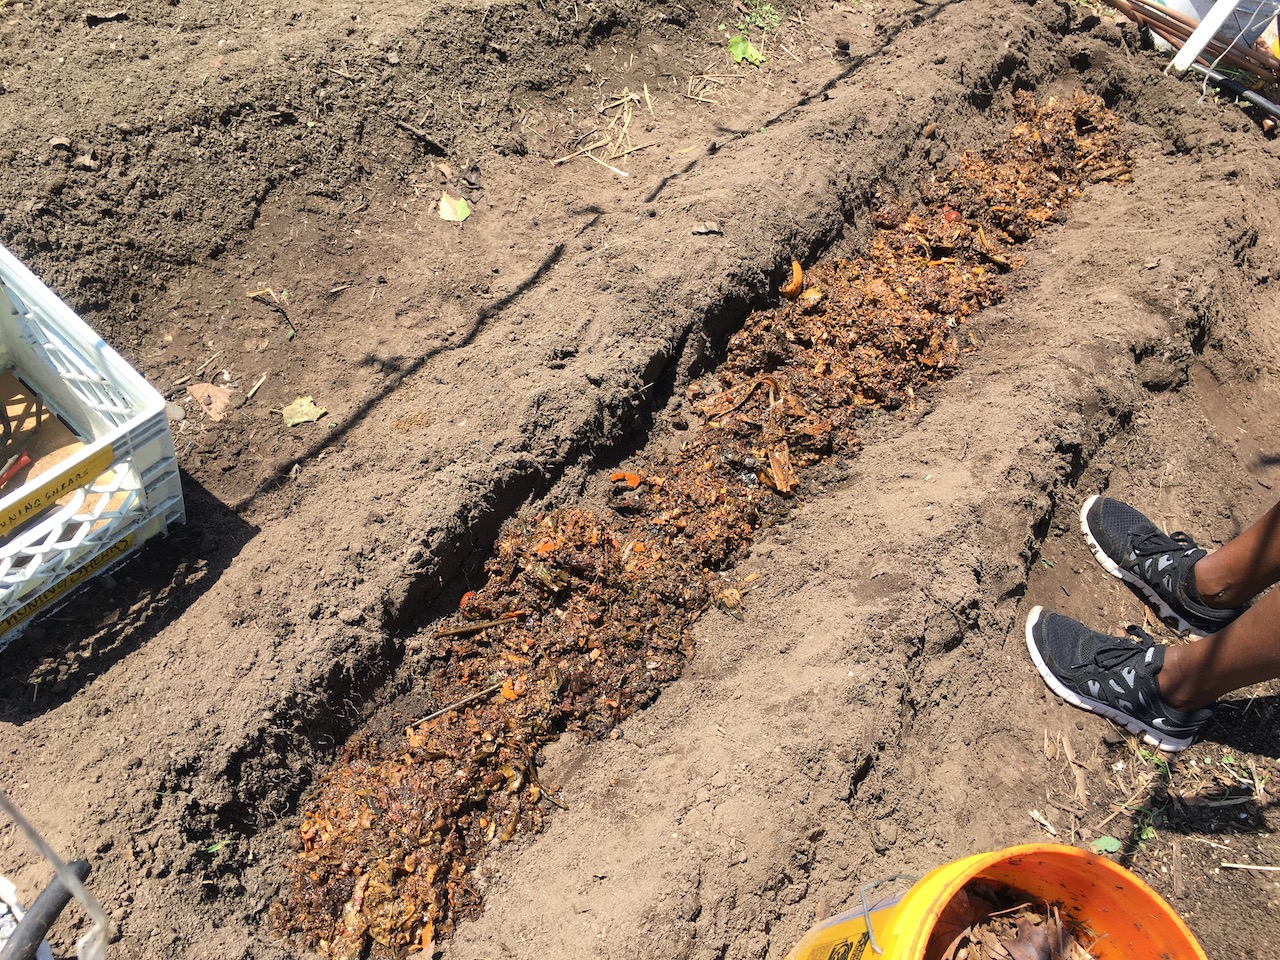
Photos: trenching in the ground (where plants are not usually grown; walking area; pathways; outside of growing beds).

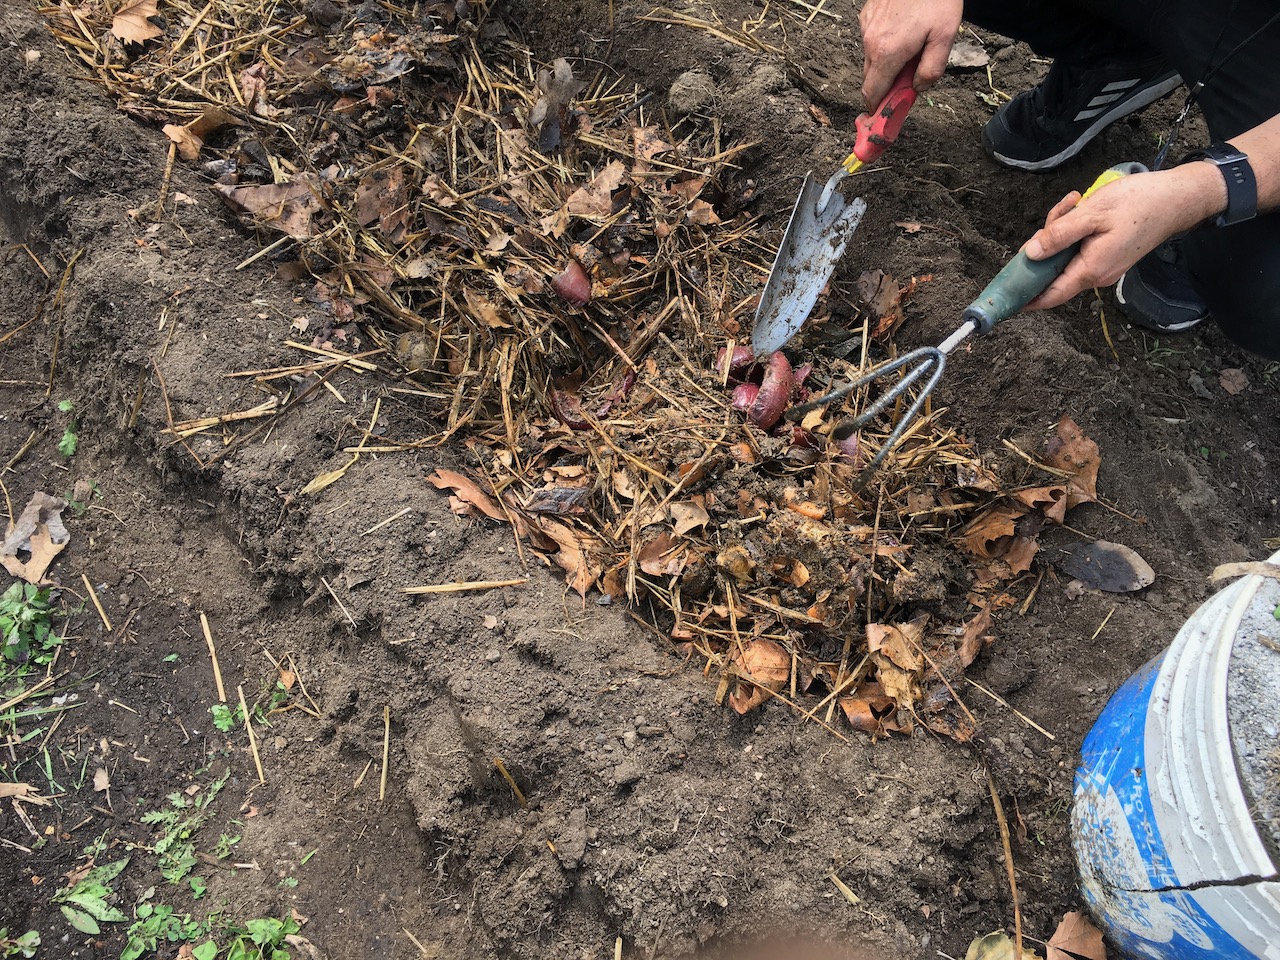
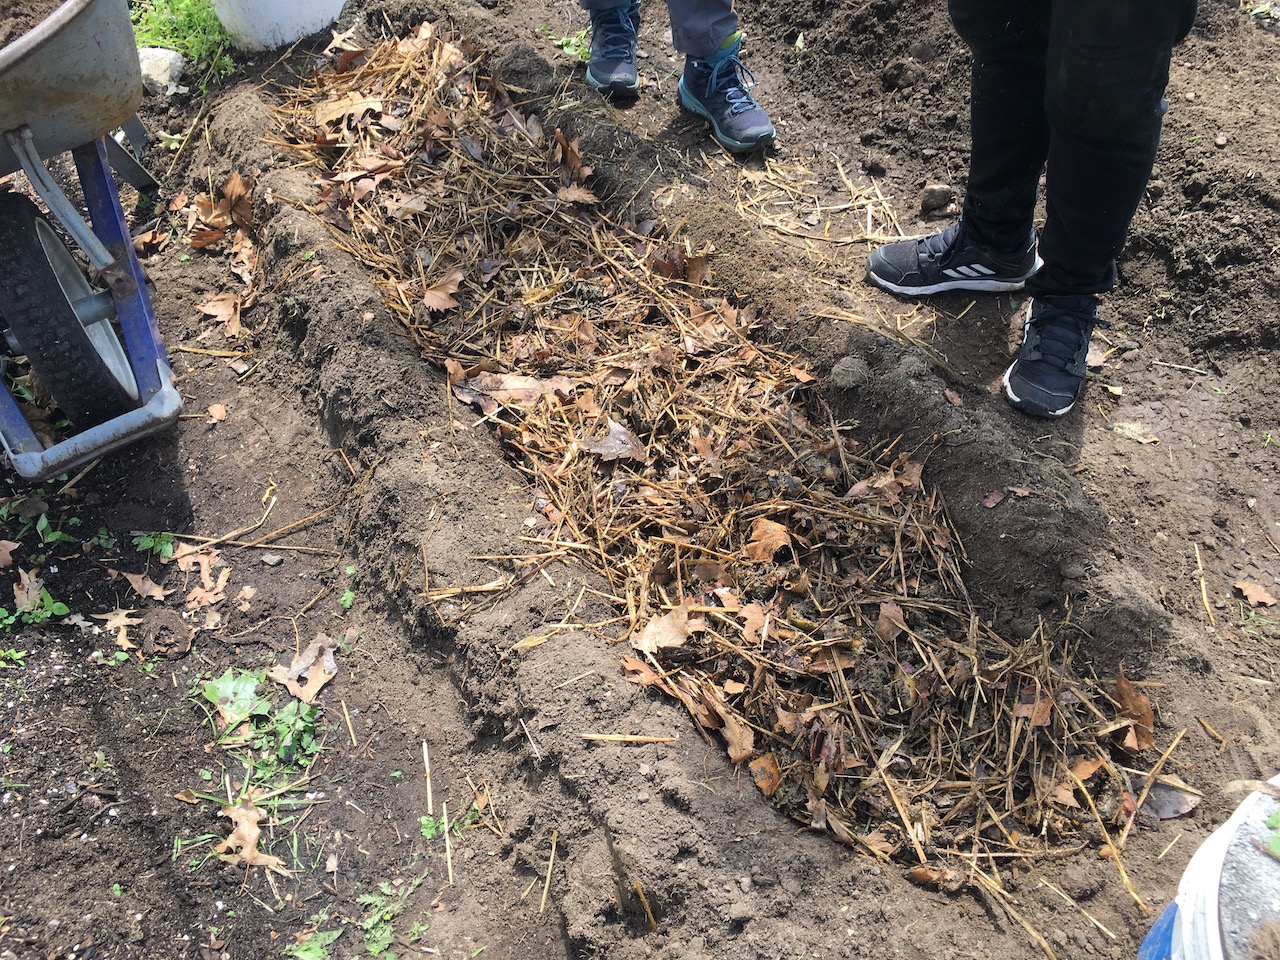
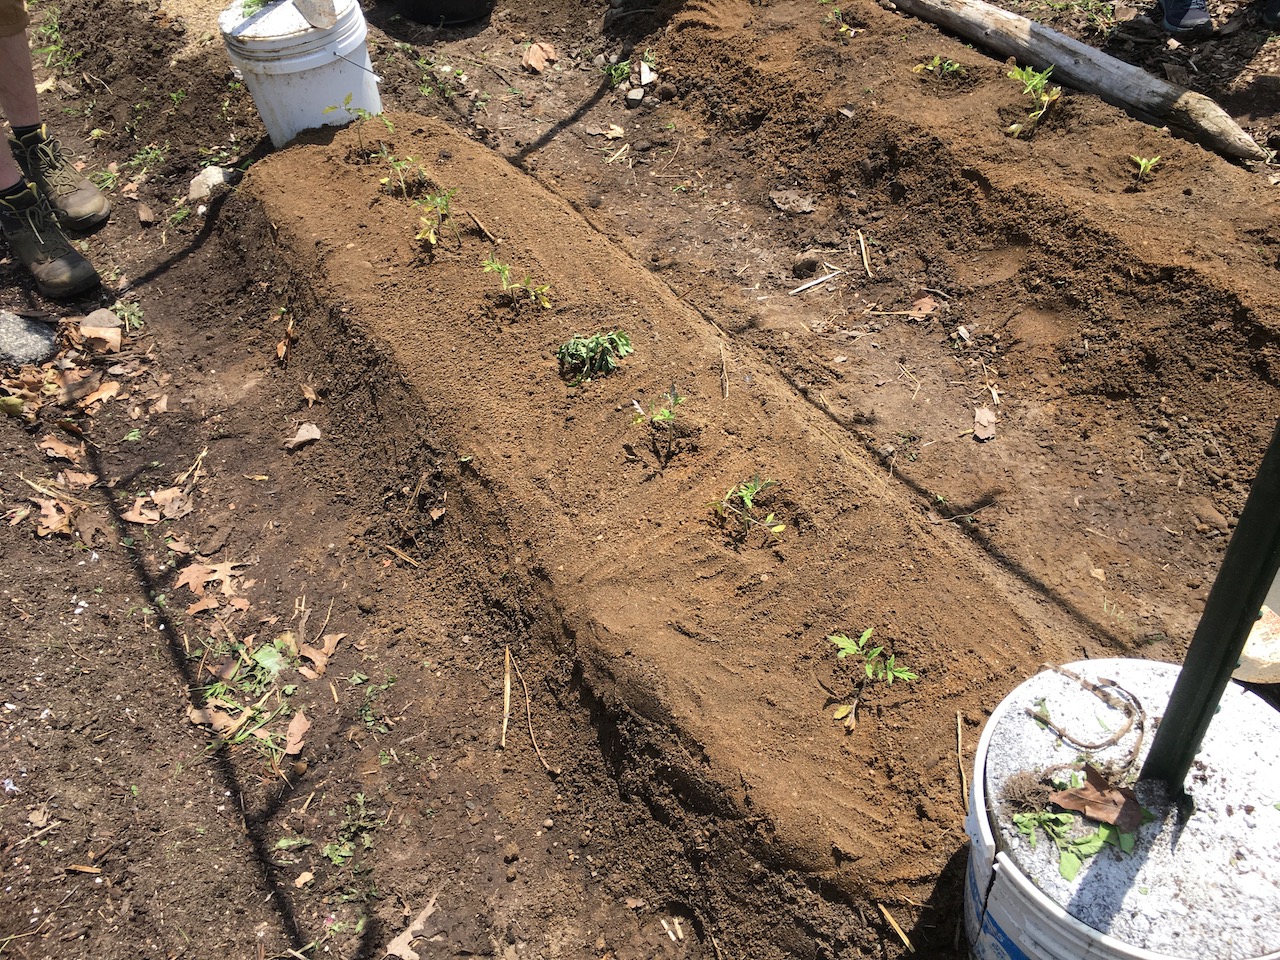
Photos: Bowl-trenching FFW (“surface trenching”) or feeding FFW to soil without digging (just covering fully with soil, i.e., mounding)
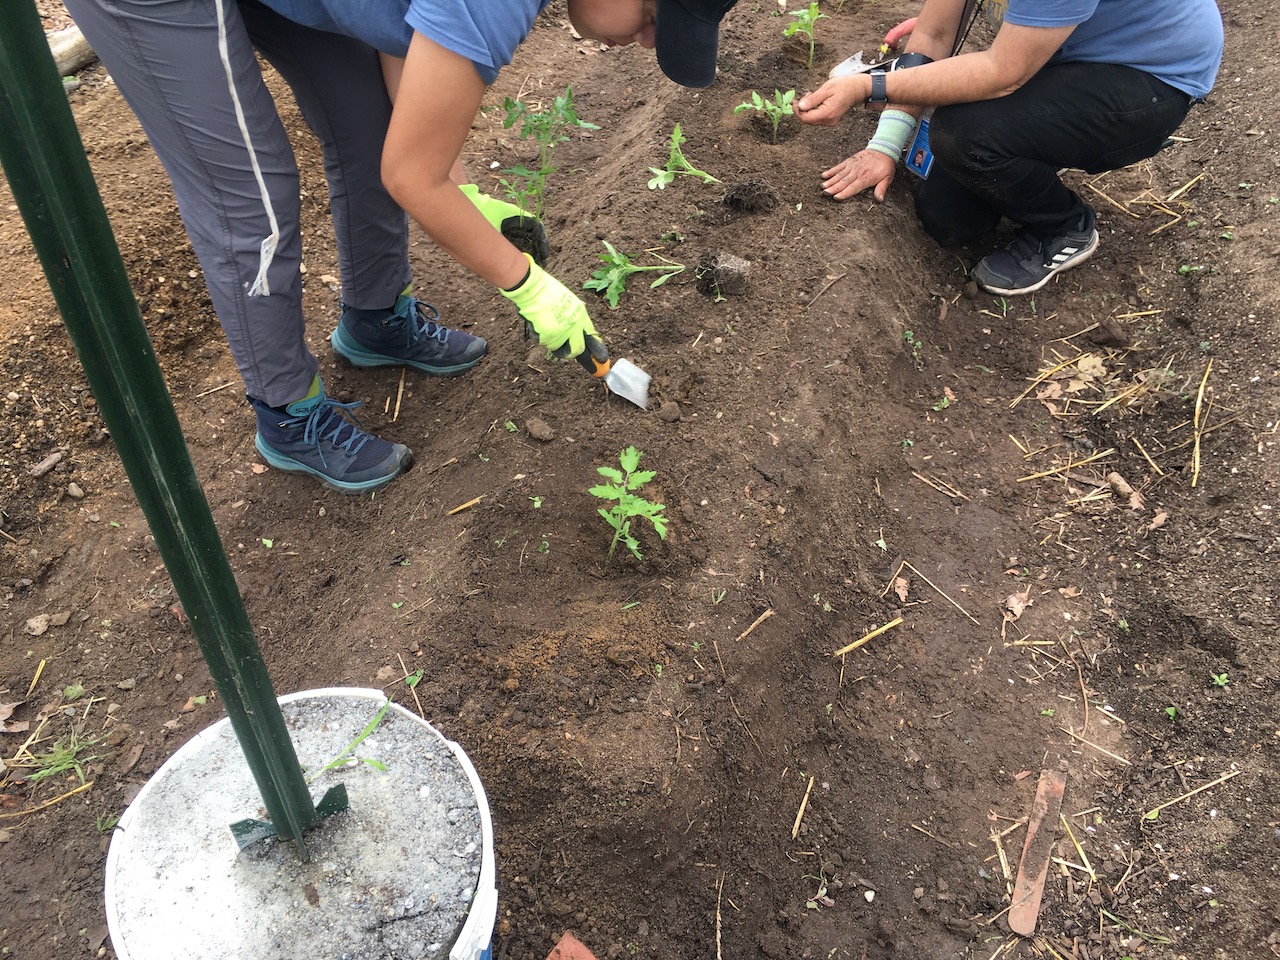
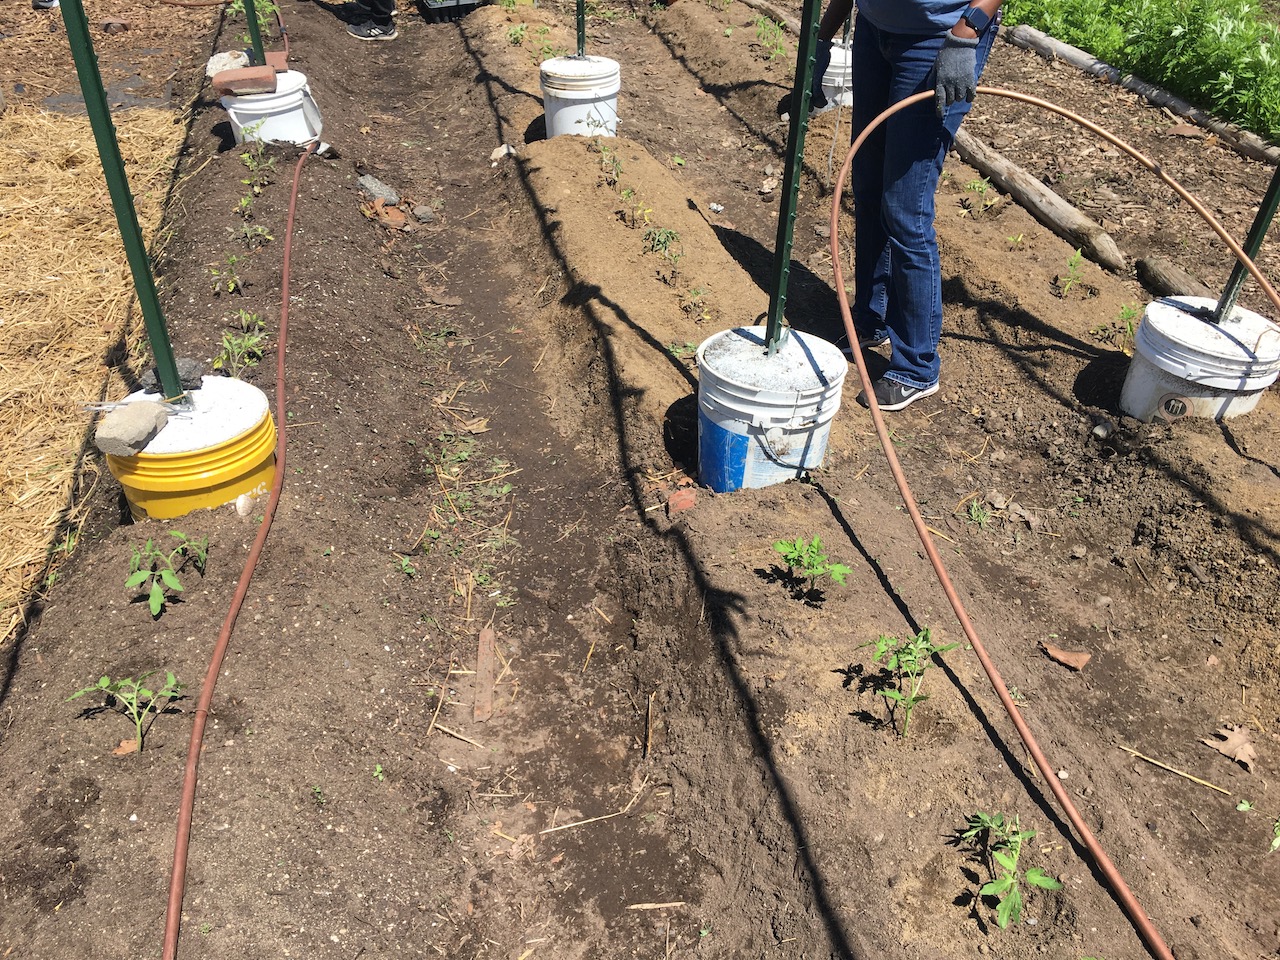
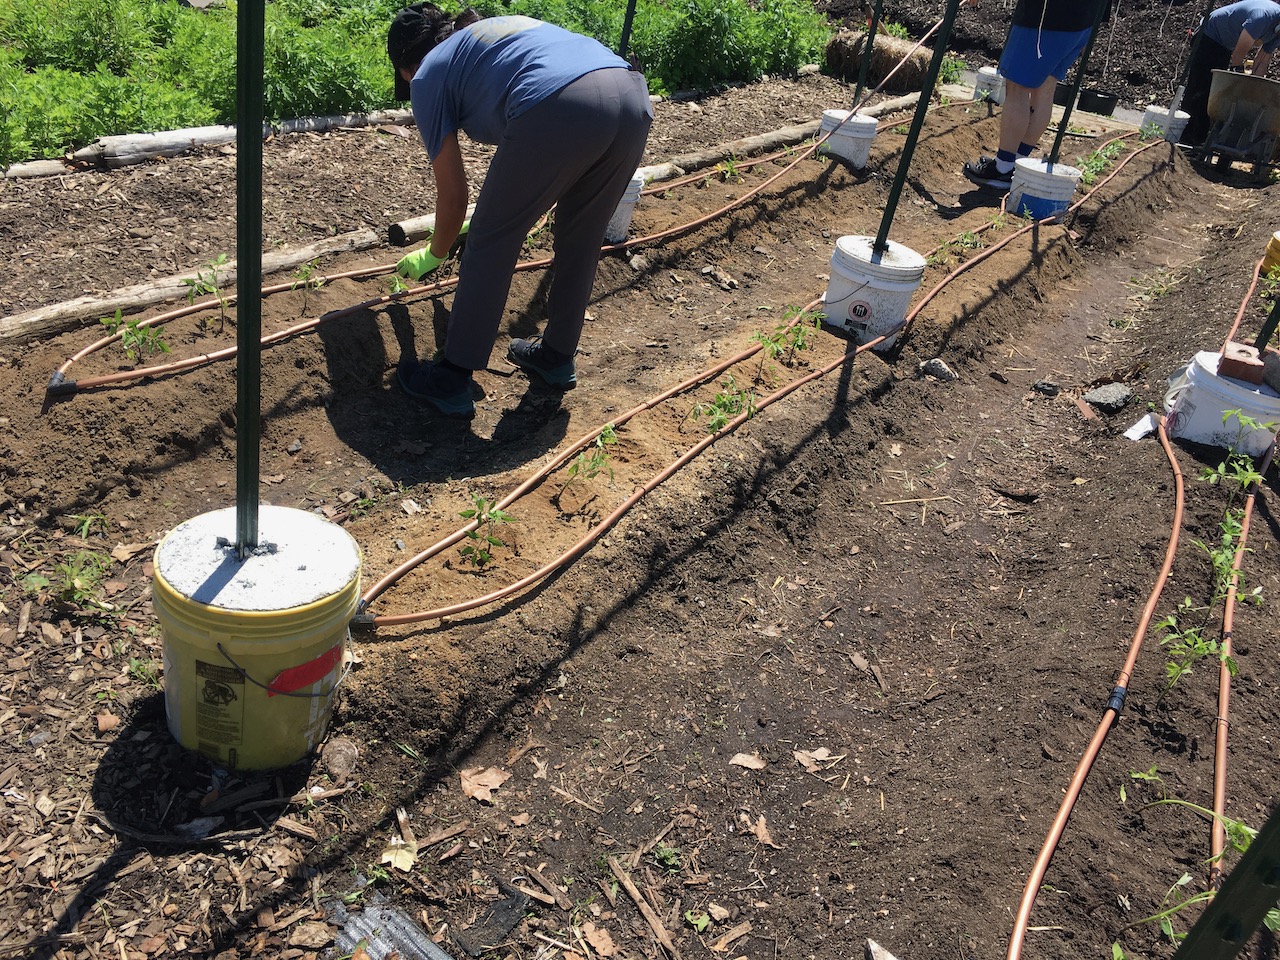
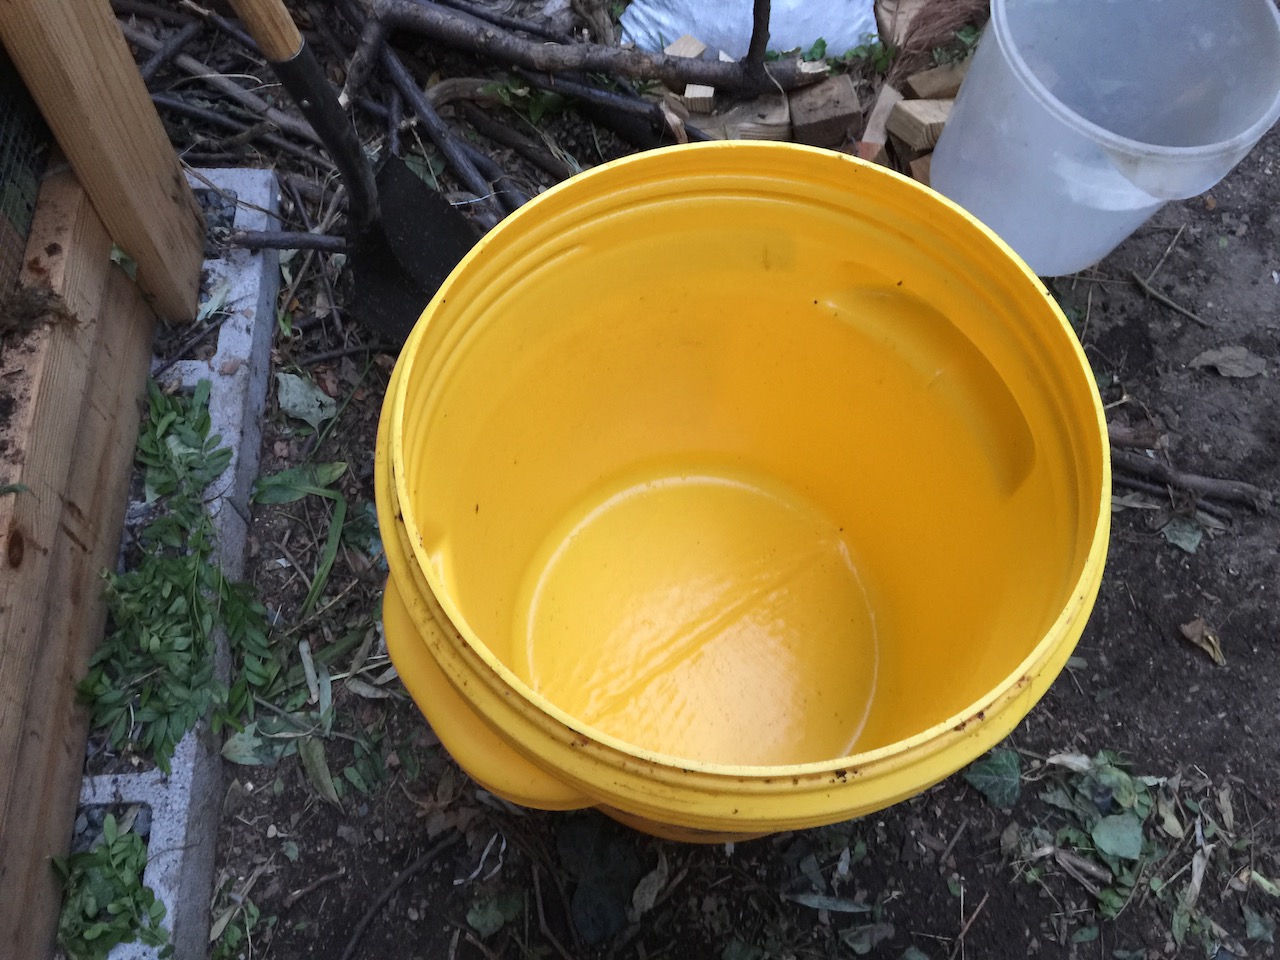
The following were done by Earth Matter NY apprentices at the Soil Start Farm/Compost Learning Center on Governors Island, May 28, 2022. FFW (two 5-gallon buckets of FFW from Down to Earth Garden) were bowl-trenched in two separate bowl-trenches (photo galleries 1 and 2 below) in the middle row of 3 rows (1st row is a lasagna compost bed, which consists of multiple layers of cardboard, food scraps, and compost; the 2nd middle row is the bokashi bed, and the 3rd row is the soil-only bed, the control for this tomato growing experiment). Each row is segmented into 3 sections separated by the buckets of cement with metal posts. Below are bowl-trenching of 2 sections; the 1st section was bowl-trenched on April 9, 2022. Tomato seedlings of three different varieties were planted in each section. The tomato seedlings were planted on the same day the fresh FFW were bowl-trenched for the 2nd and 3rd section of the bokashi row (the 1st section had 7 weeks between bowl-trenching and planting).
Bowl-trench 1


Bowl-trench 2


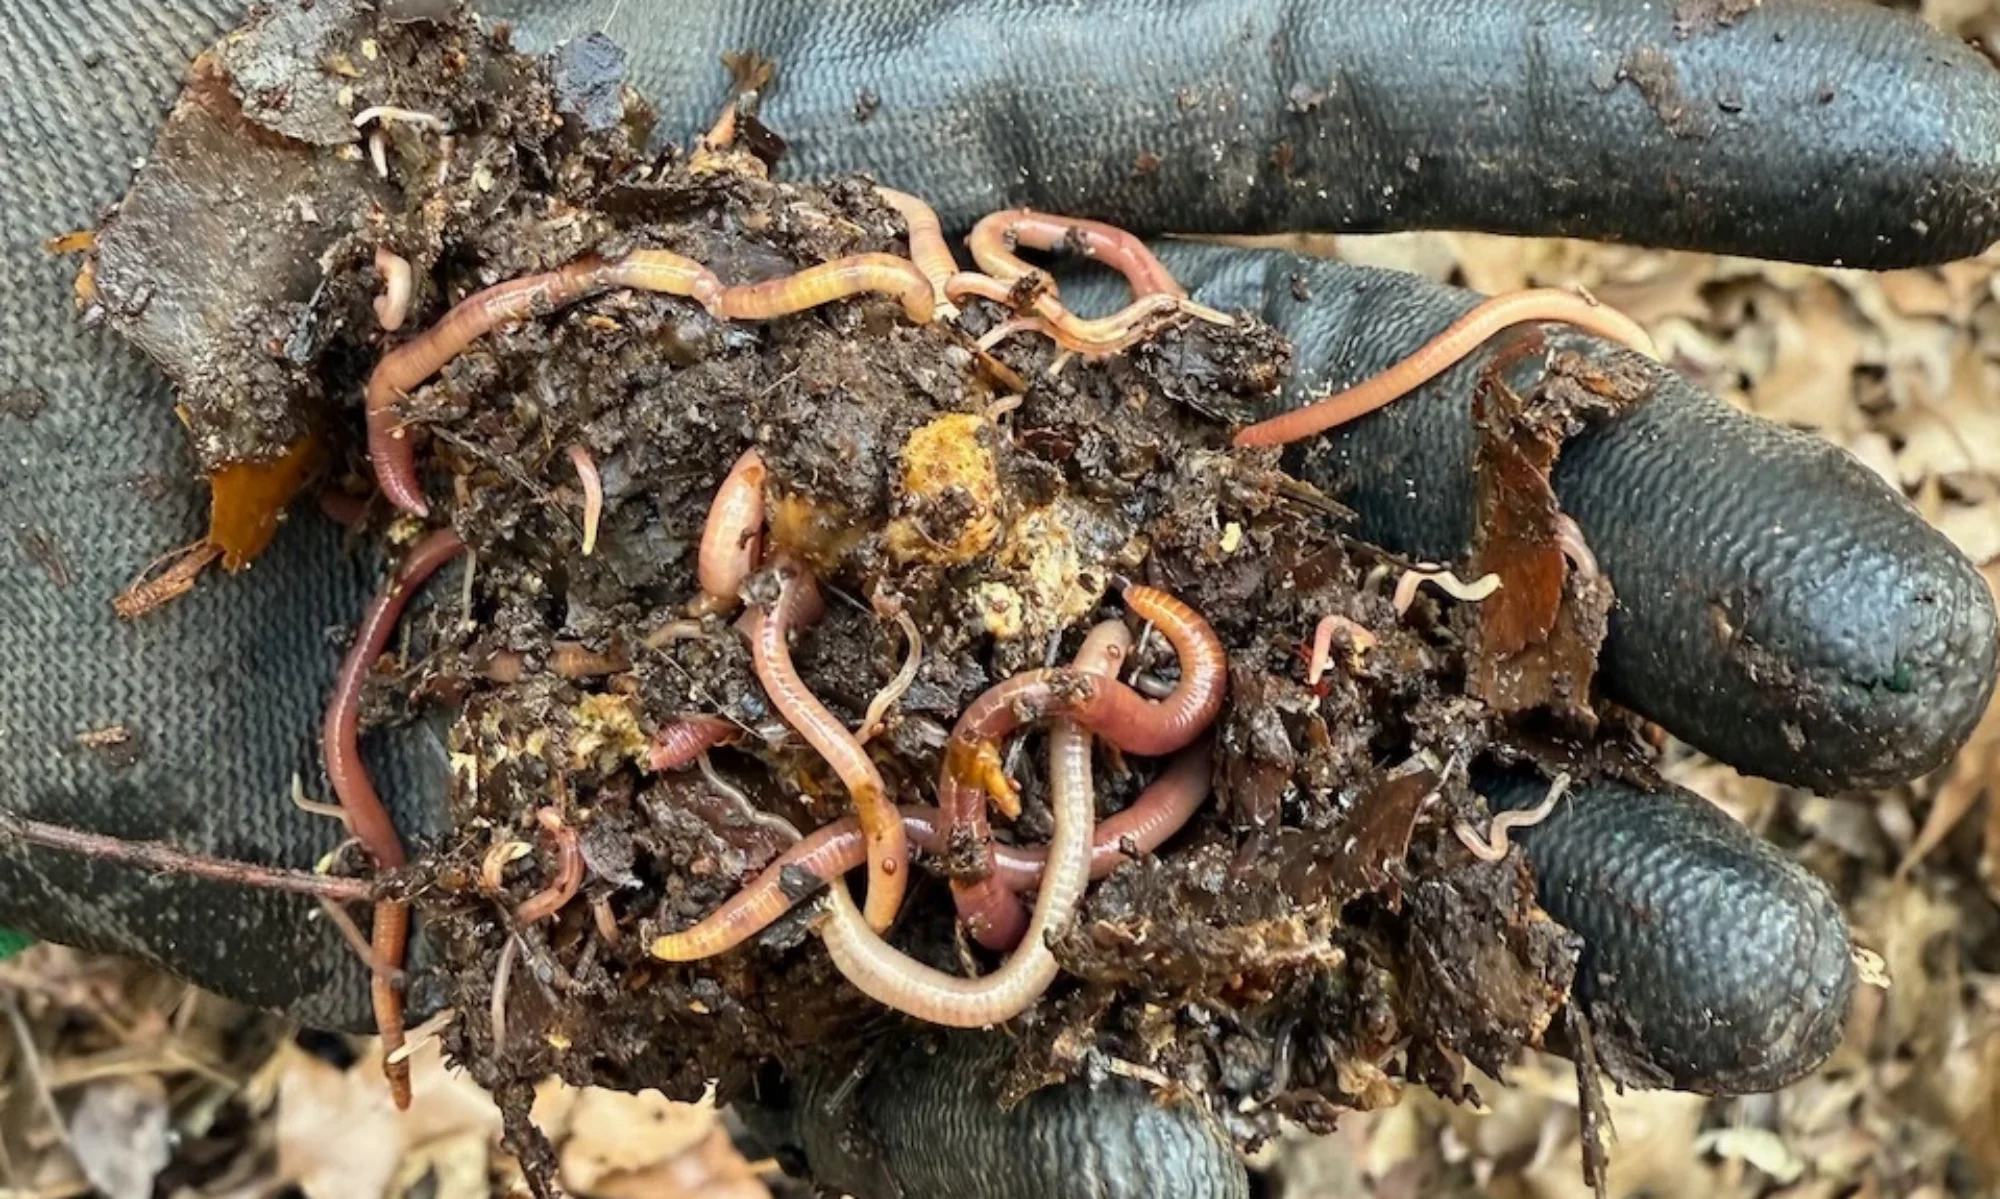
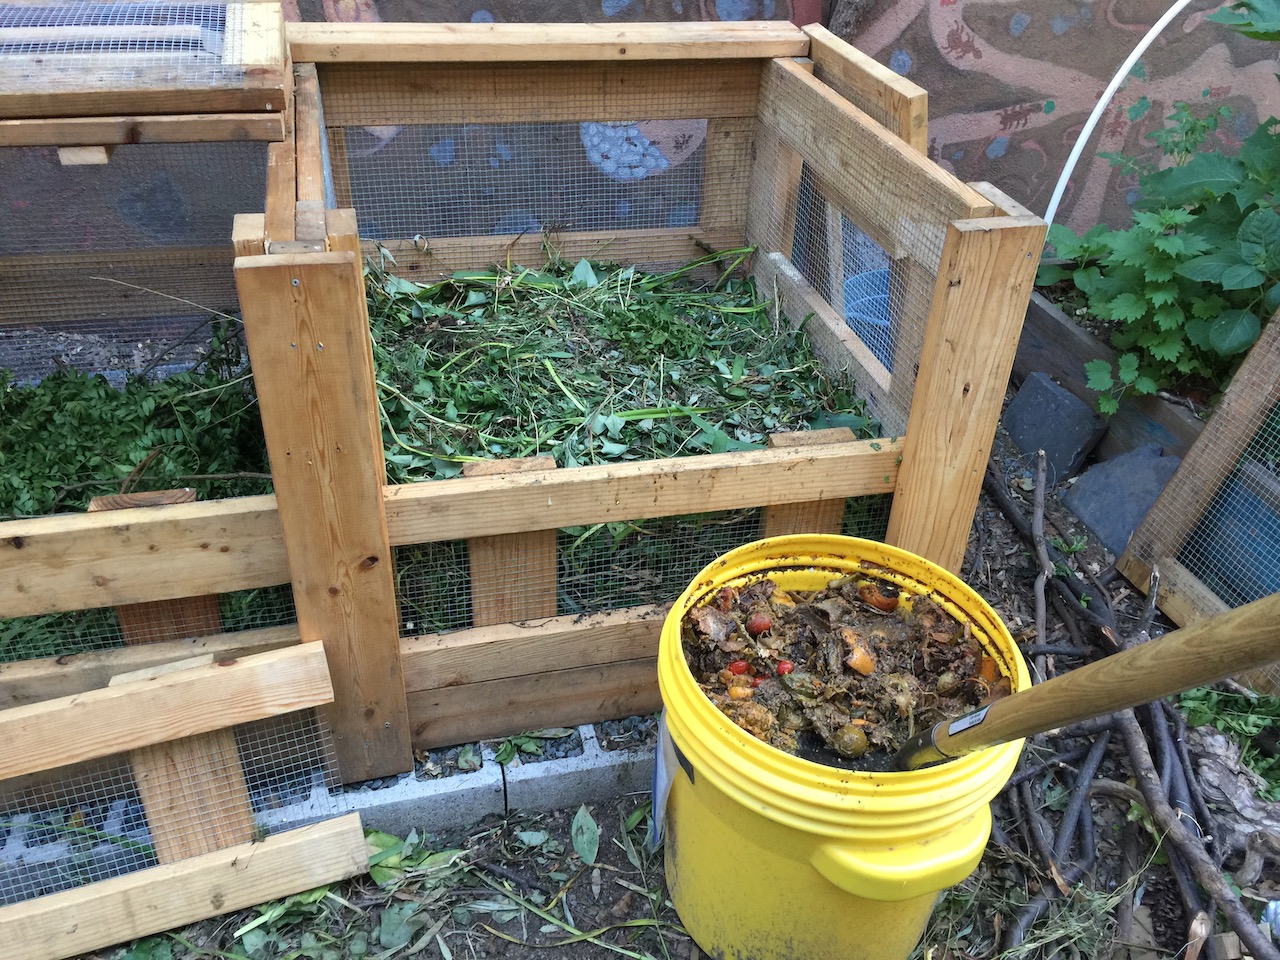
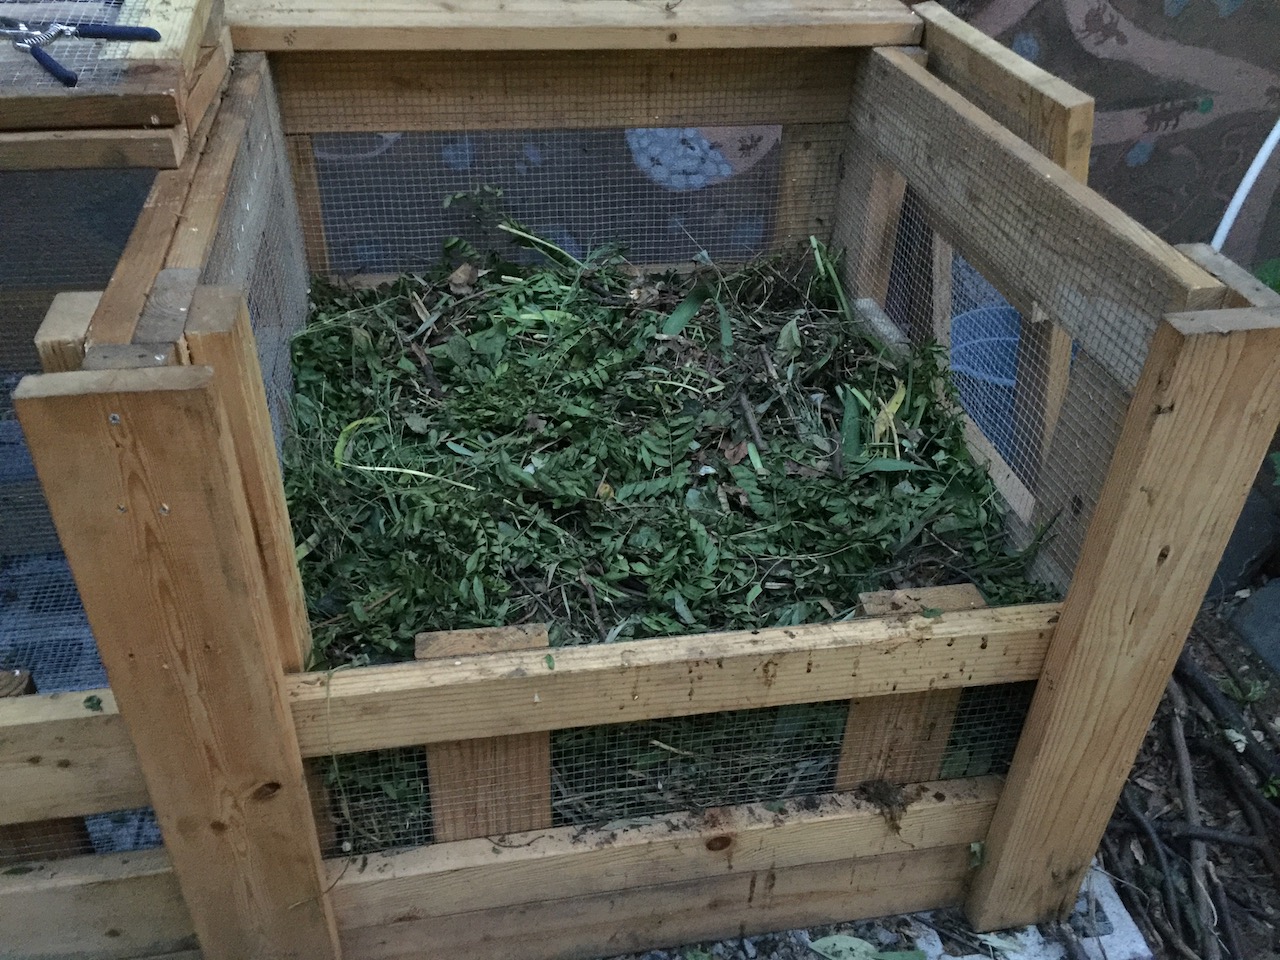
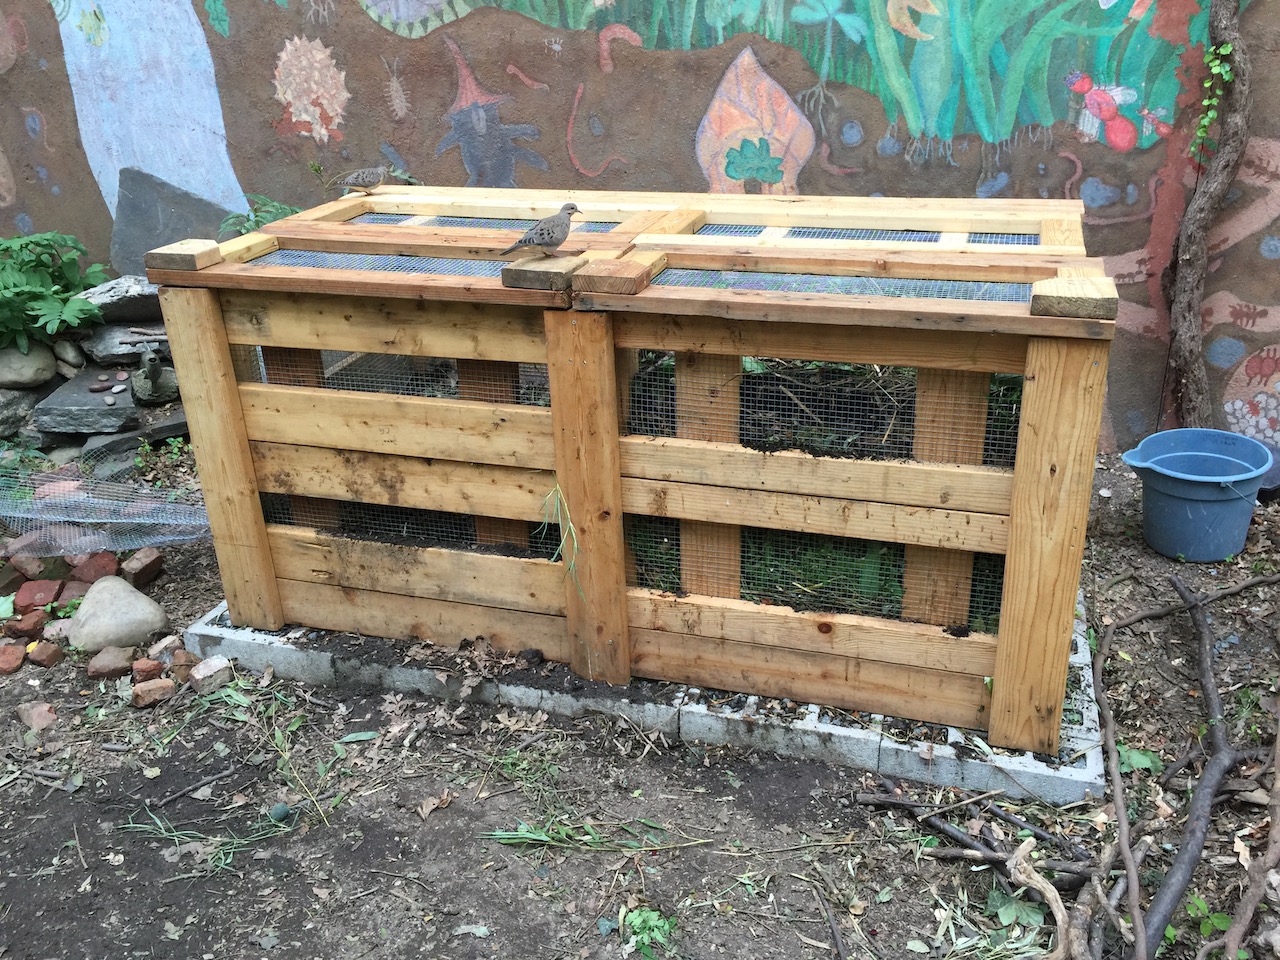
3.2. Vermicomposting – Feeding FFW to Worms – Worm Compost
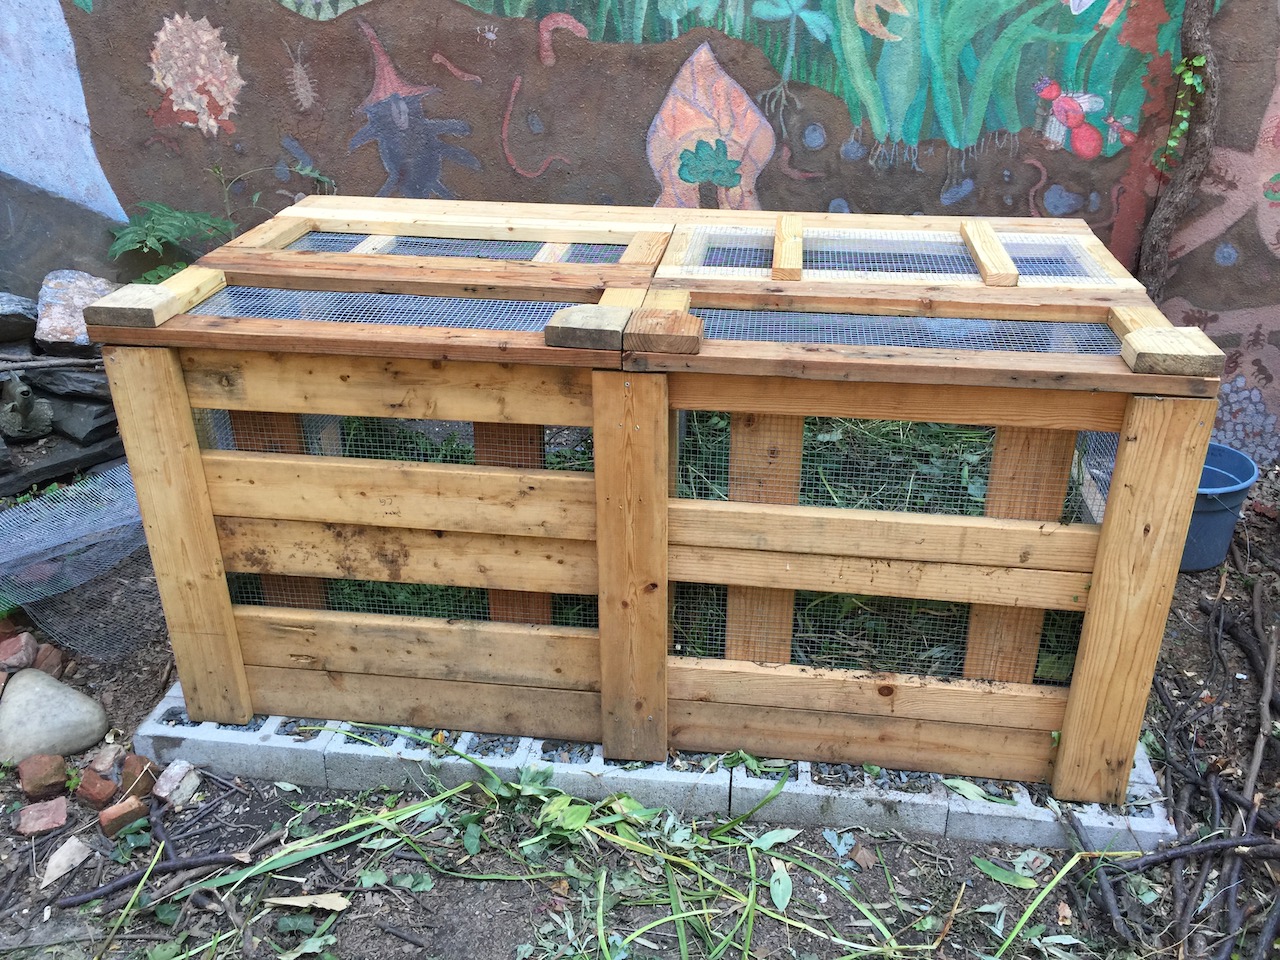
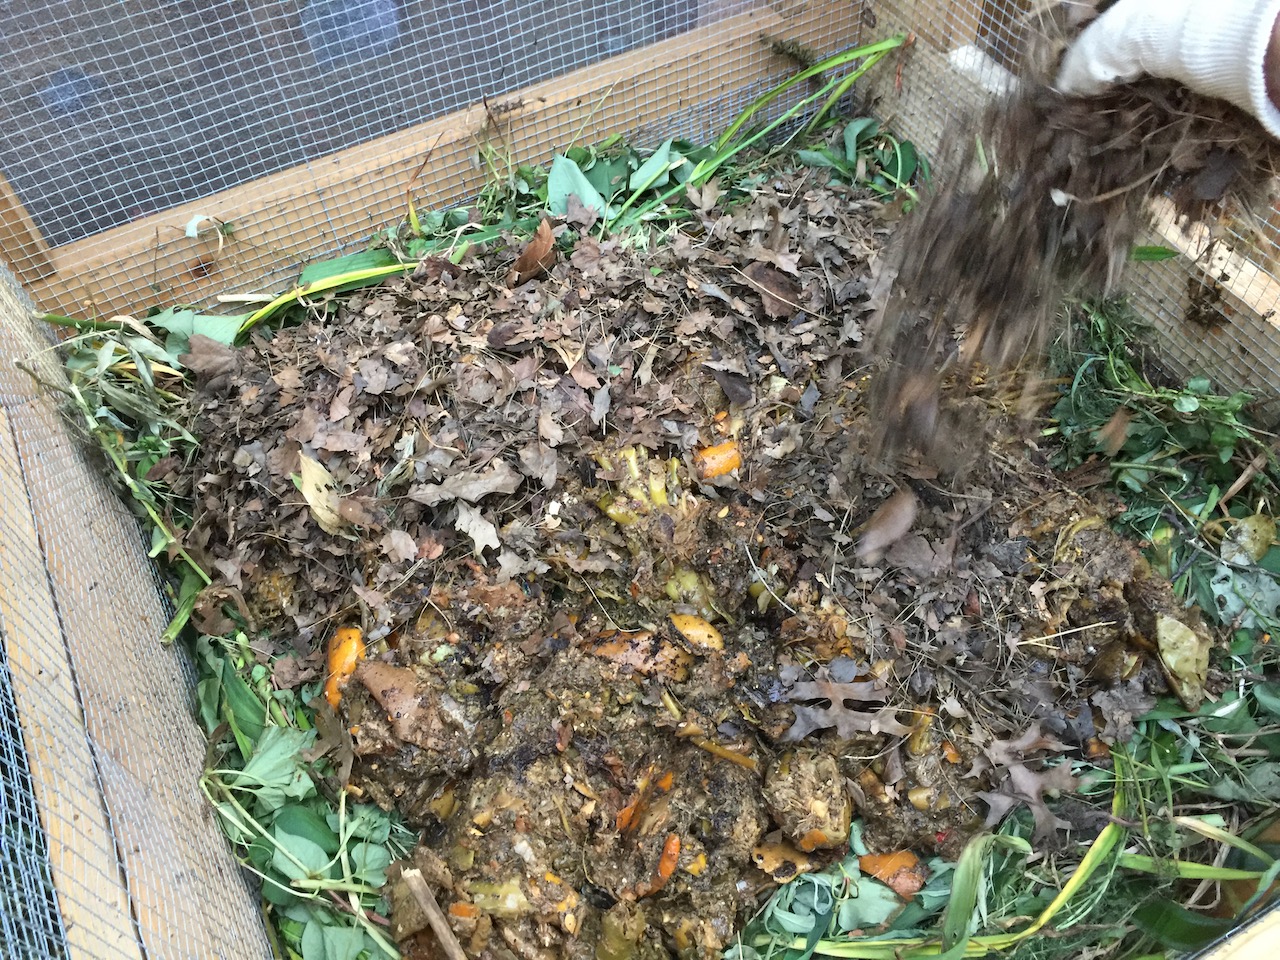
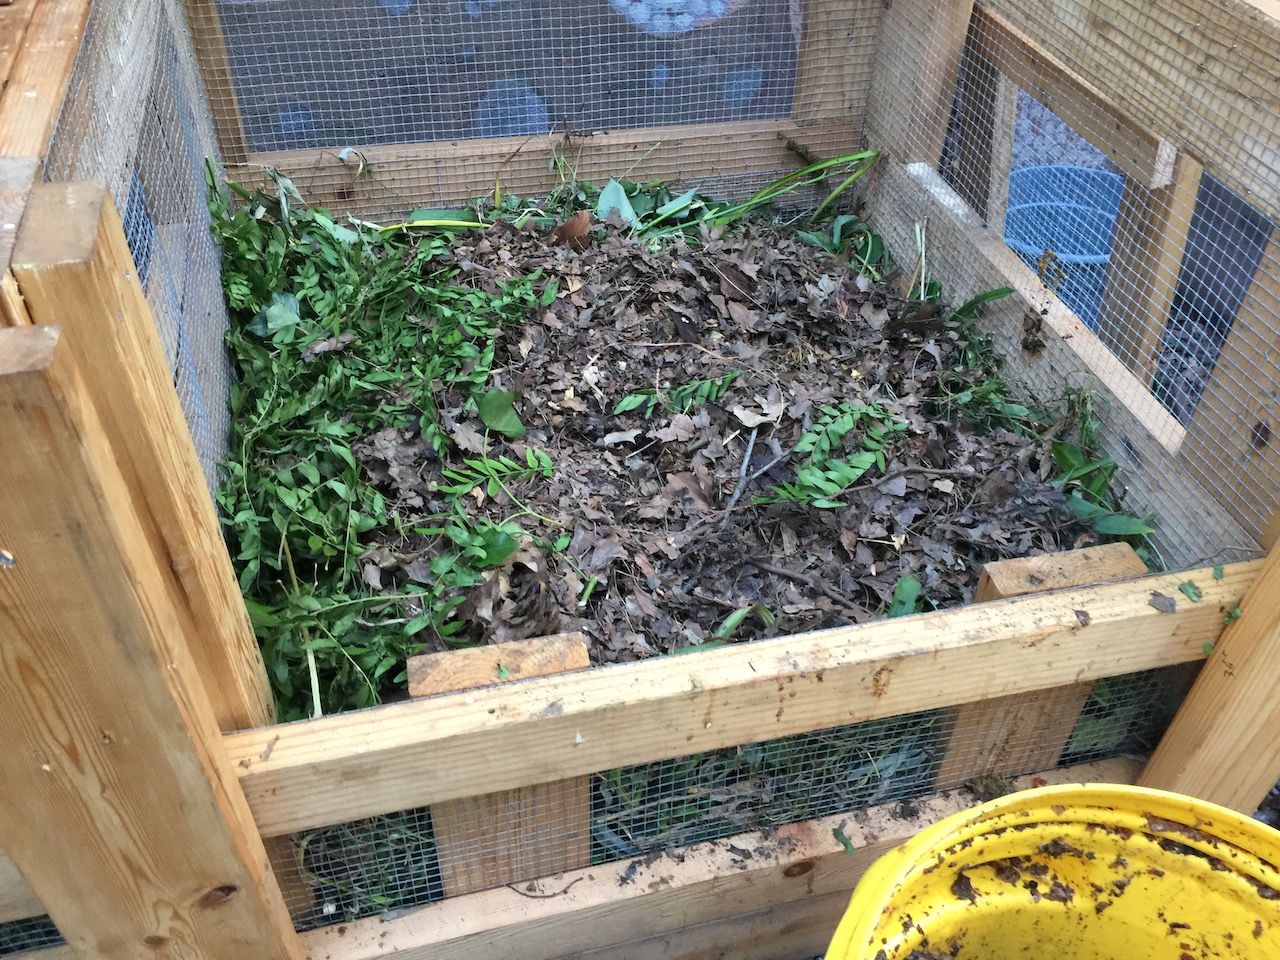
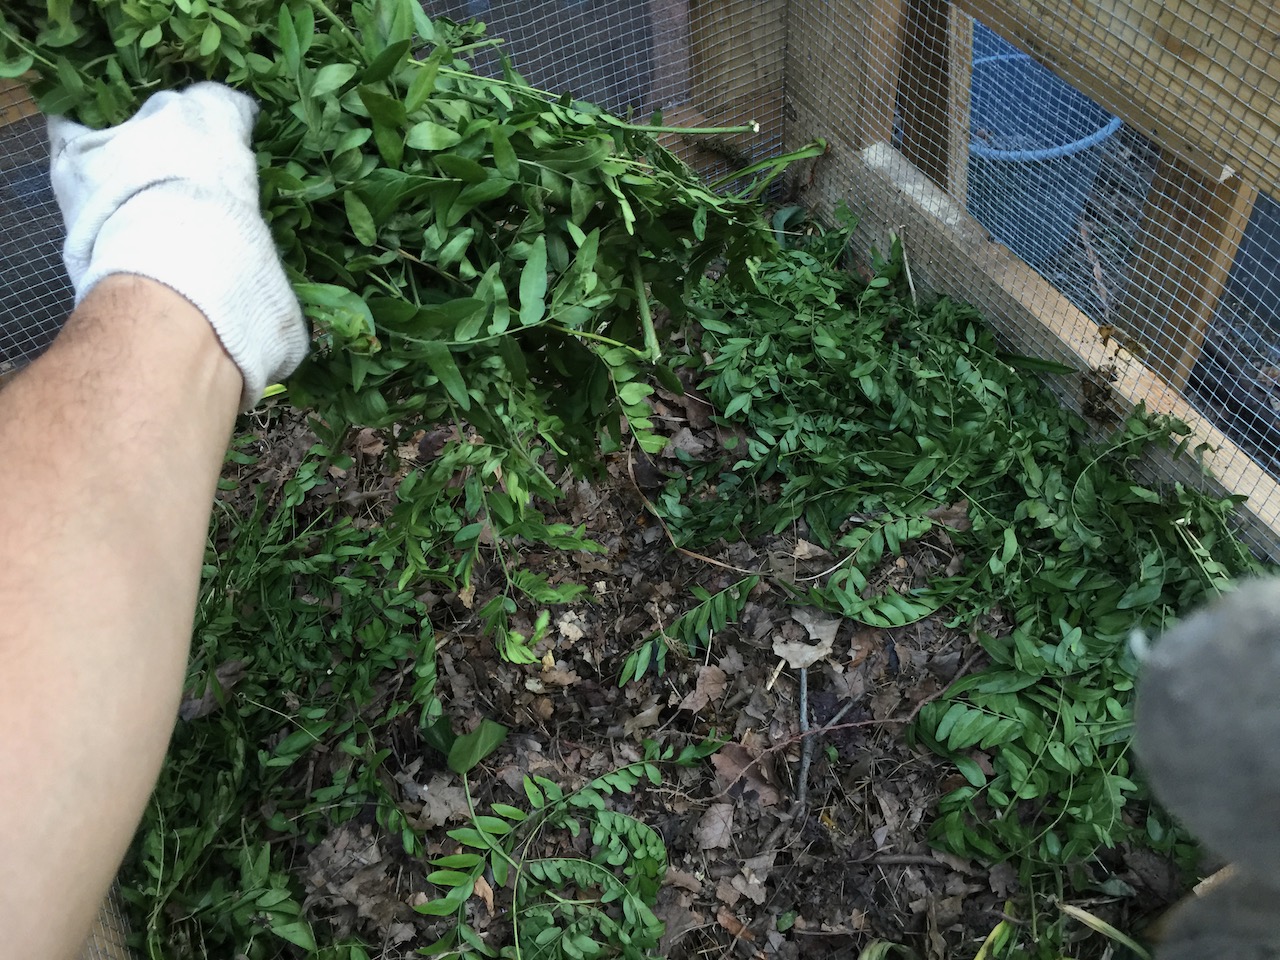
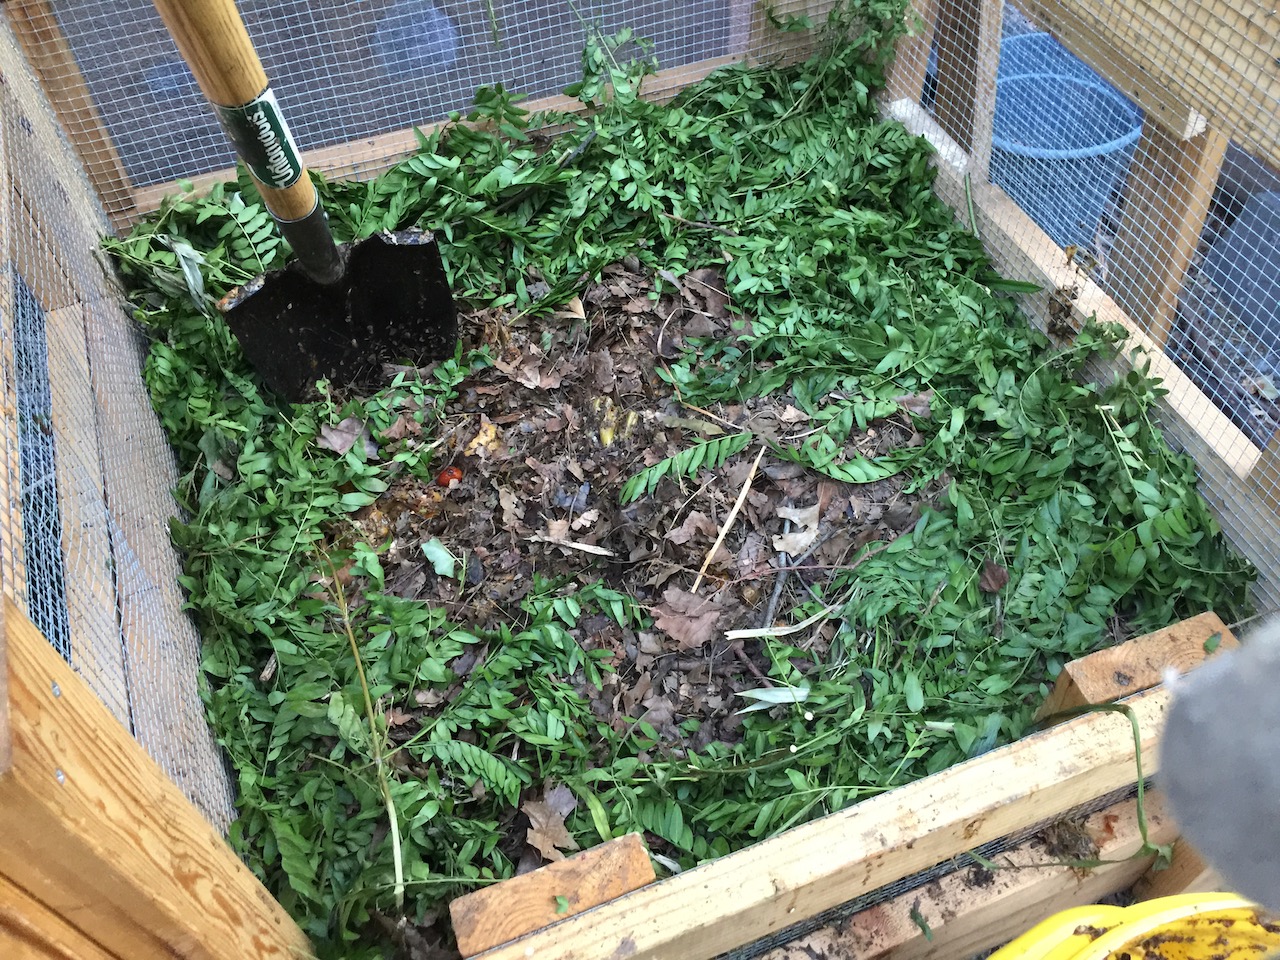
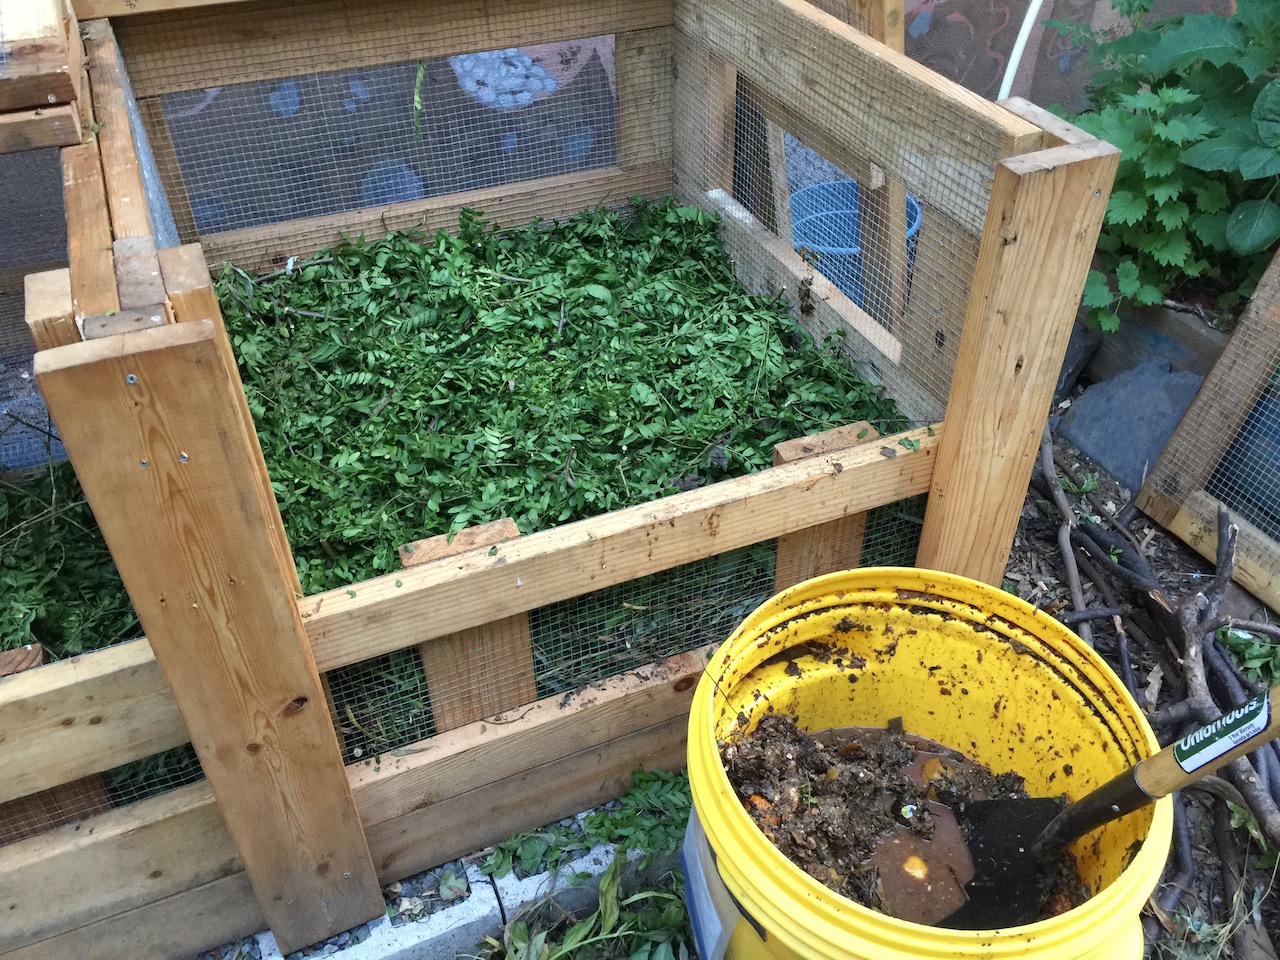
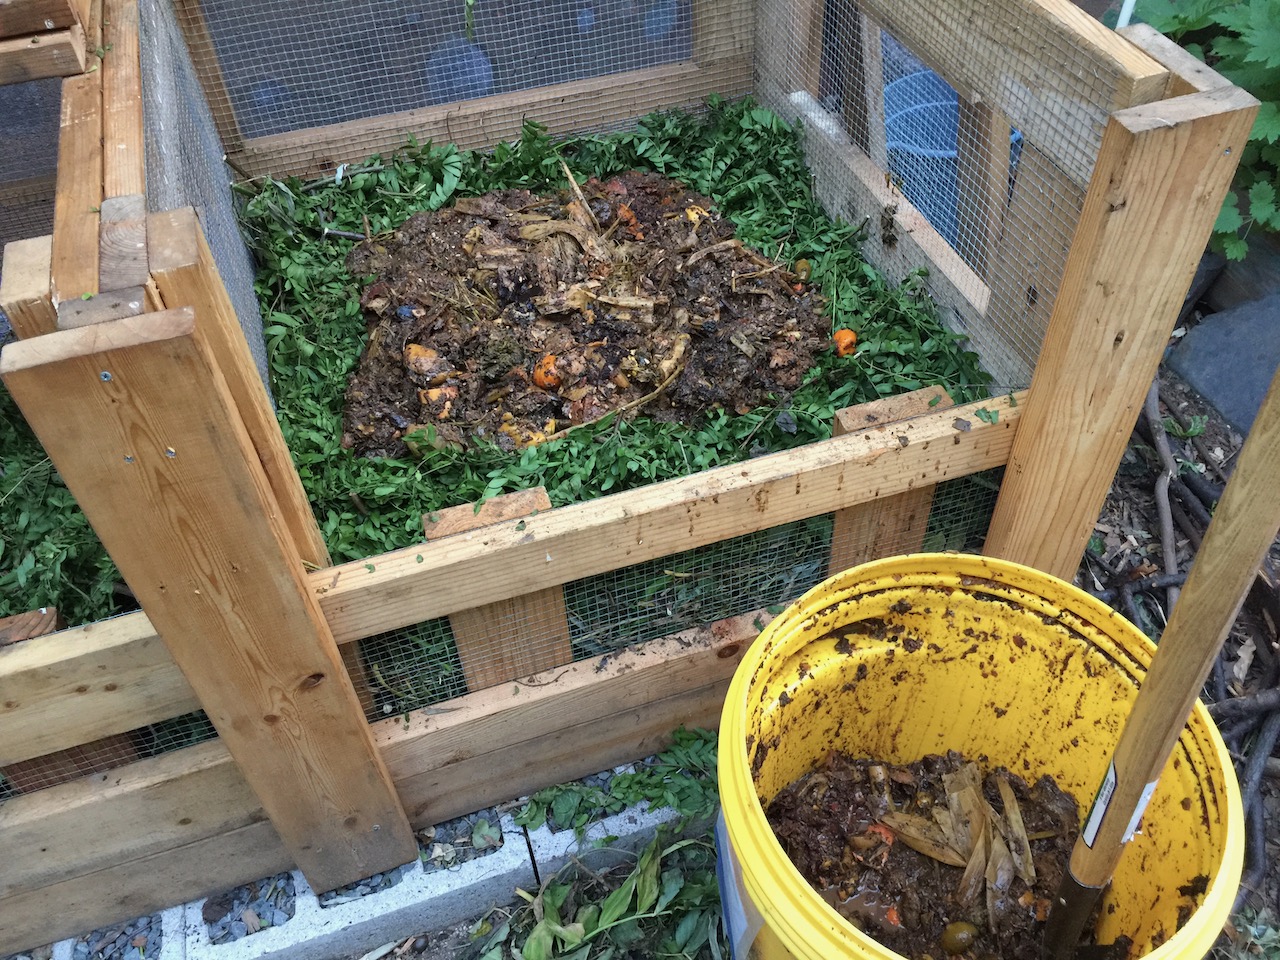
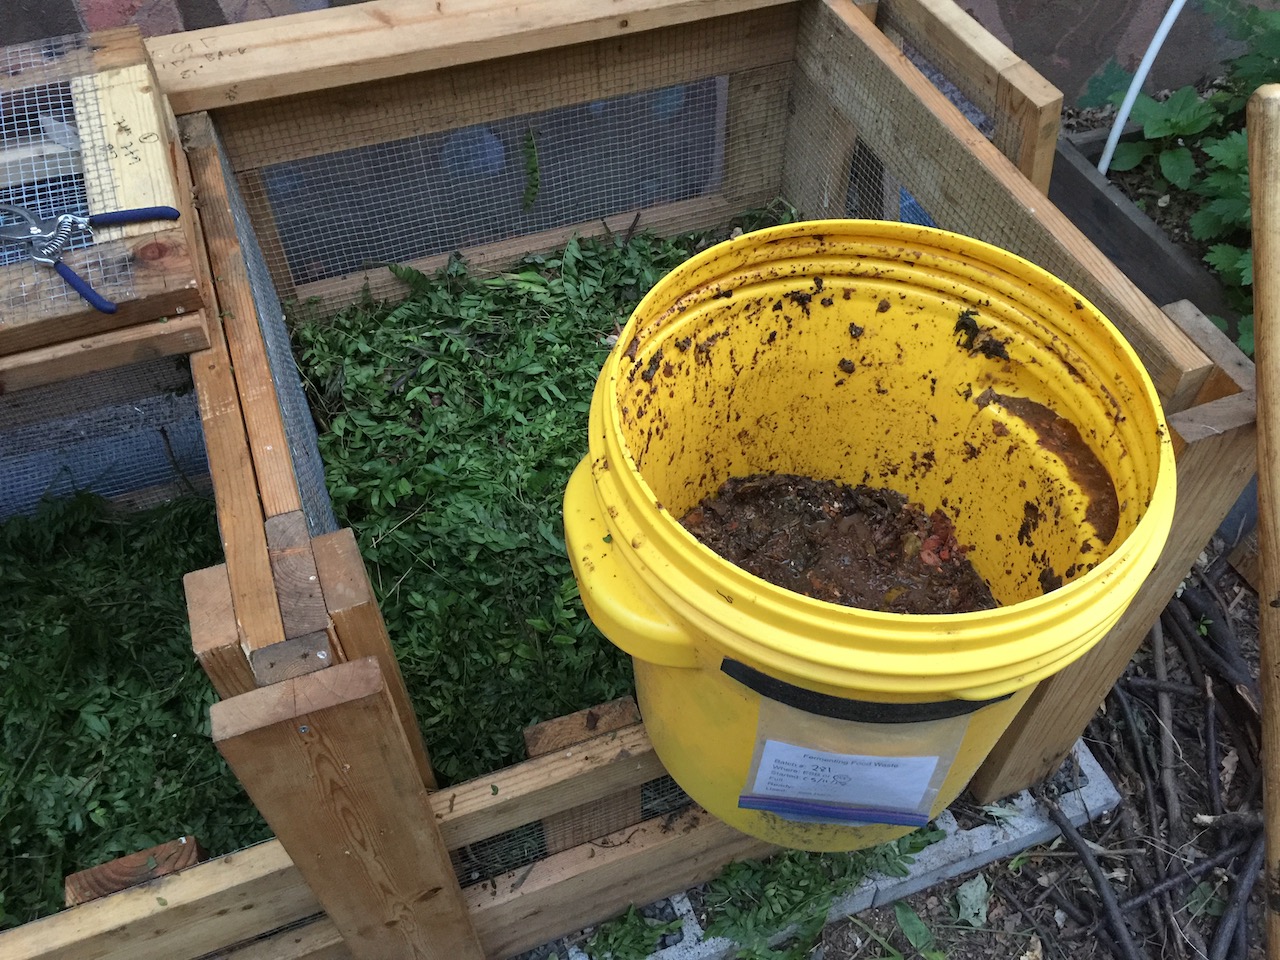
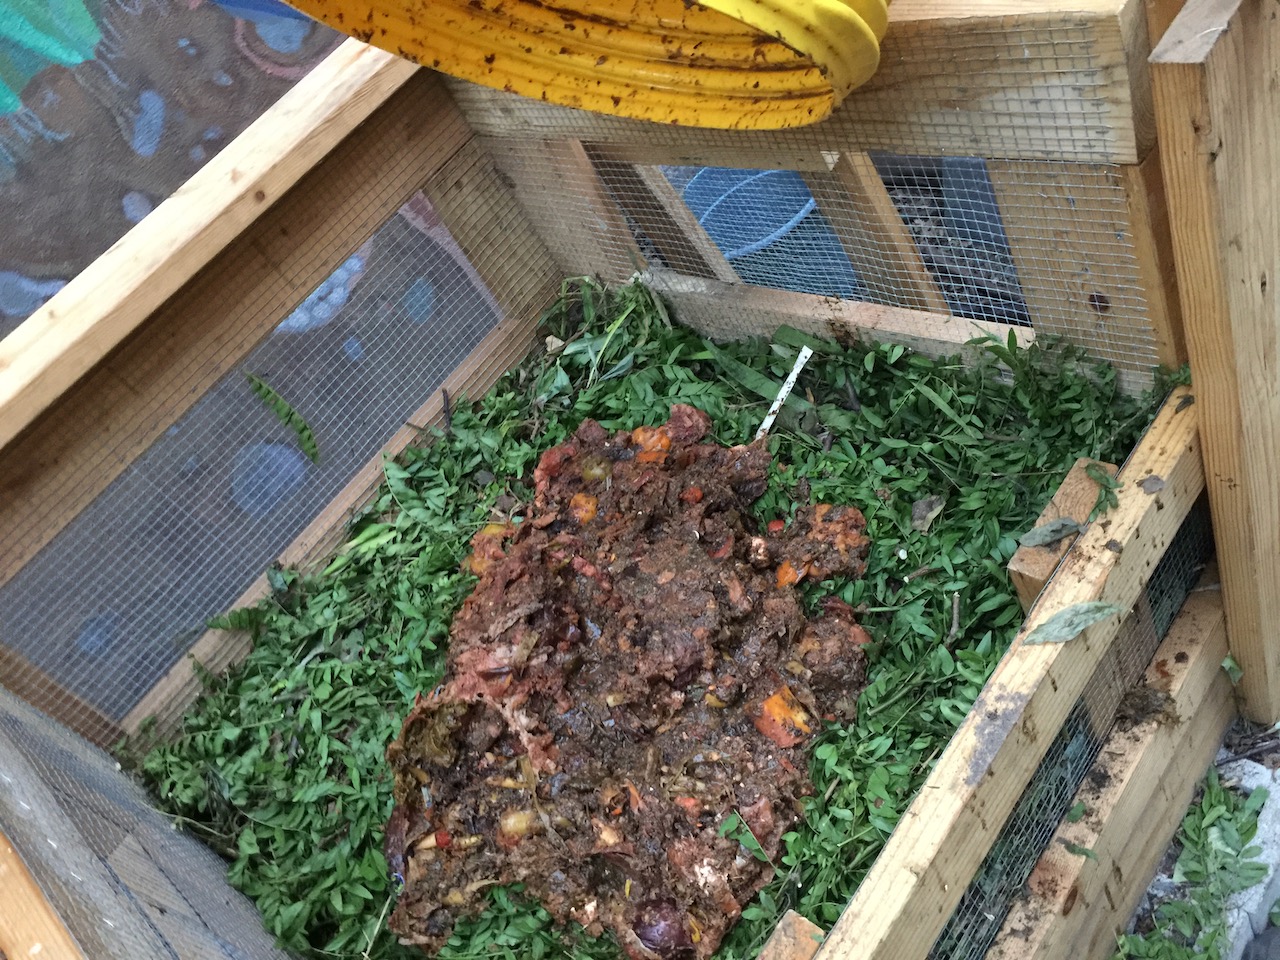
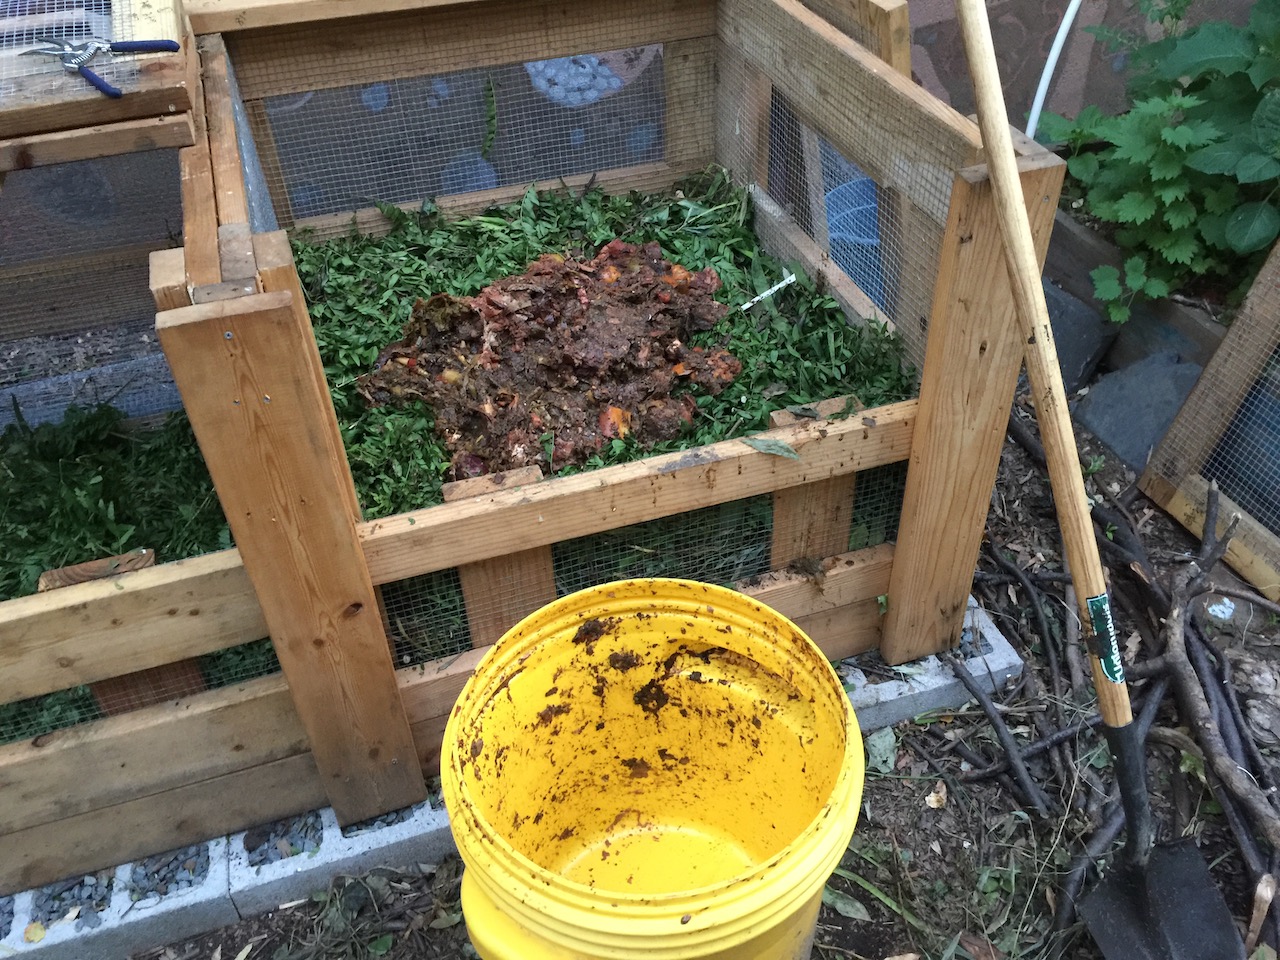
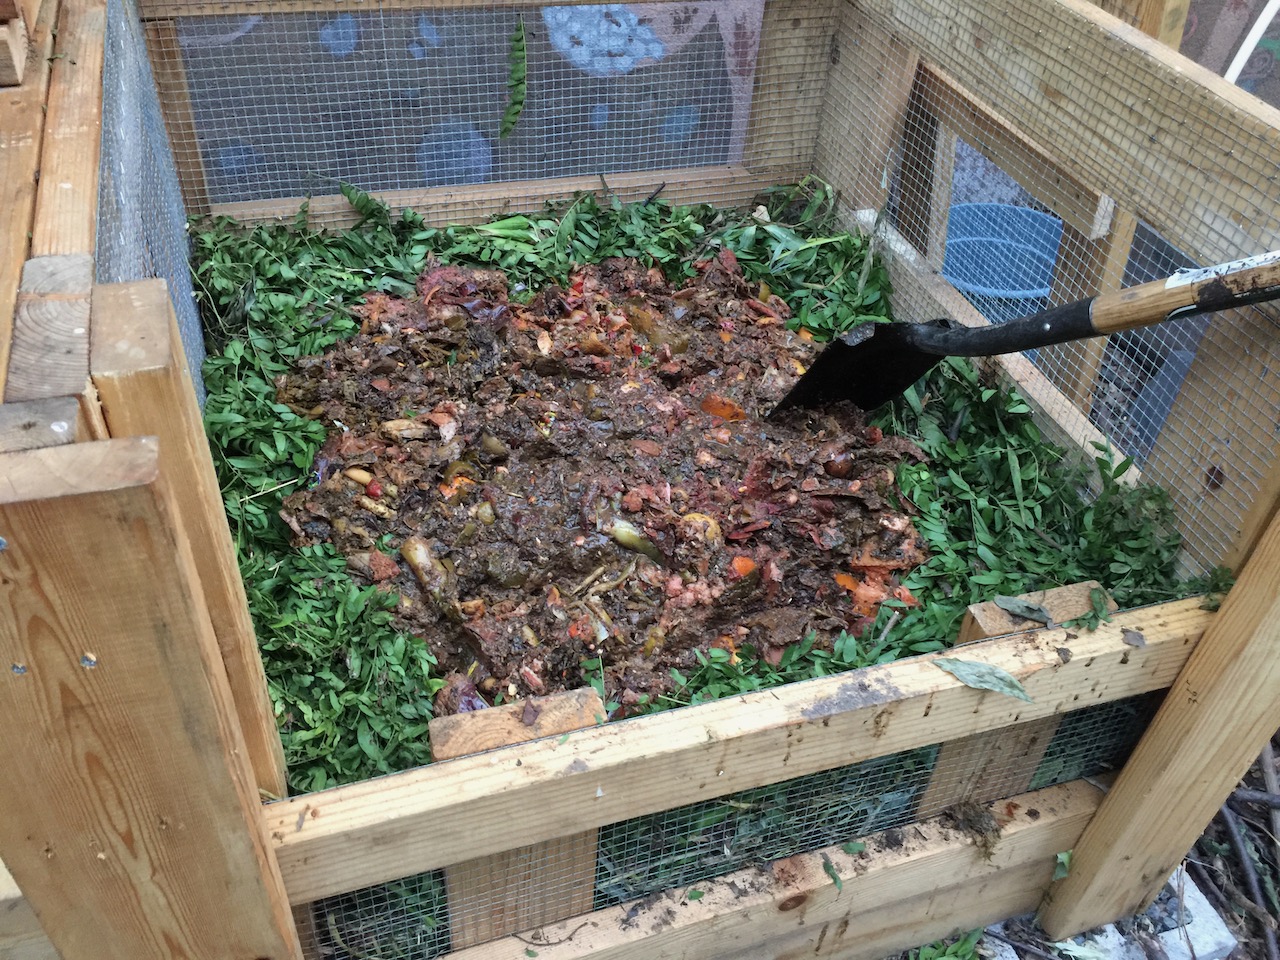
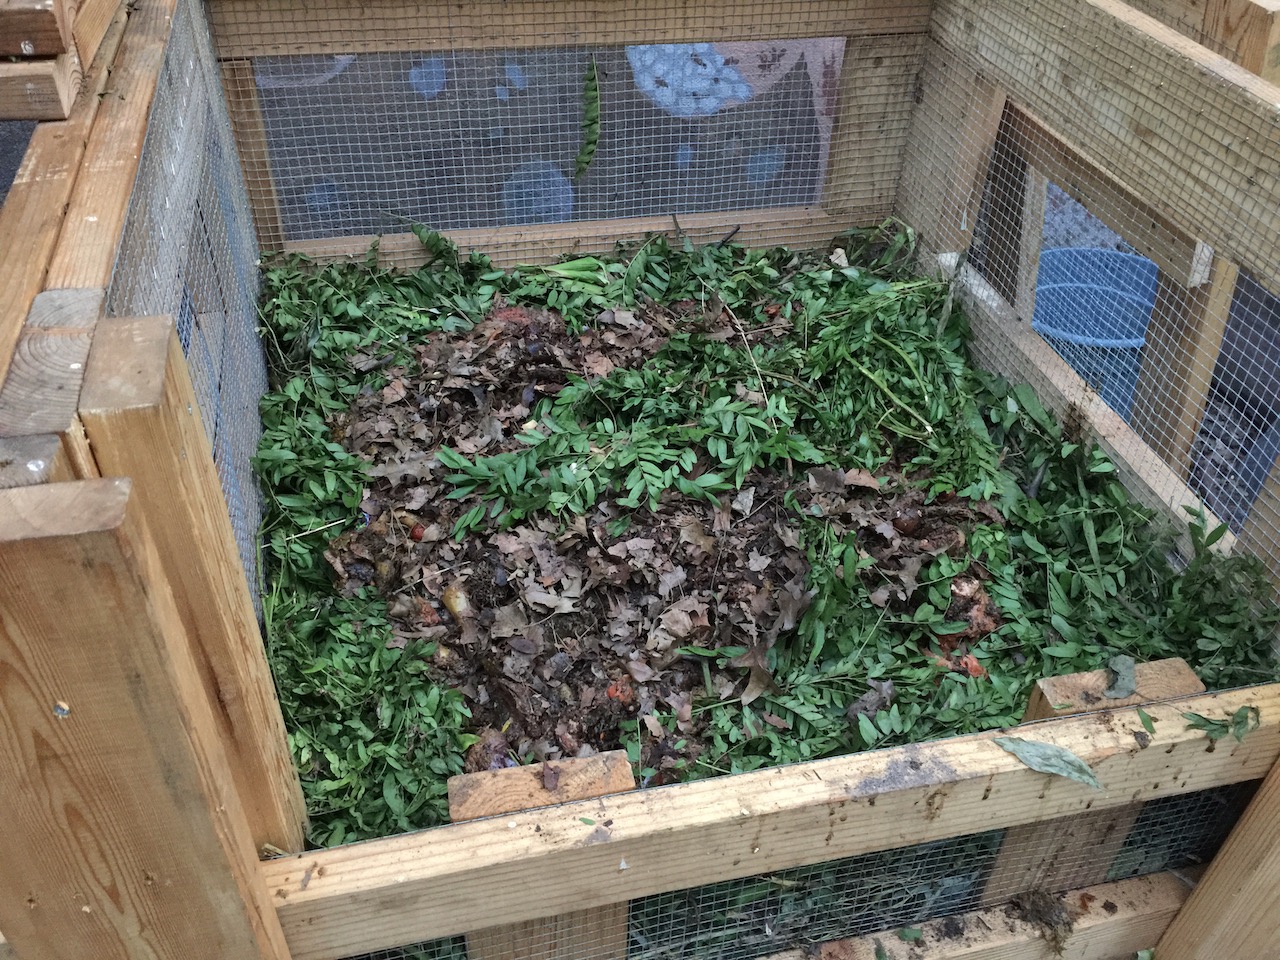
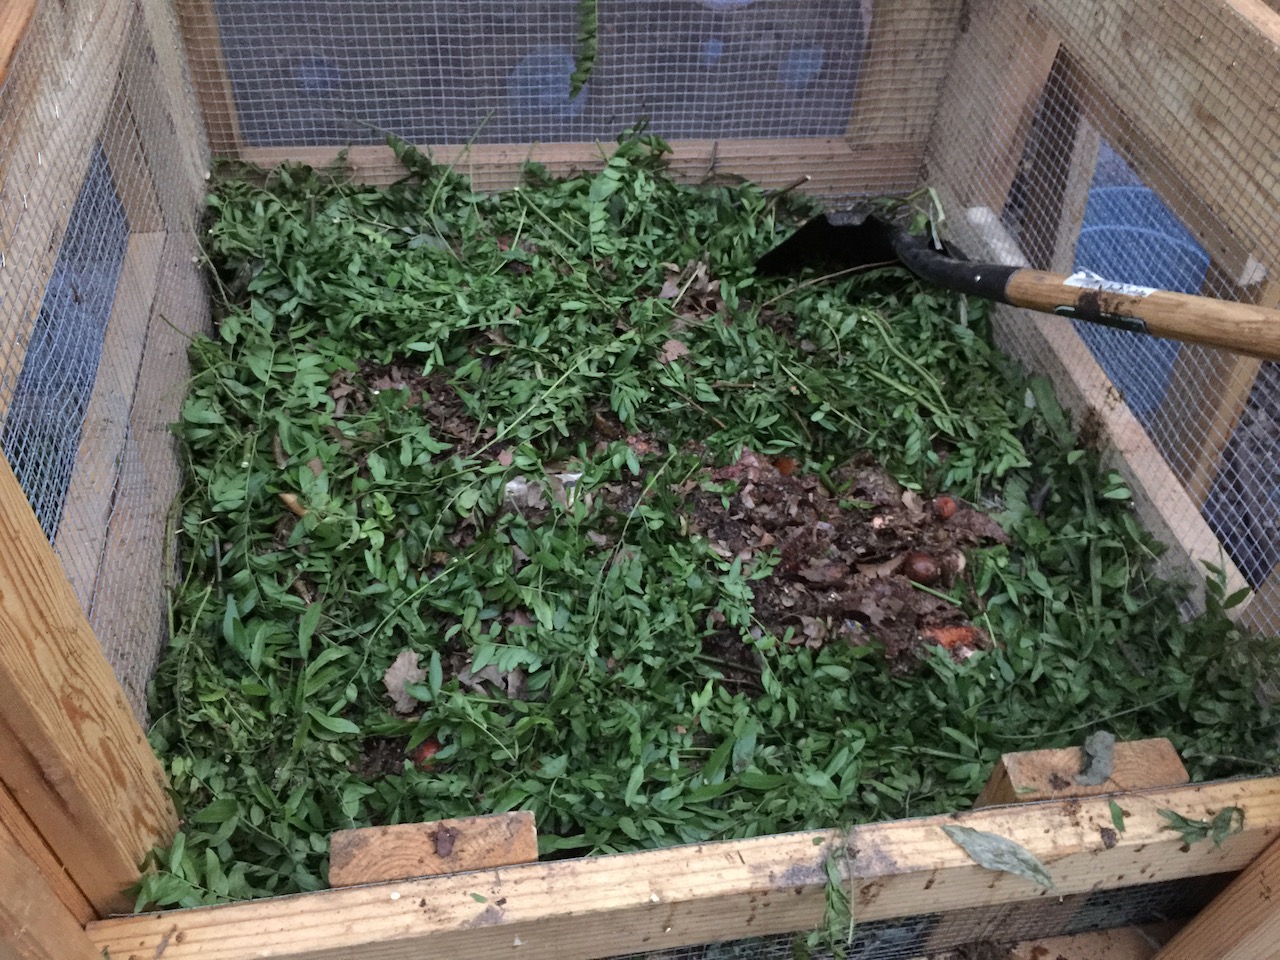
Our worm compost bin is just a typical wood frame with hardware cloth (wire mesh, chicken wire), each side 1 cubic yard (2 cubic yards total).
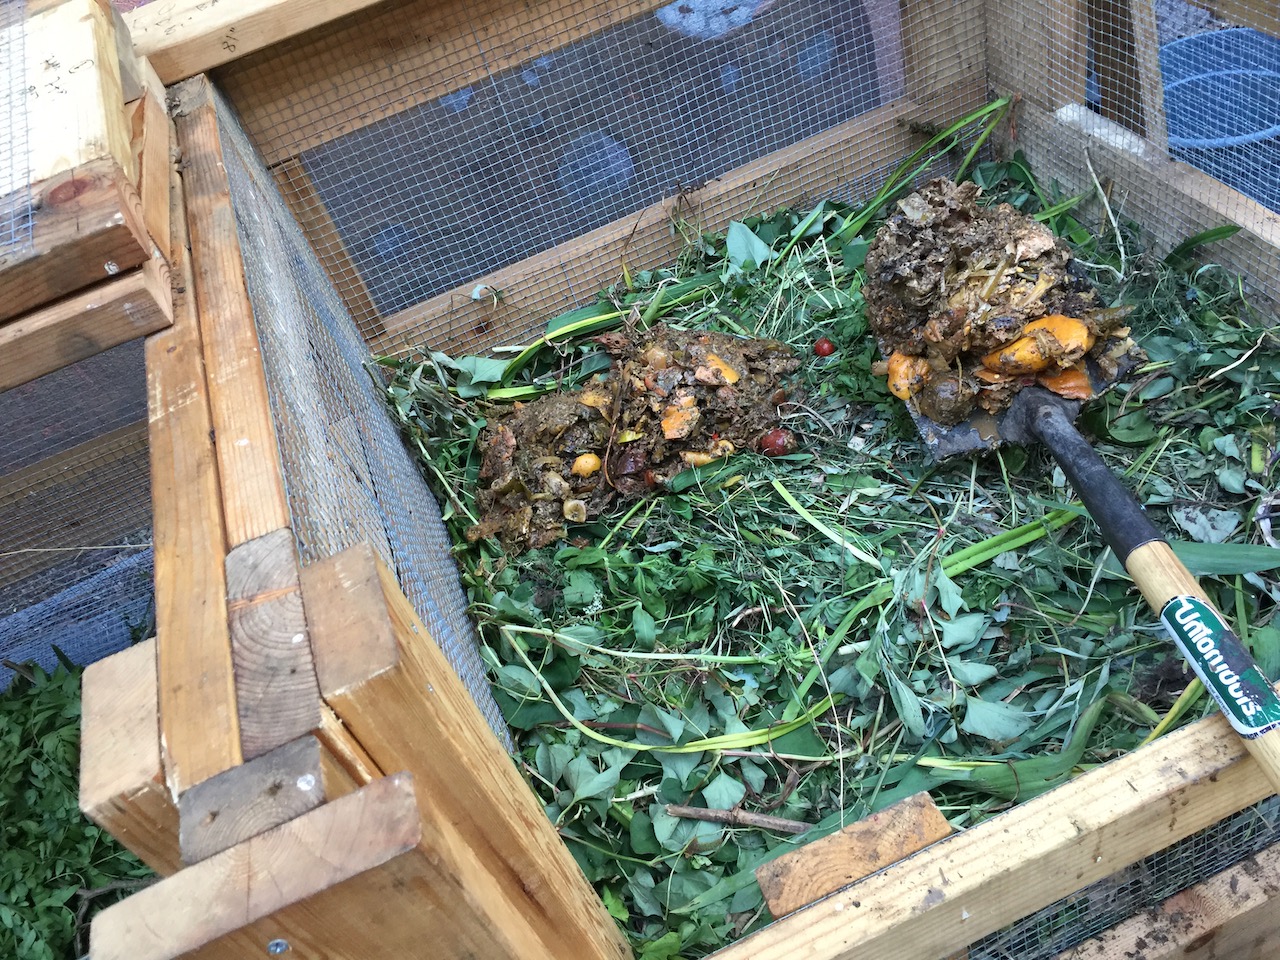
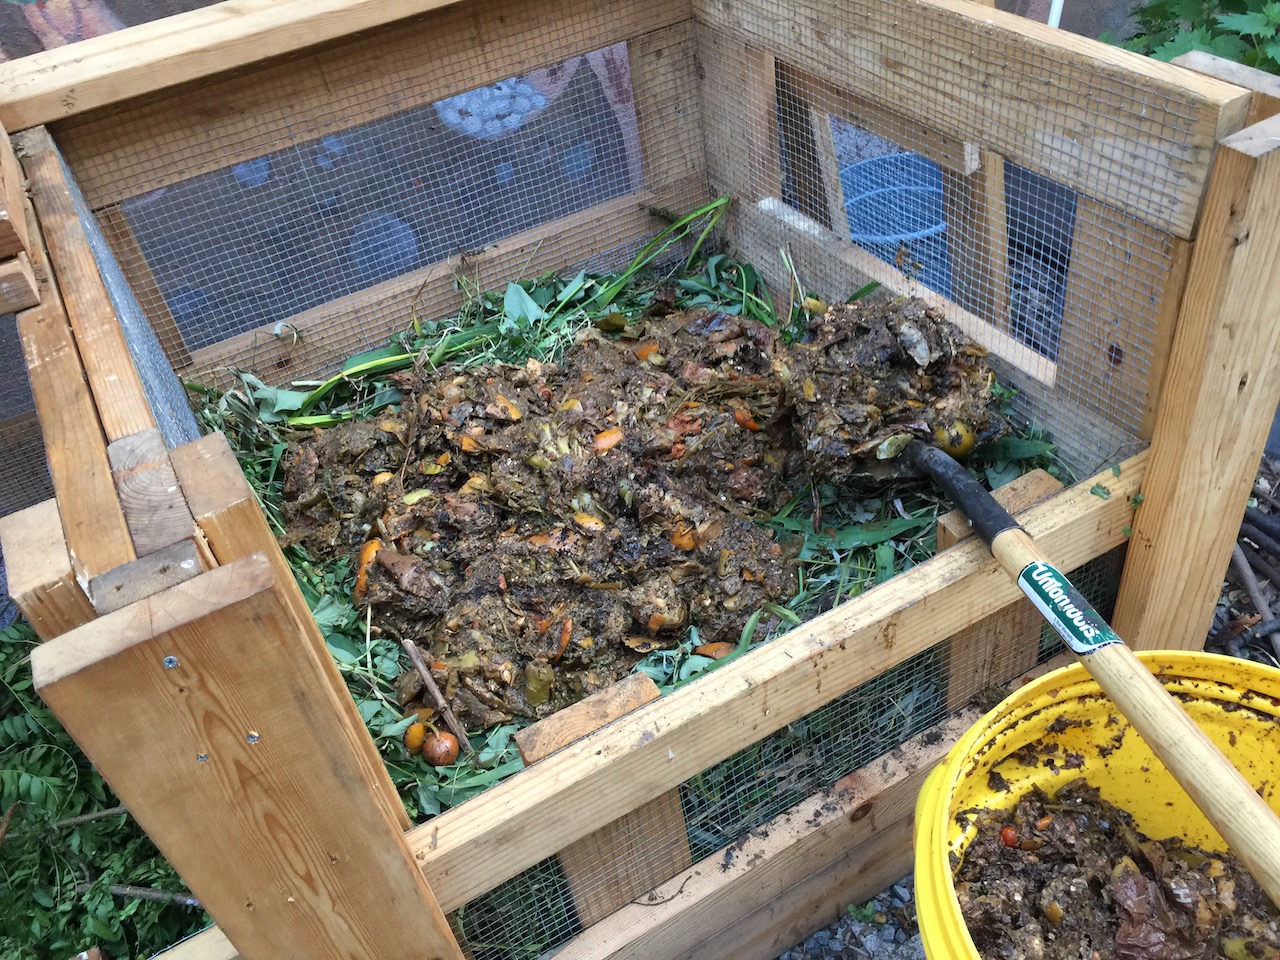
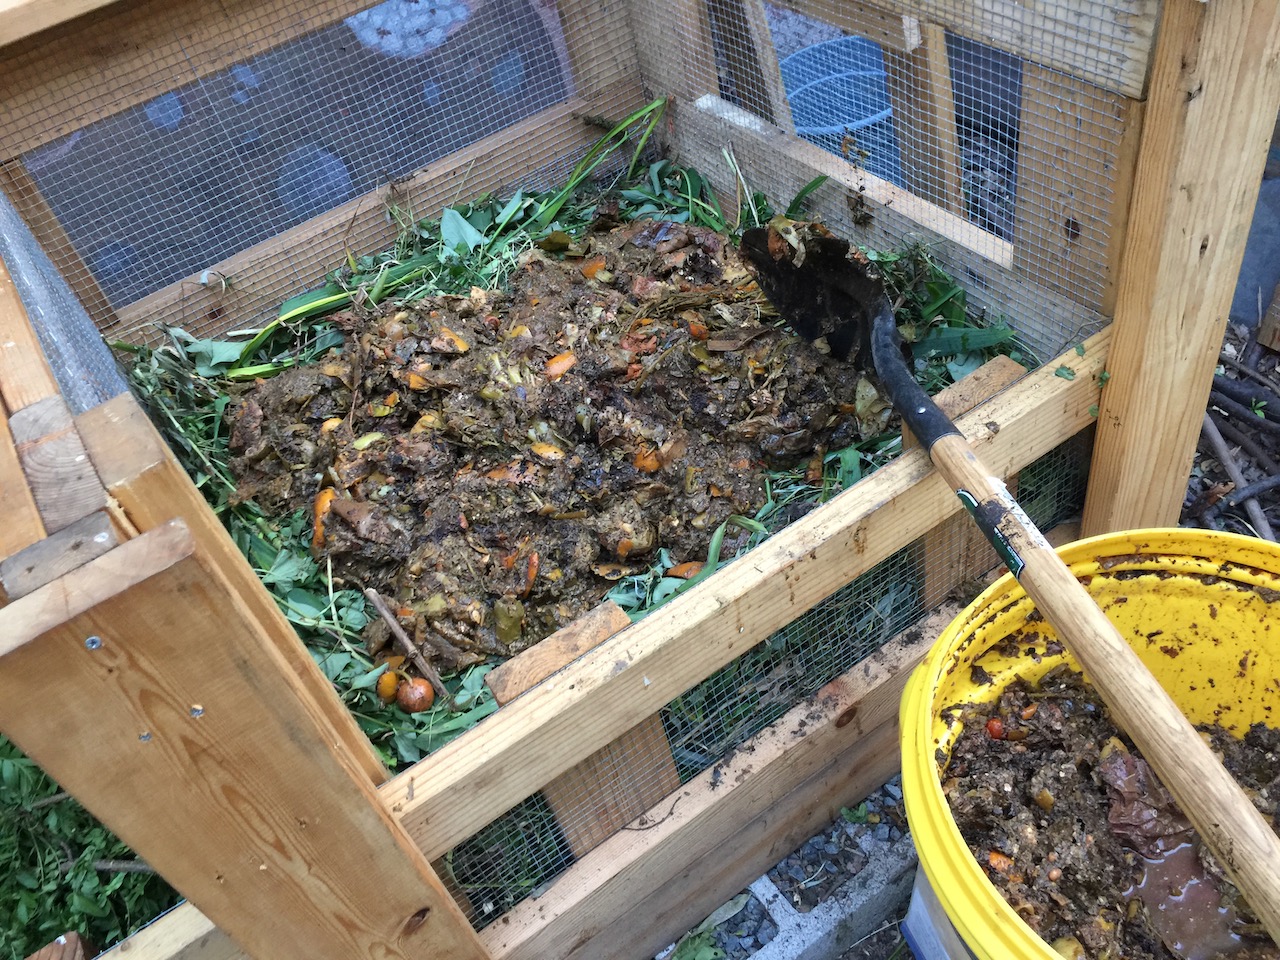
3.2.a. Feeding FFW to Worms
3.2.b. Checking the worm compost bin
3.2.c. Sifting the ready worm compost
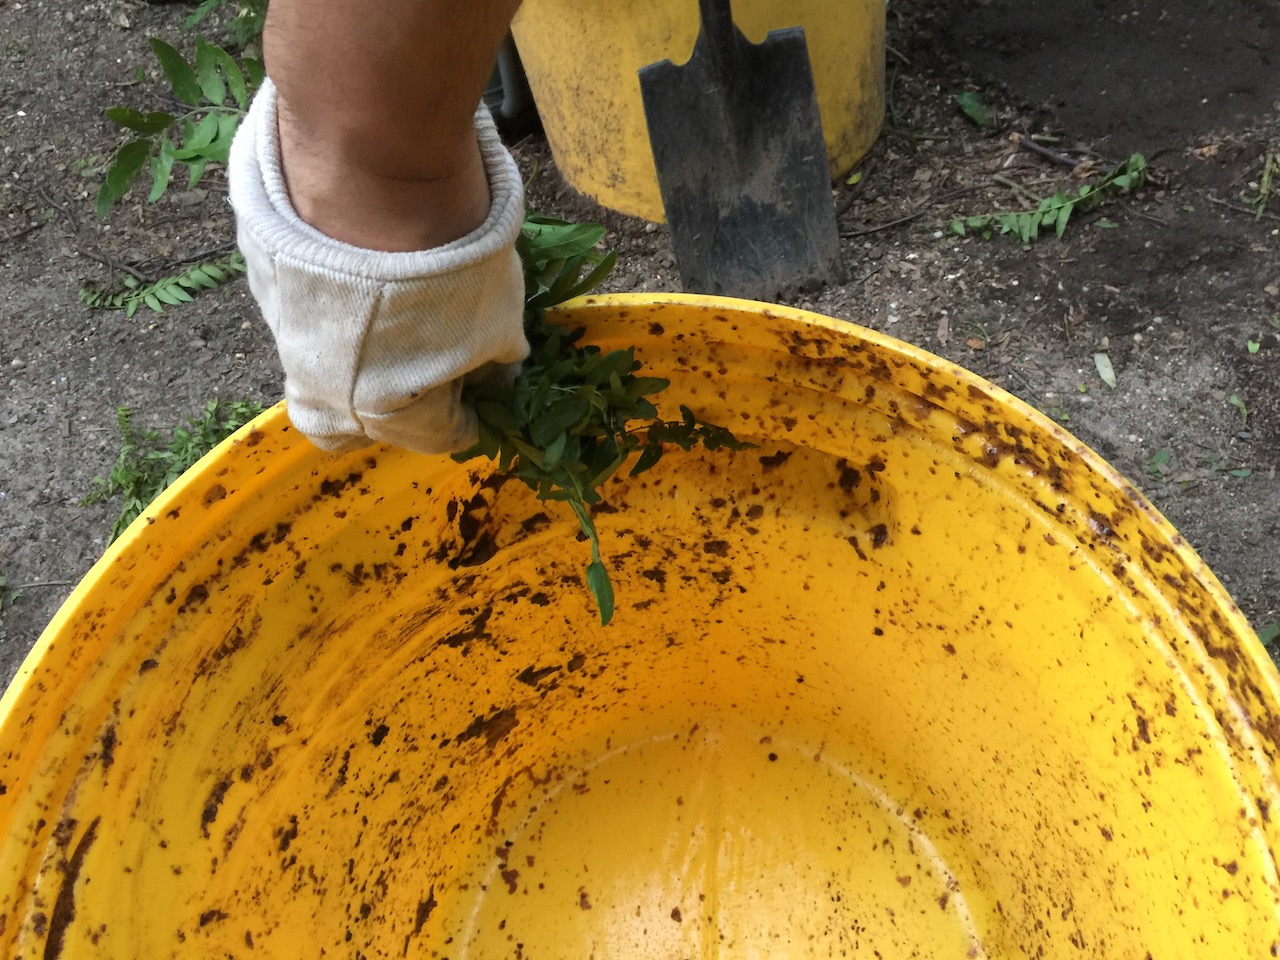
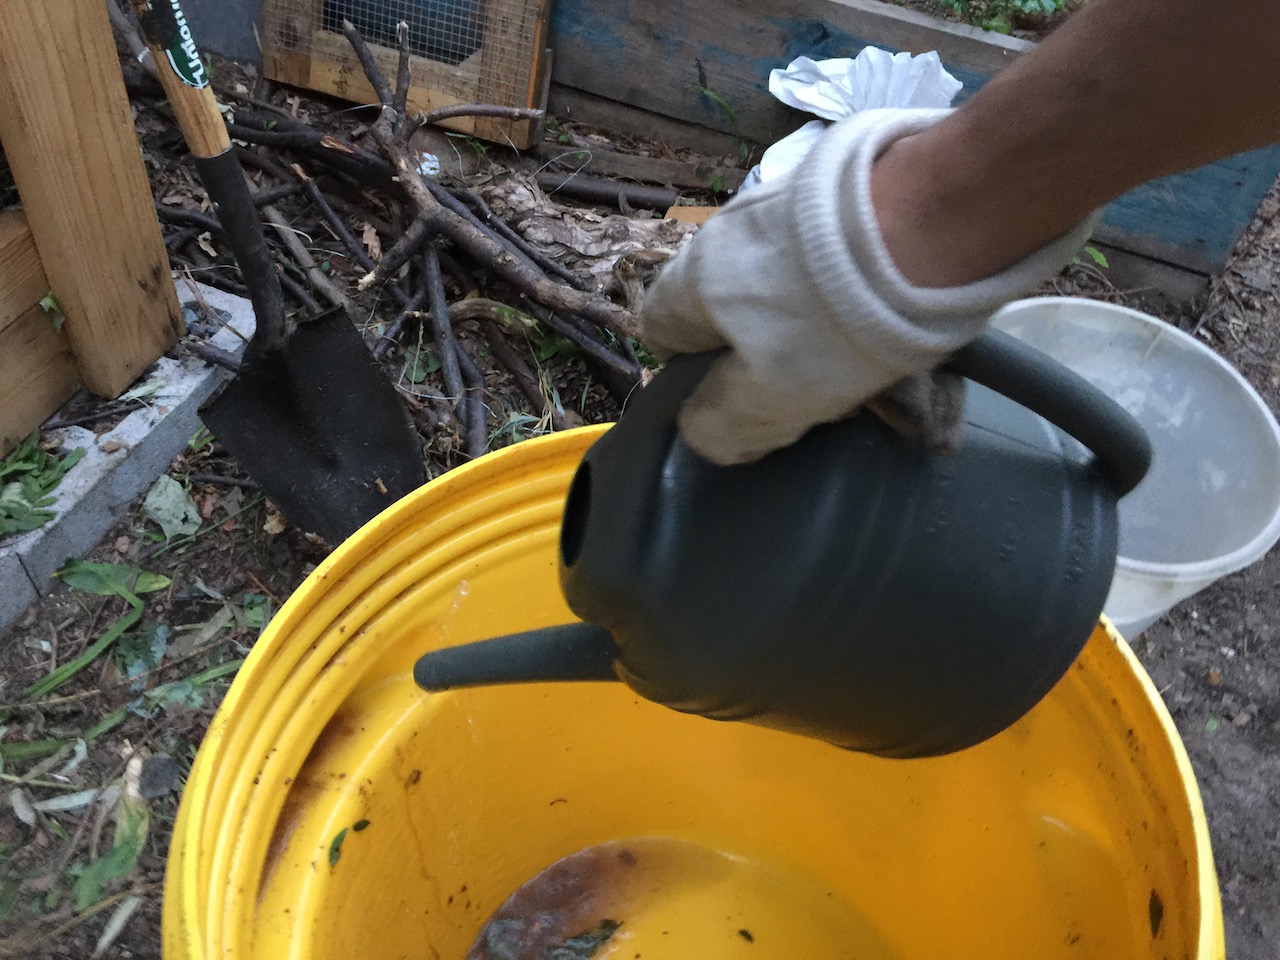
3.2.a. Feeding FFW to Worms


3.2.b. Checking the worm compost bin
3.2.c. Sifting the ready worm compost
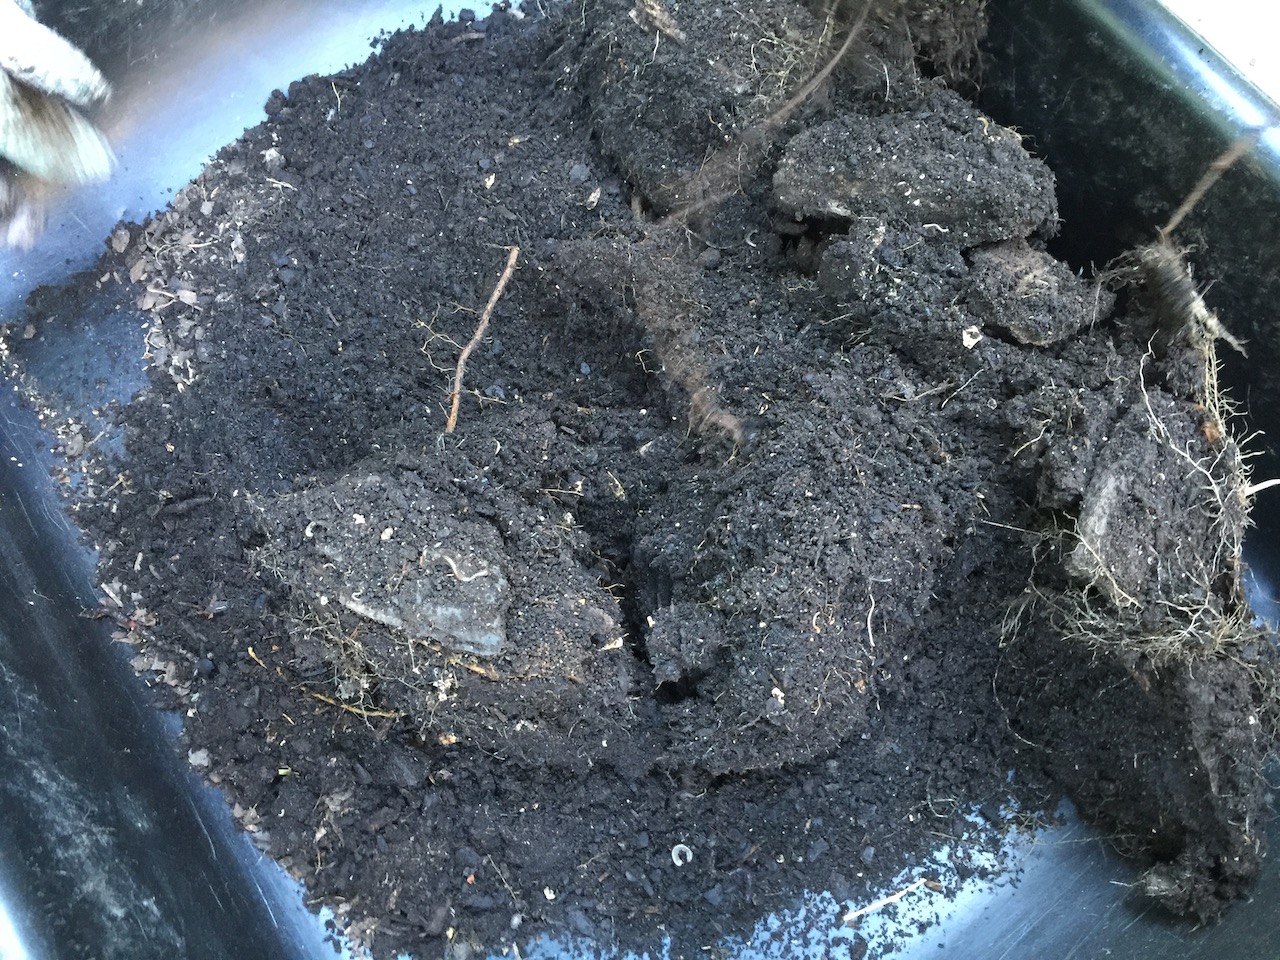
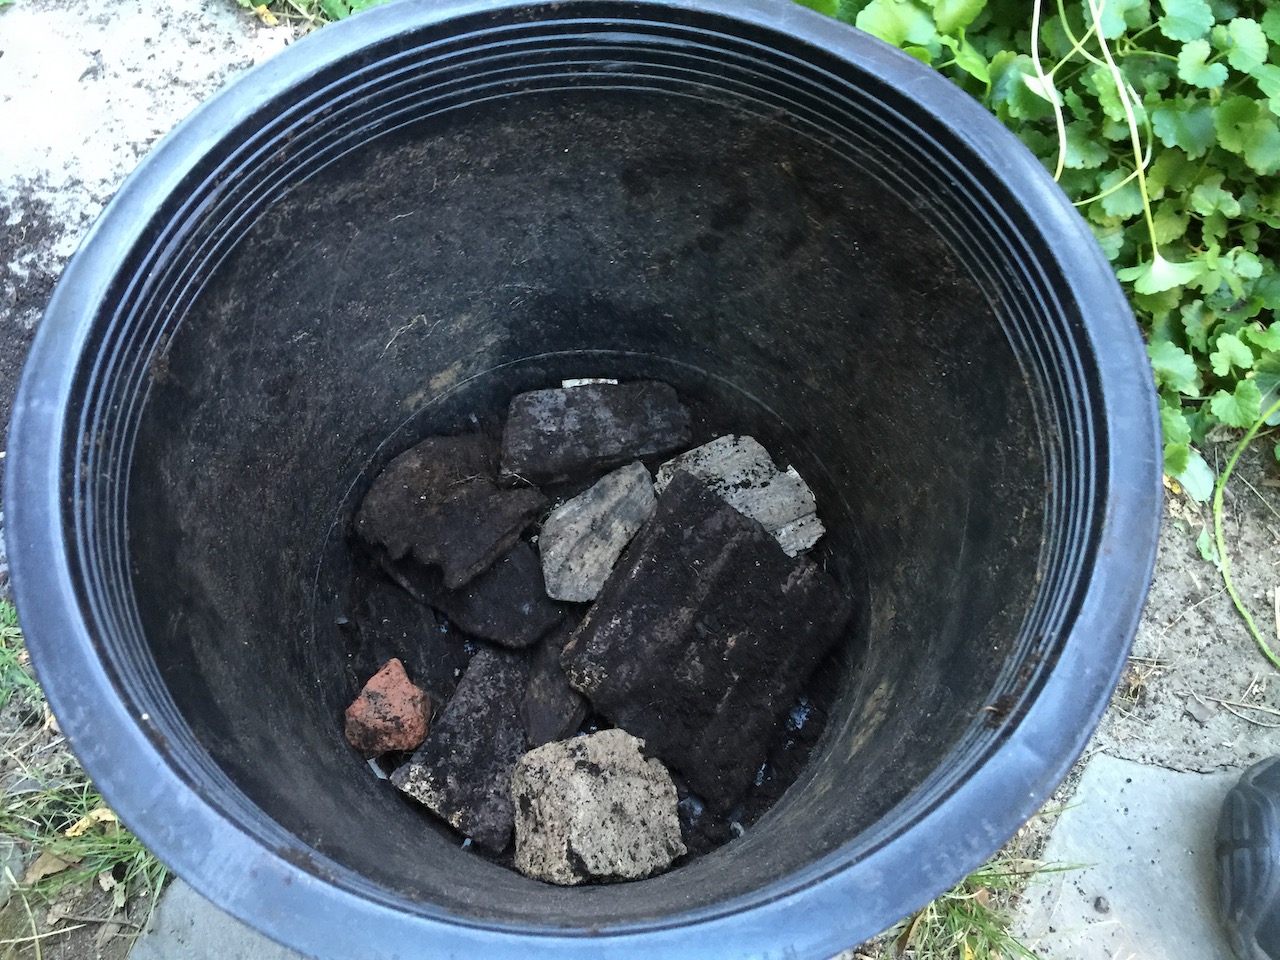
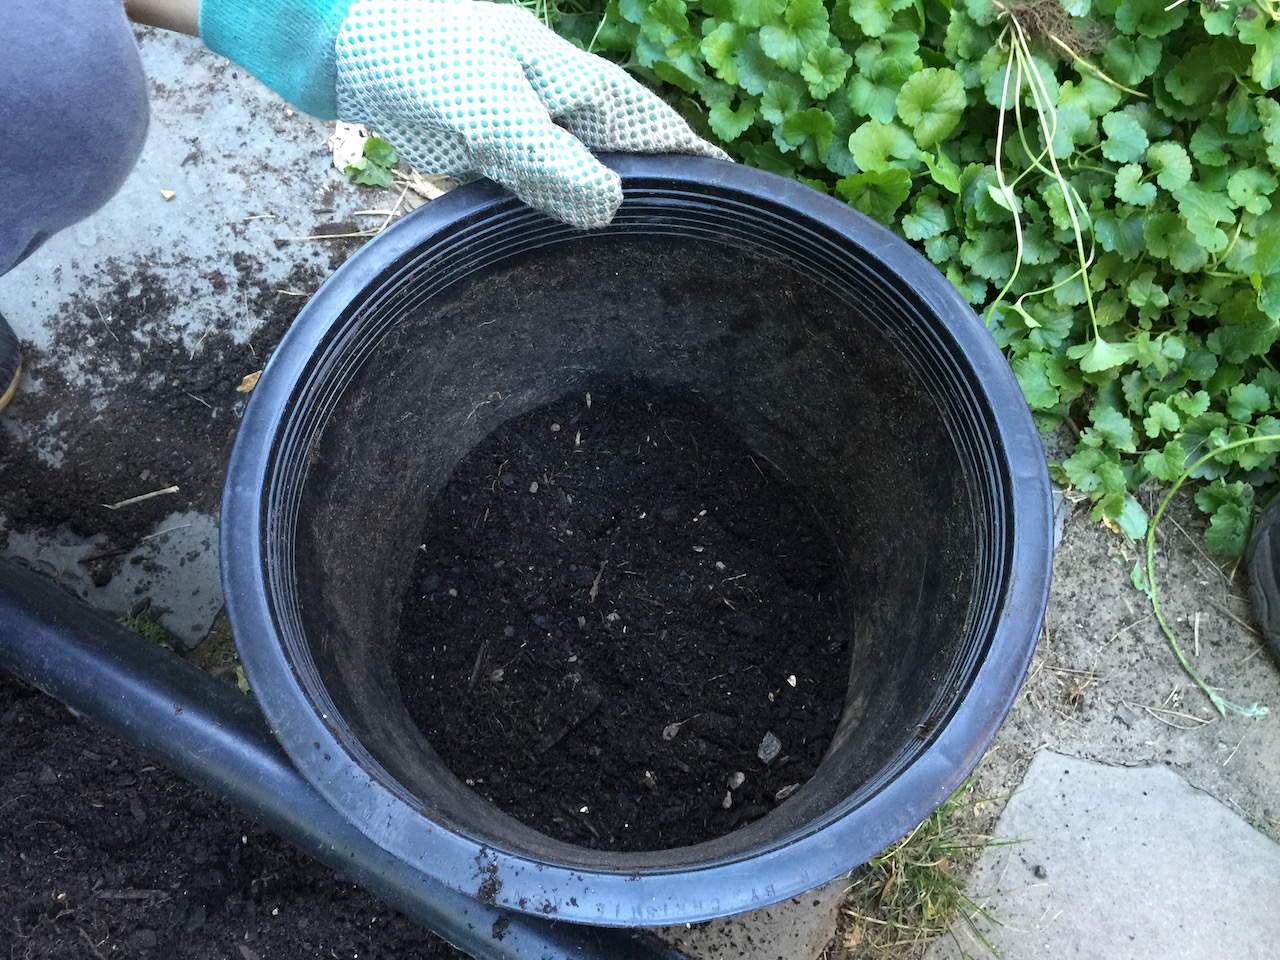
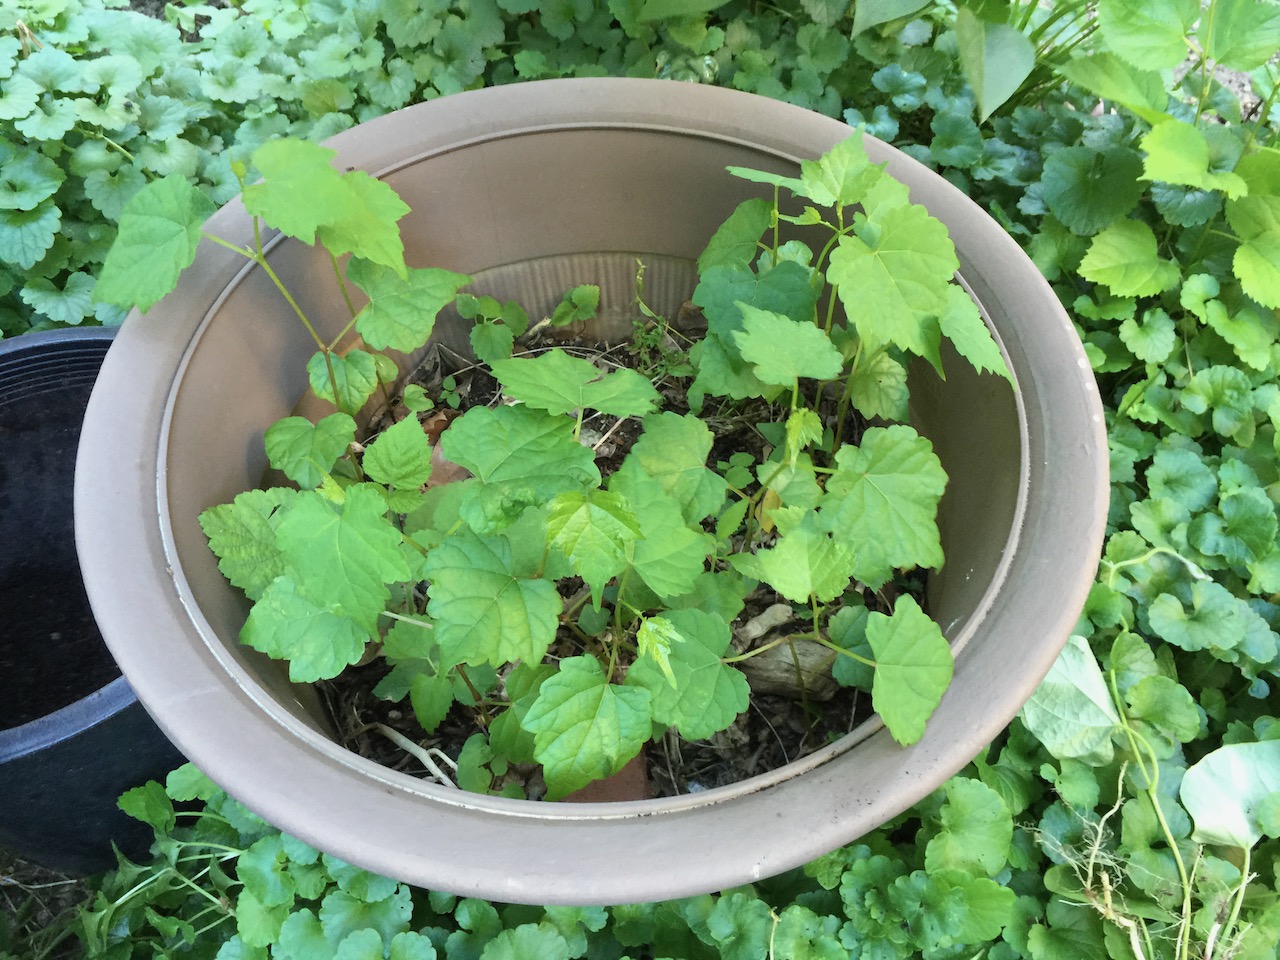
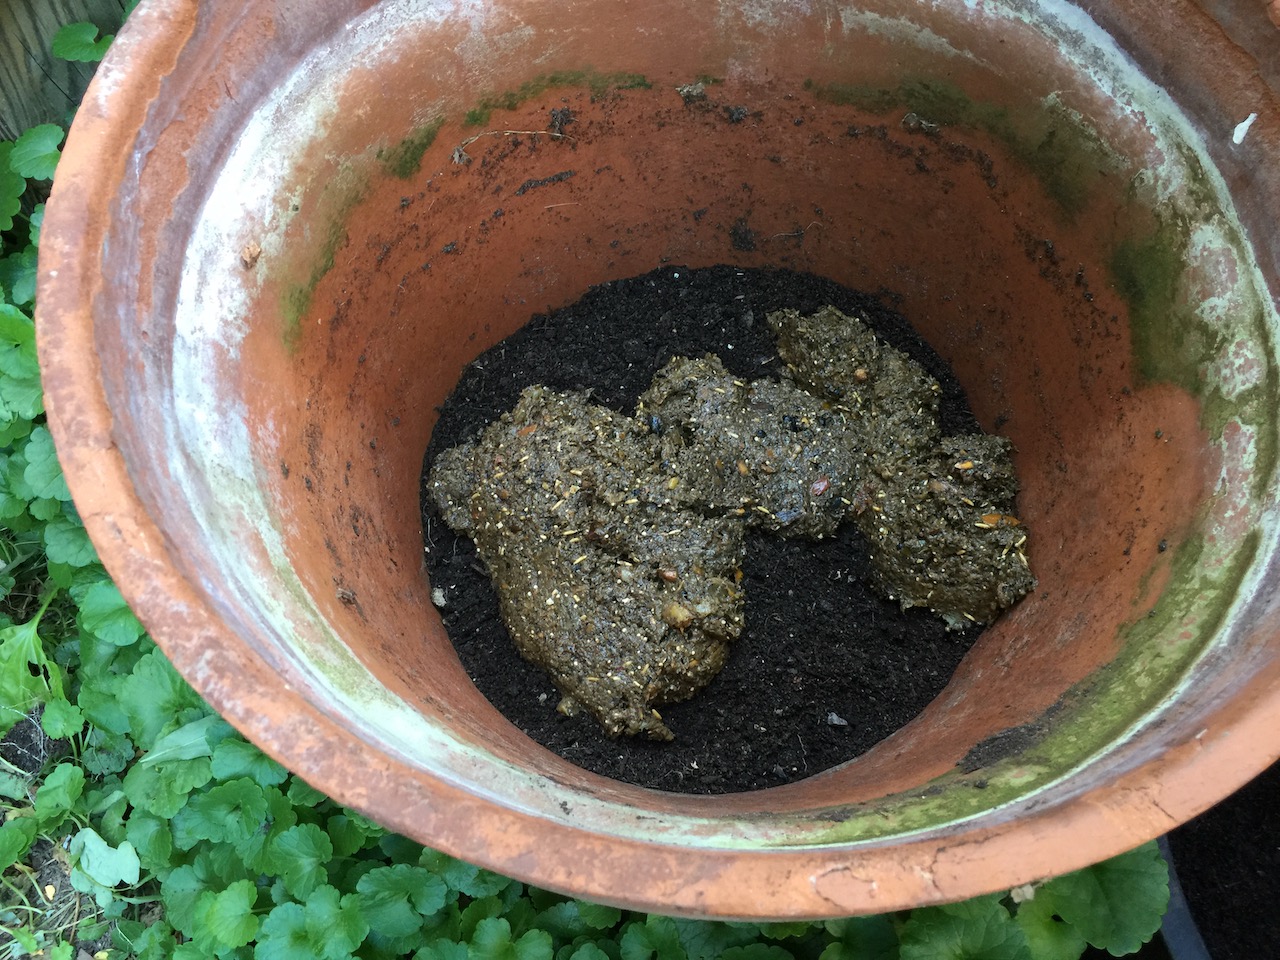
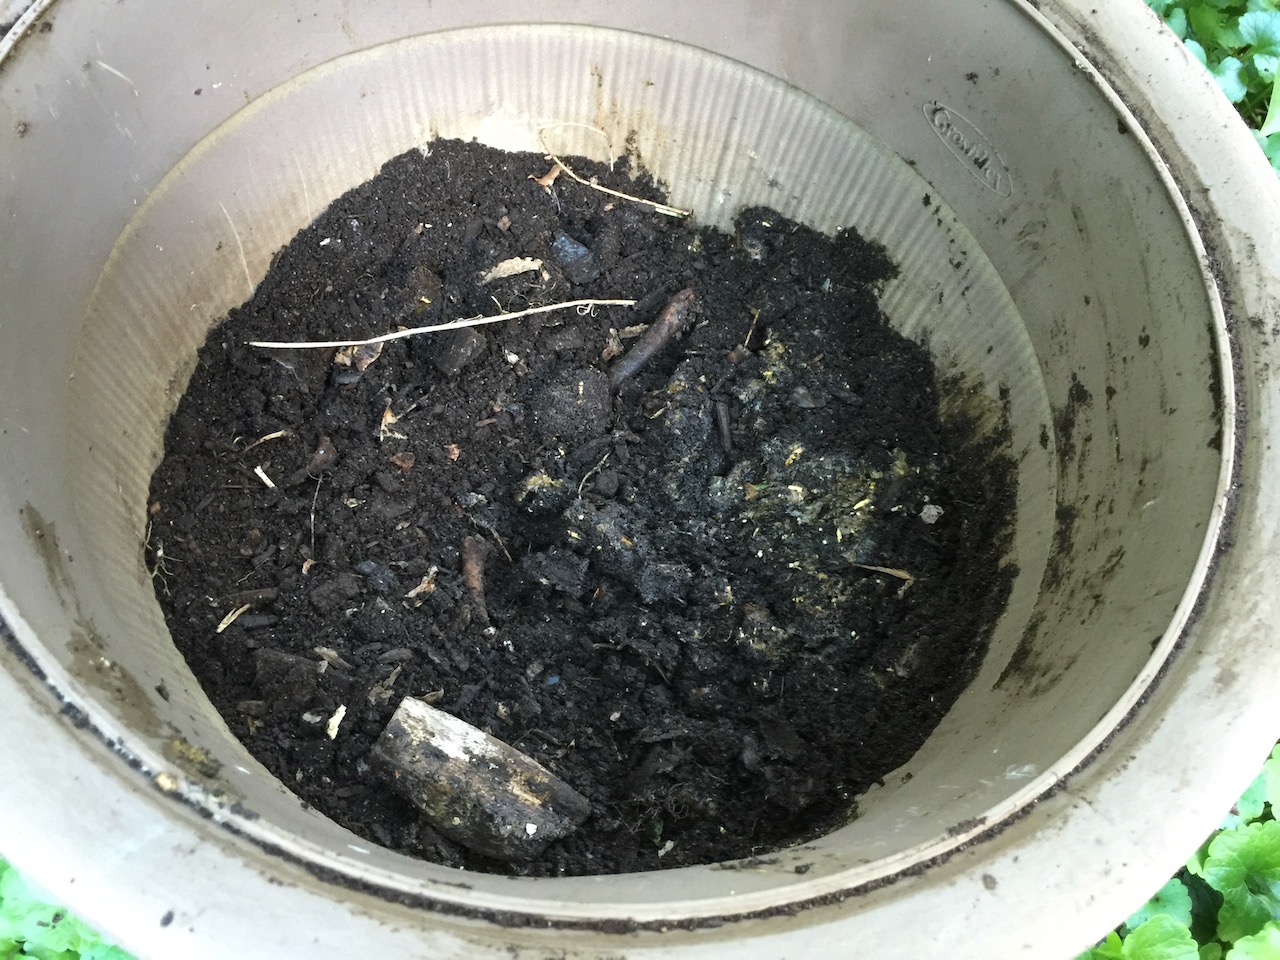
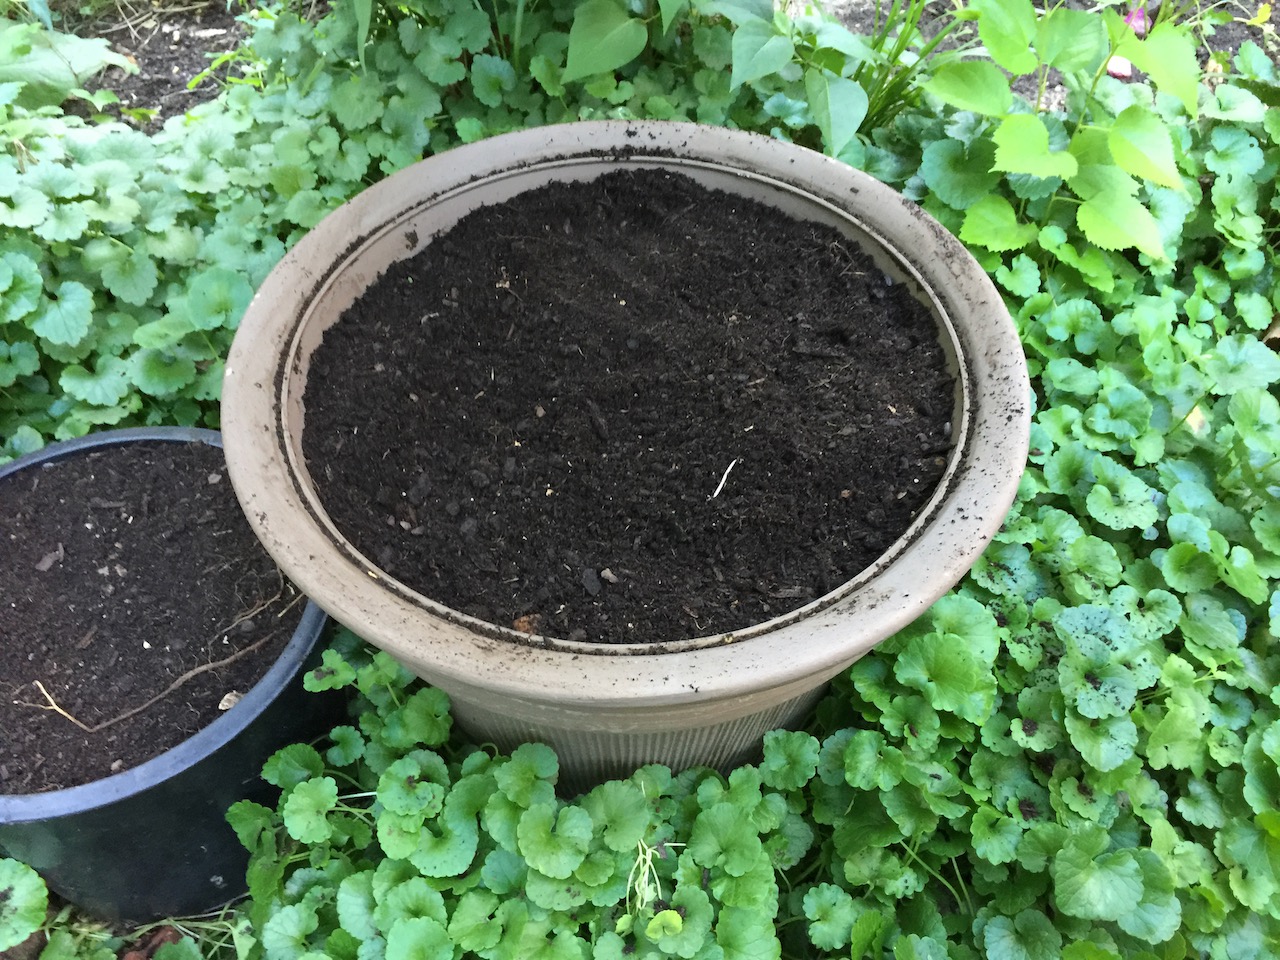
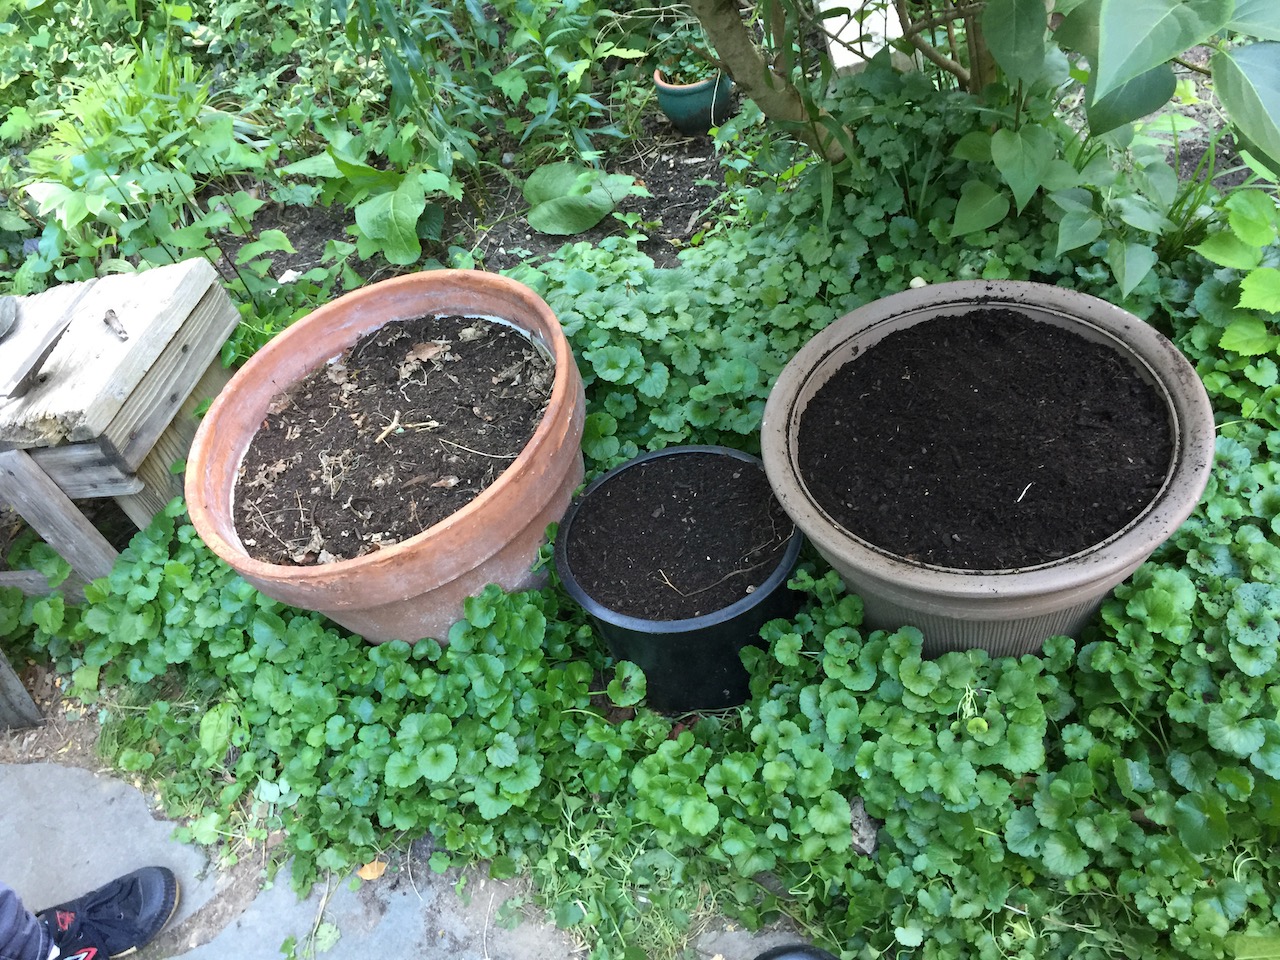
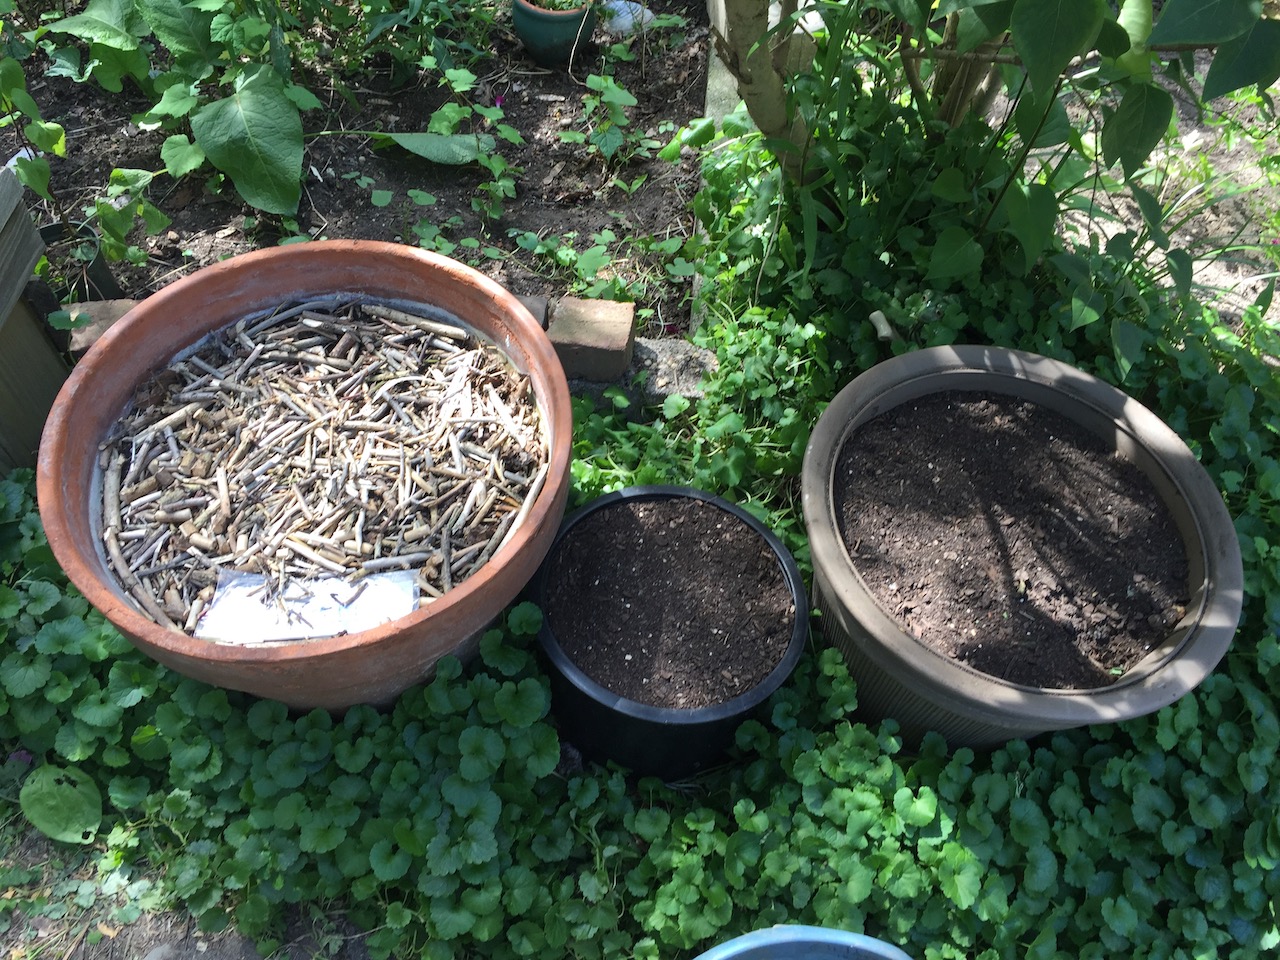
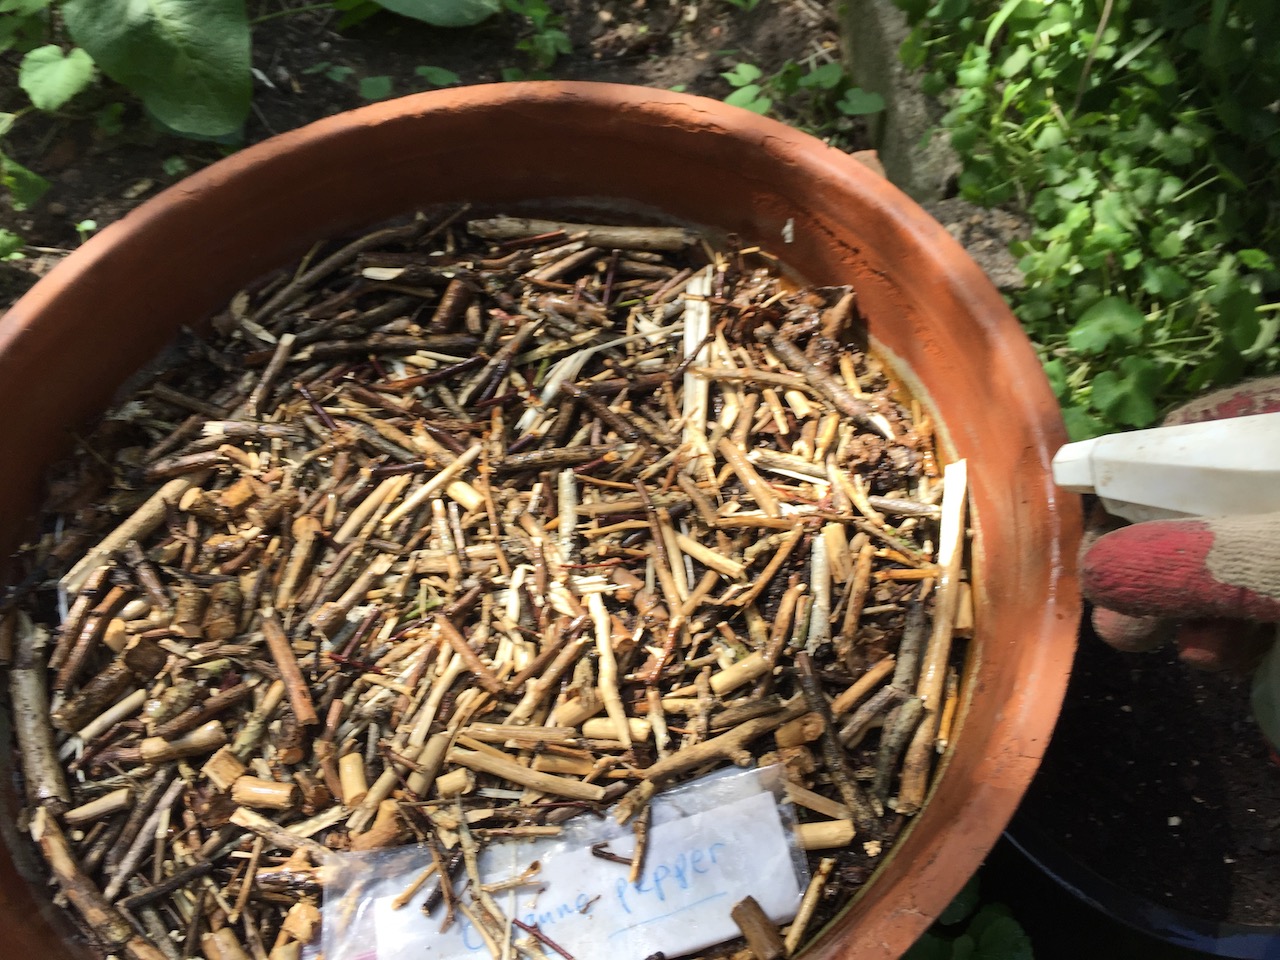
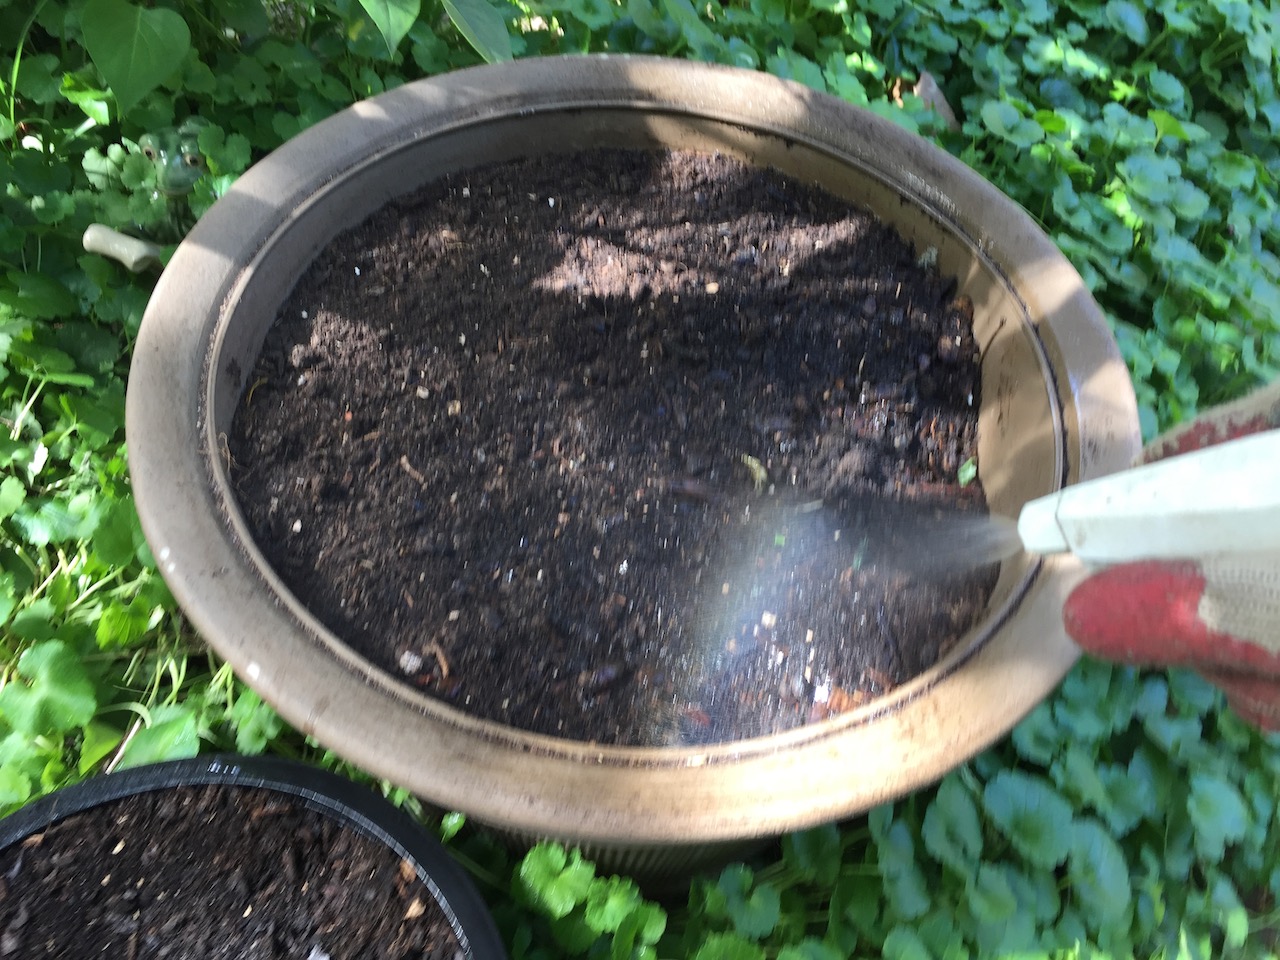
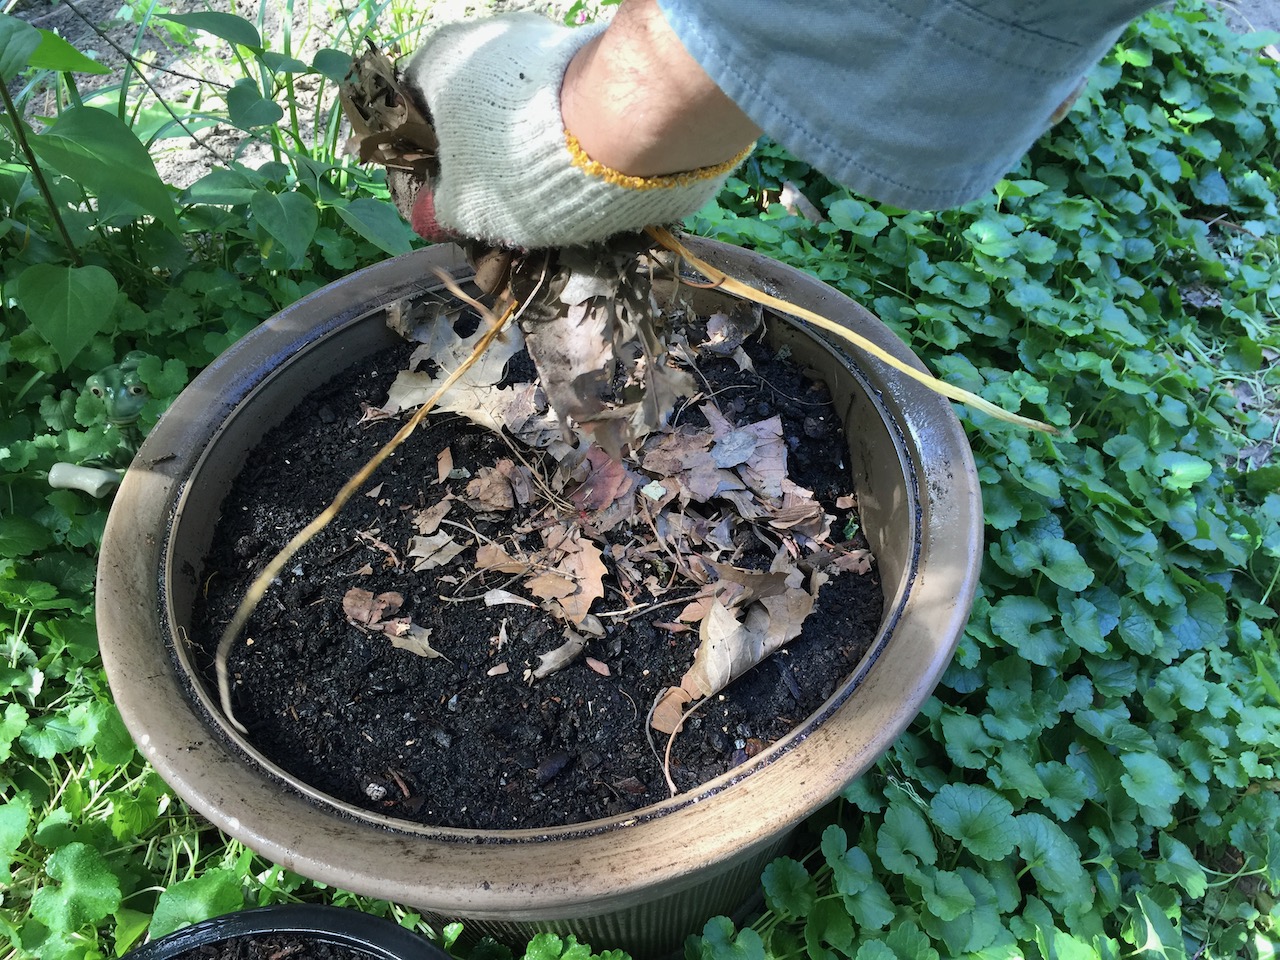
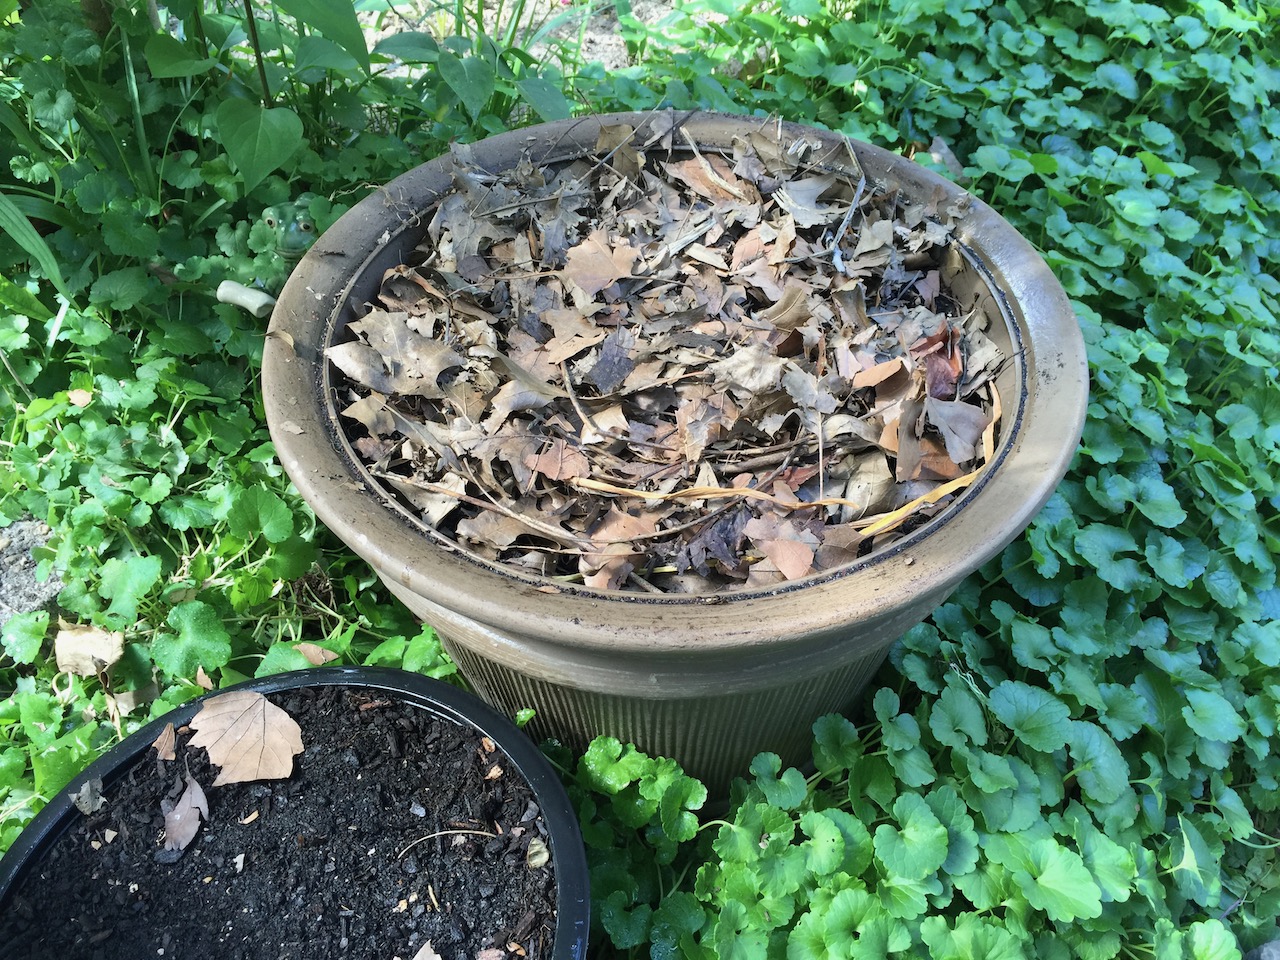
3.3. Sandwiching FFW Between Soil in Pots/Planters